We’re back with another camper update after way too long! We figured we should probably get these up before we start working on our new house here at the camp. We don’t know when we will be in that house, so don’t worry, we will be living in our camper for a while longer!
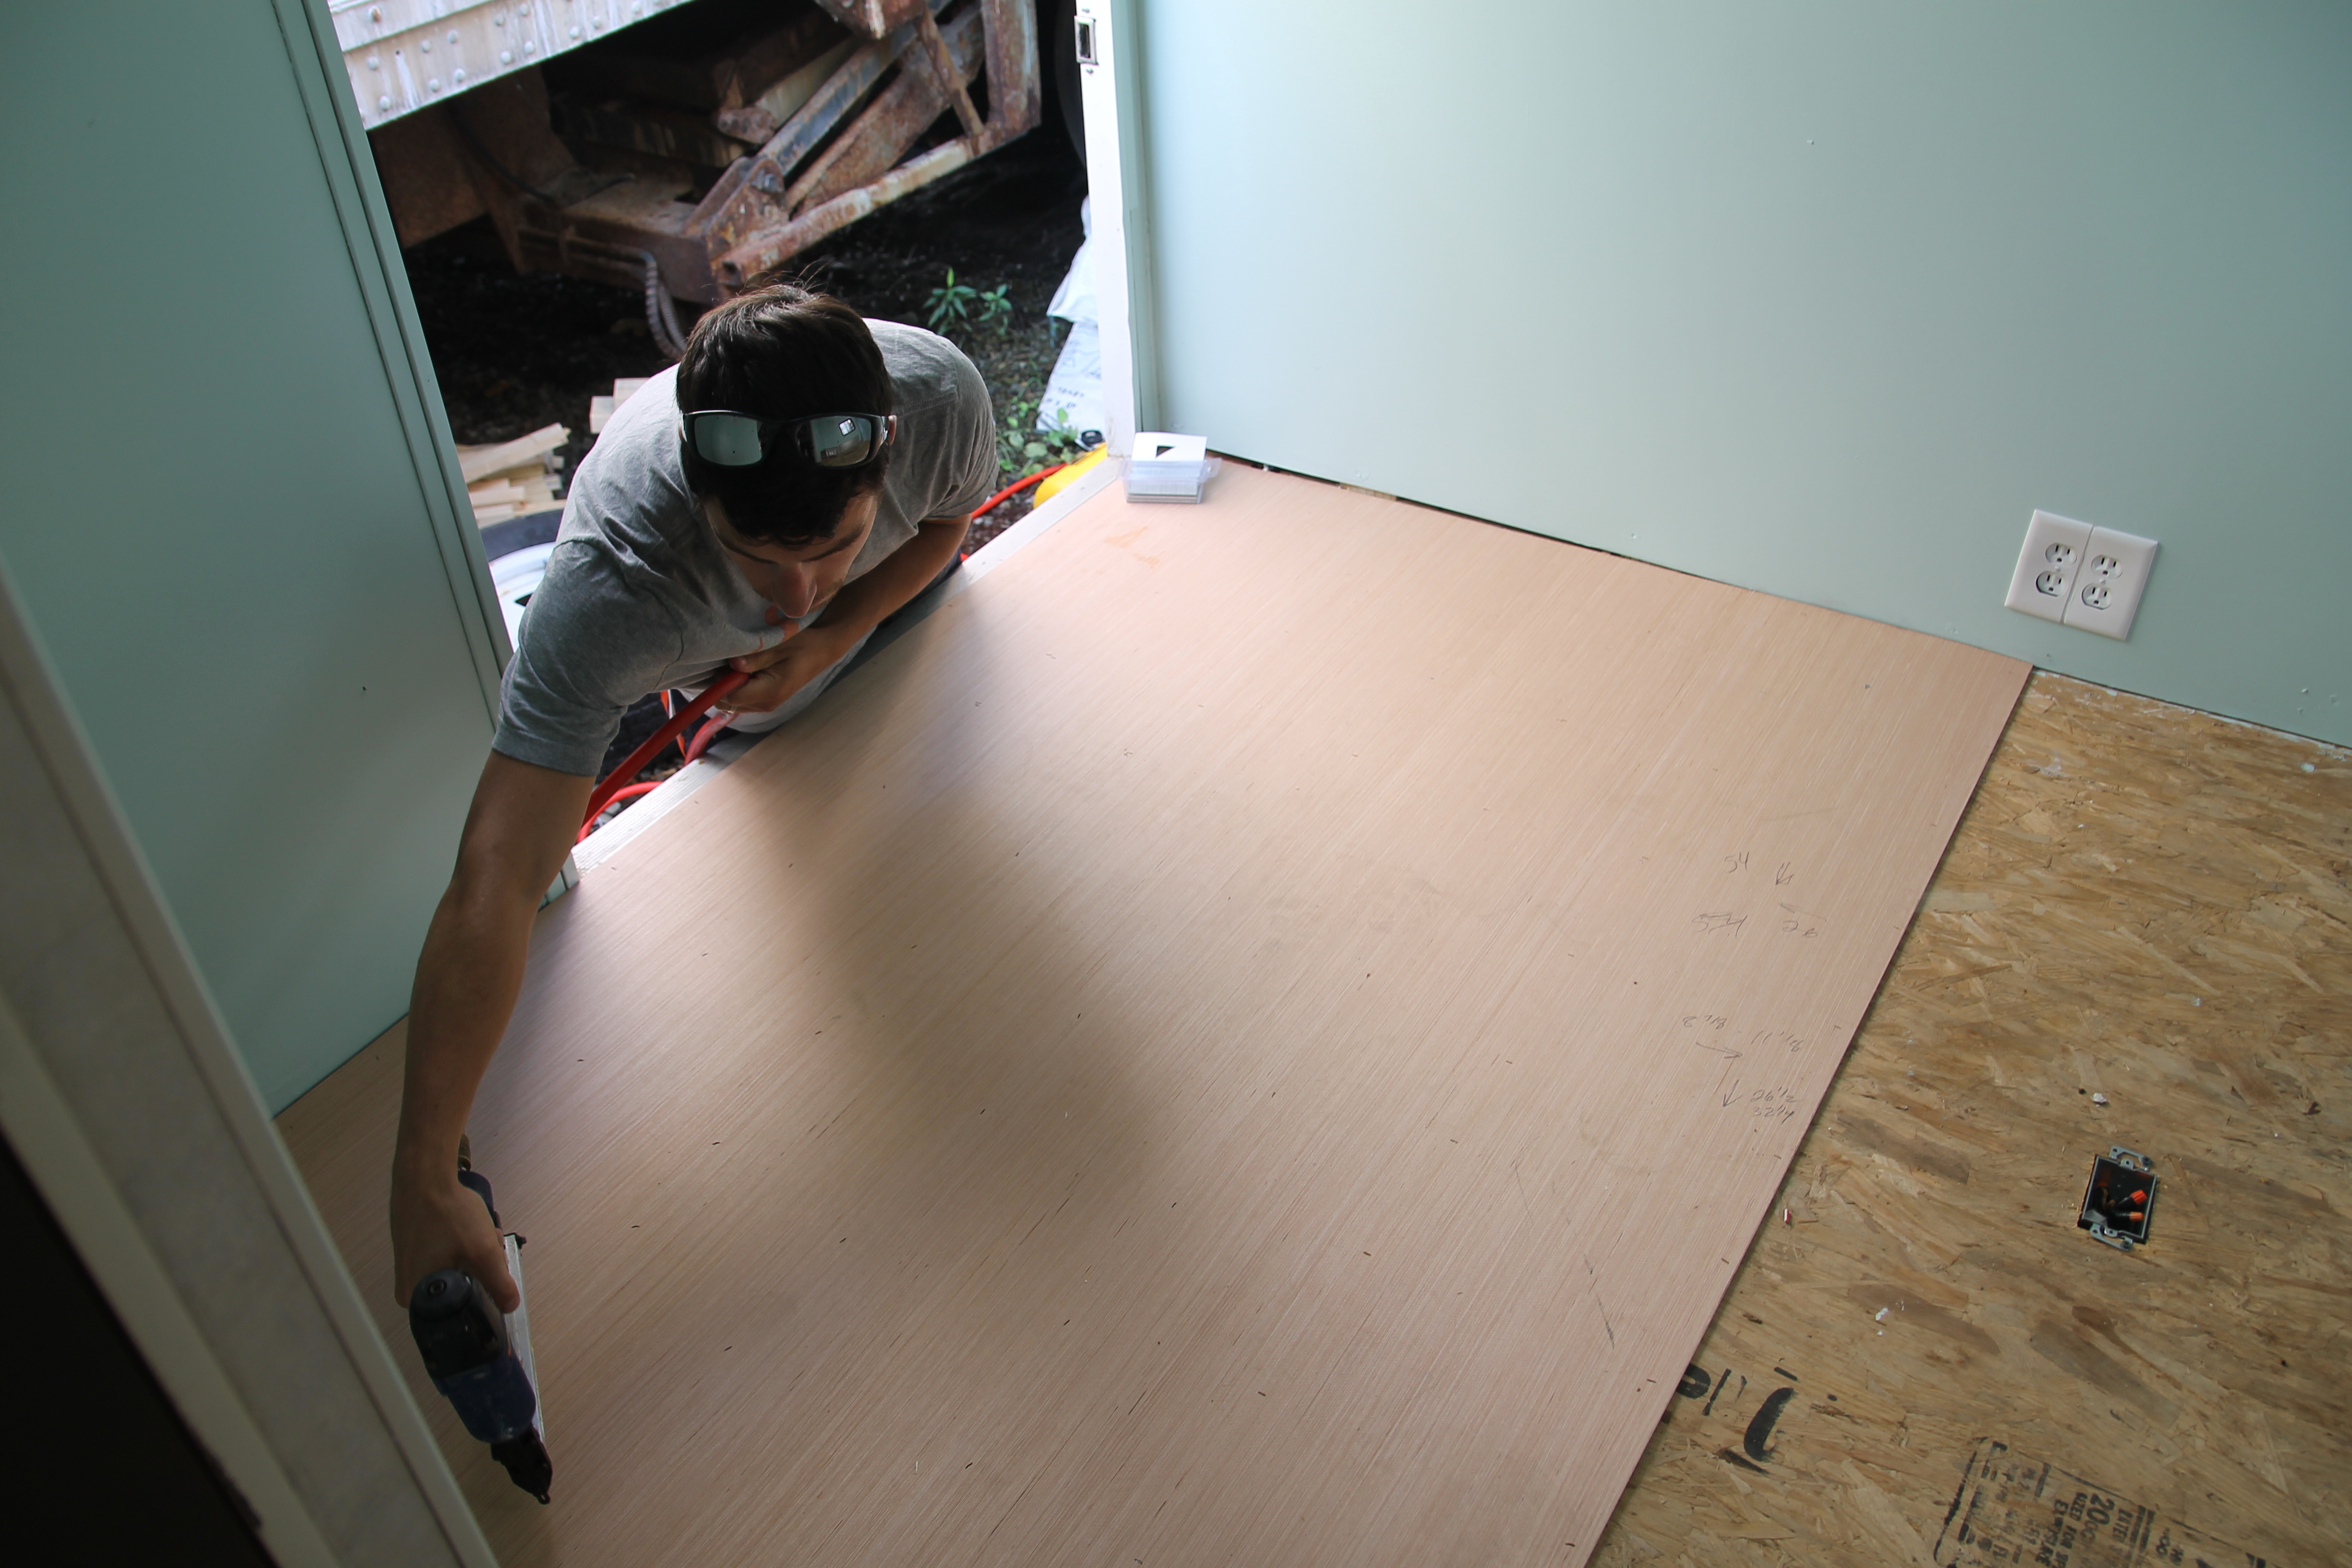
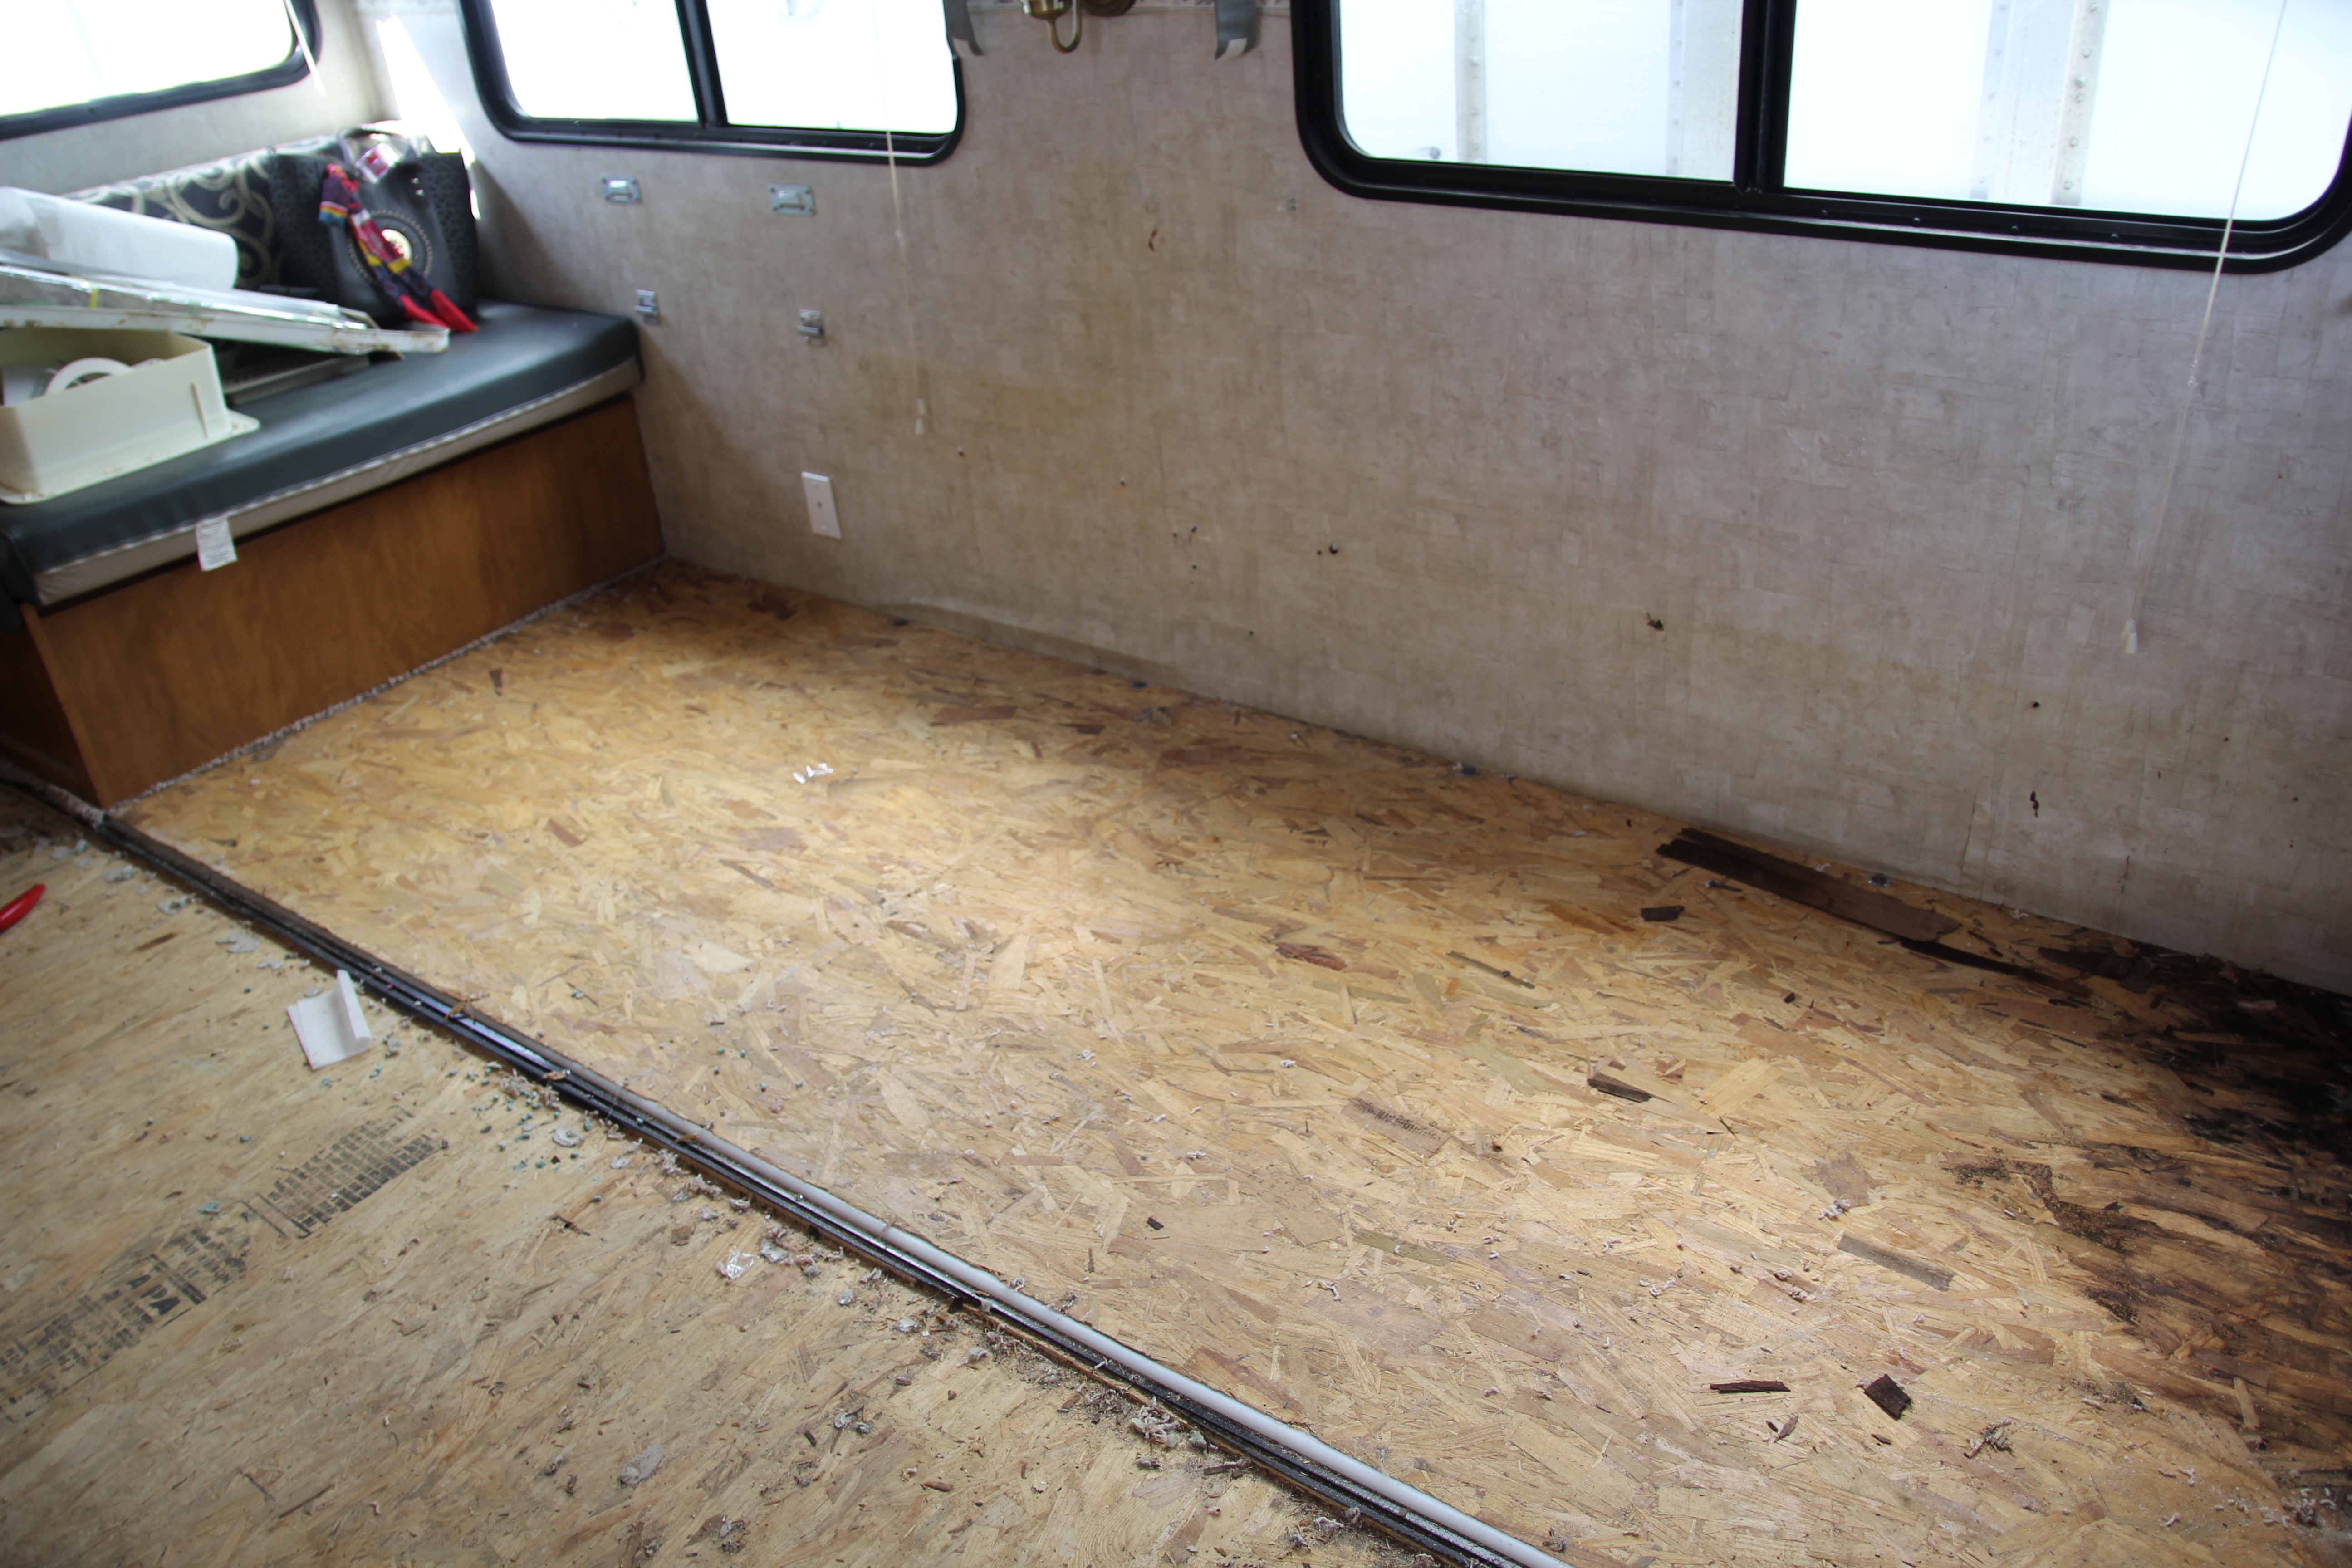
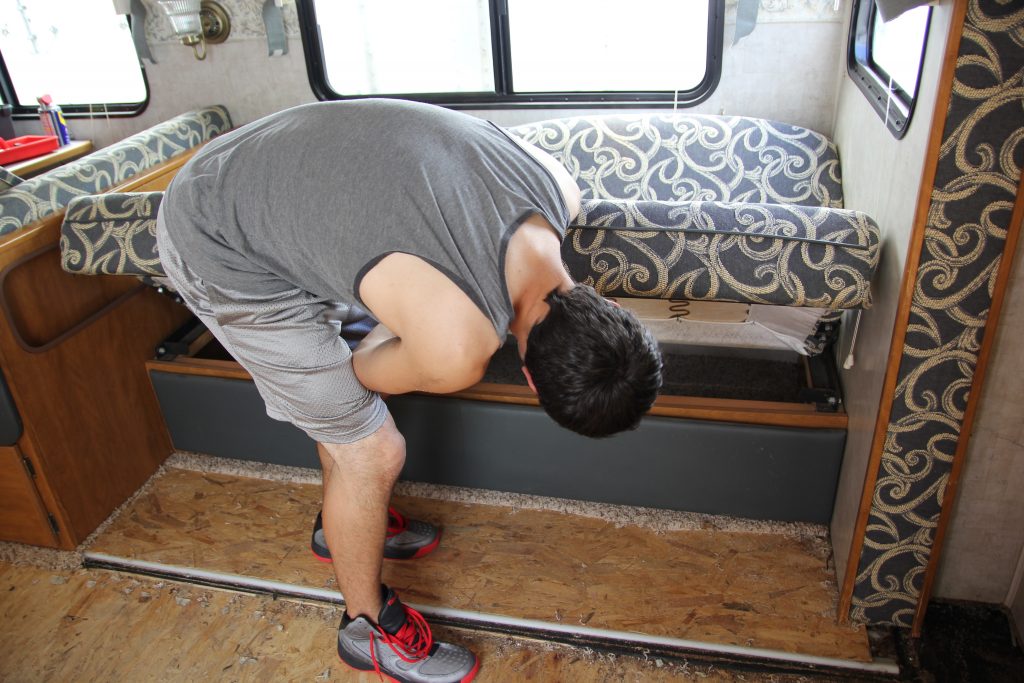
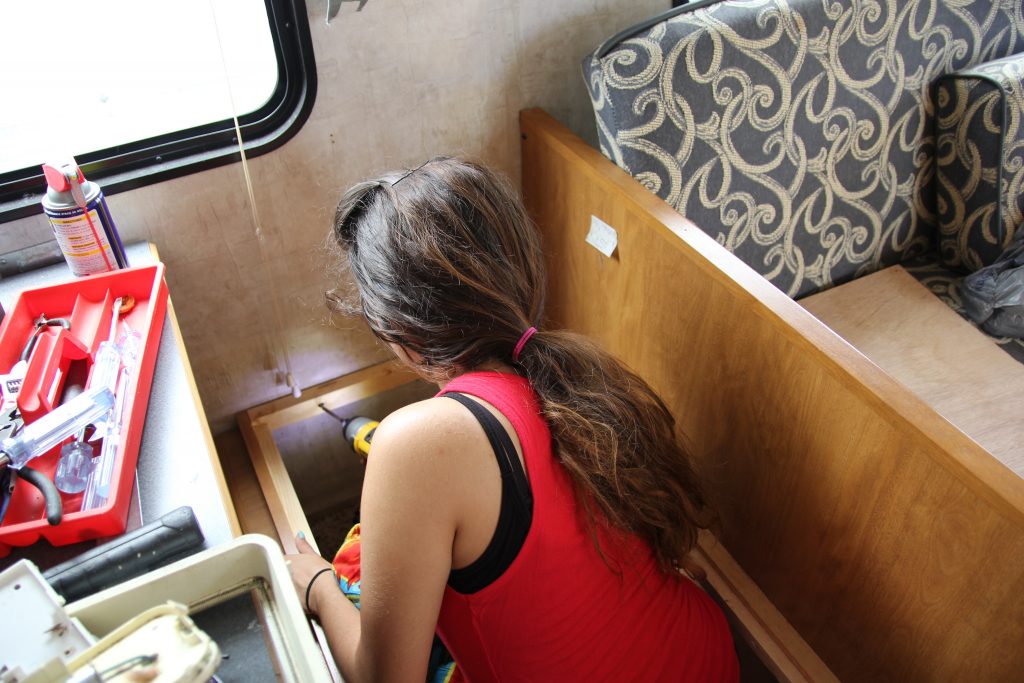
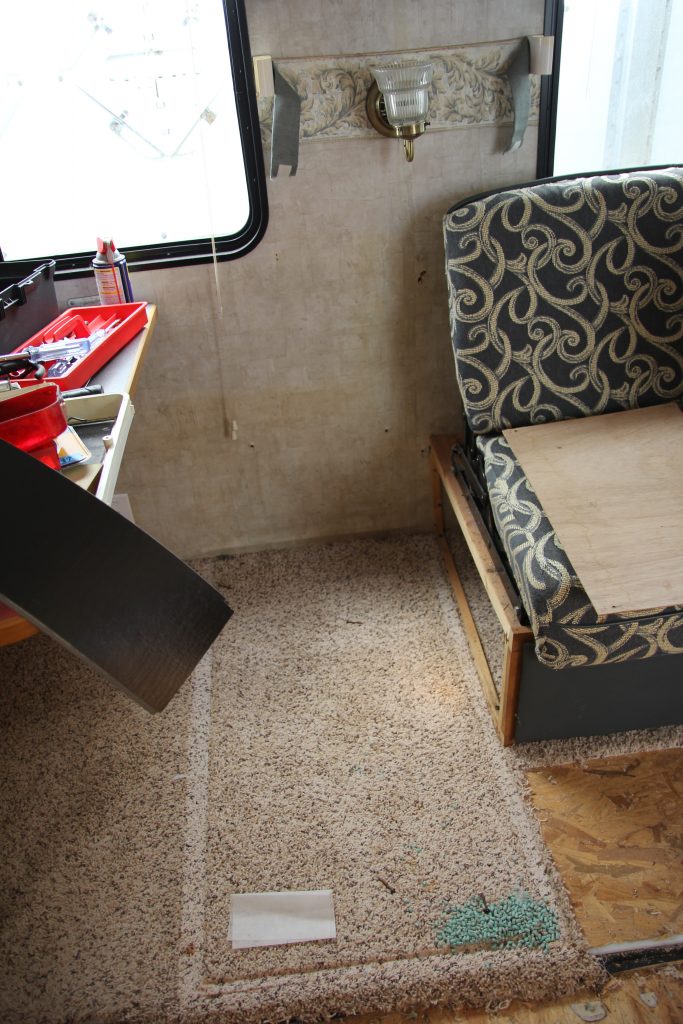
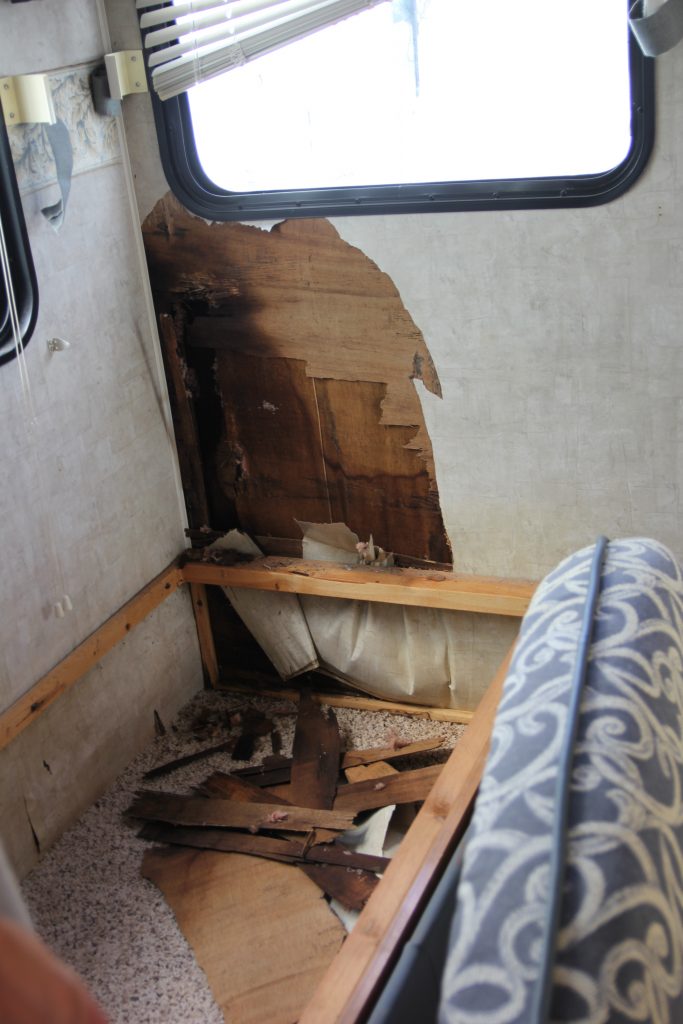
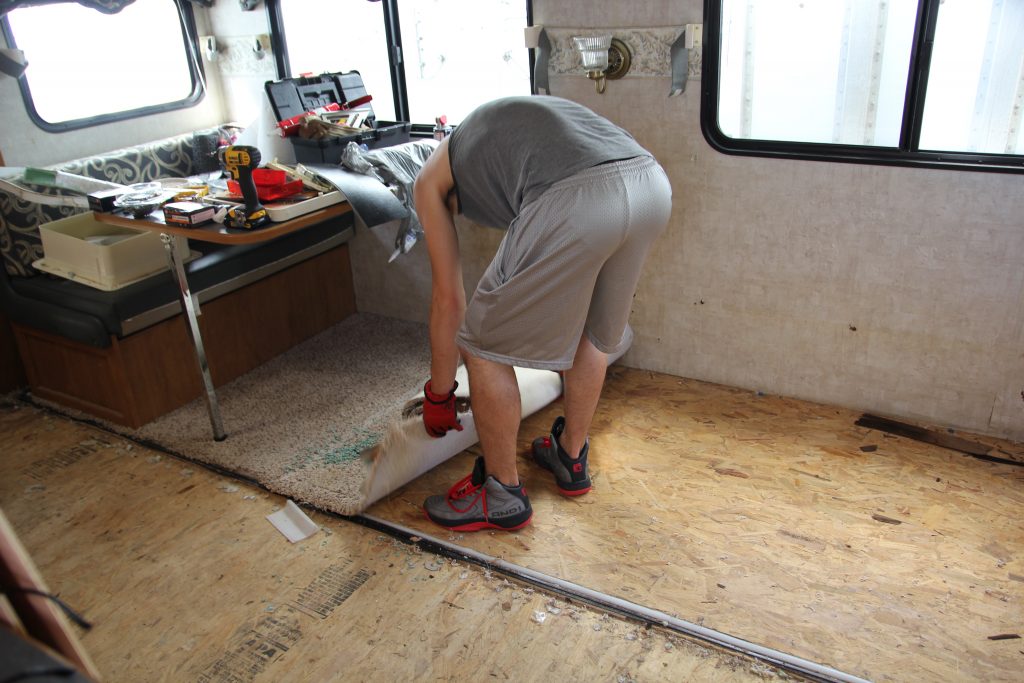
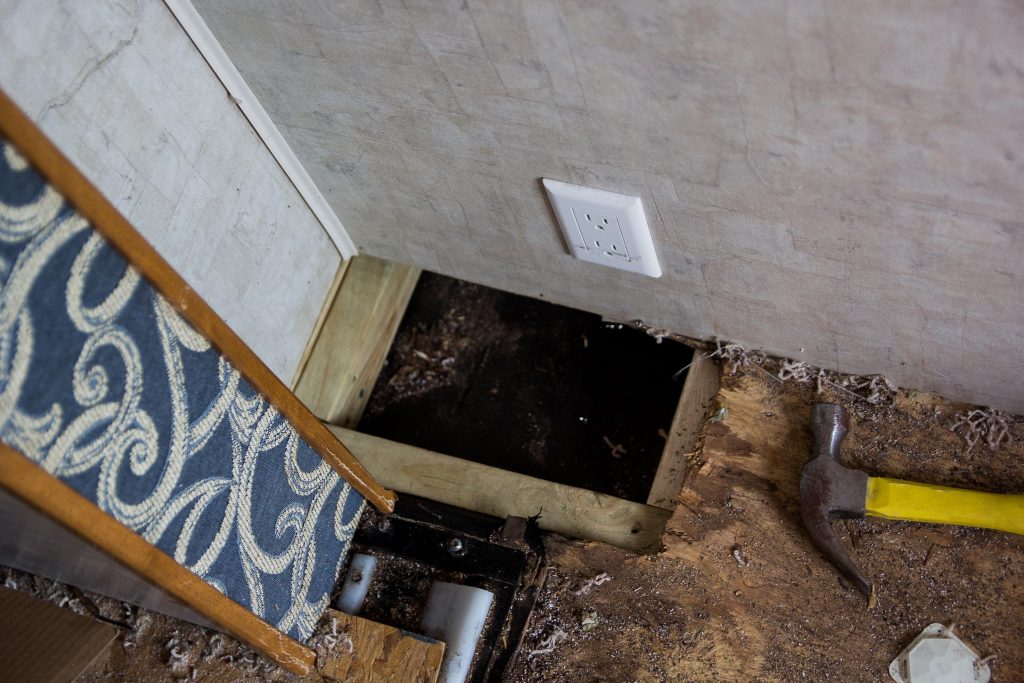
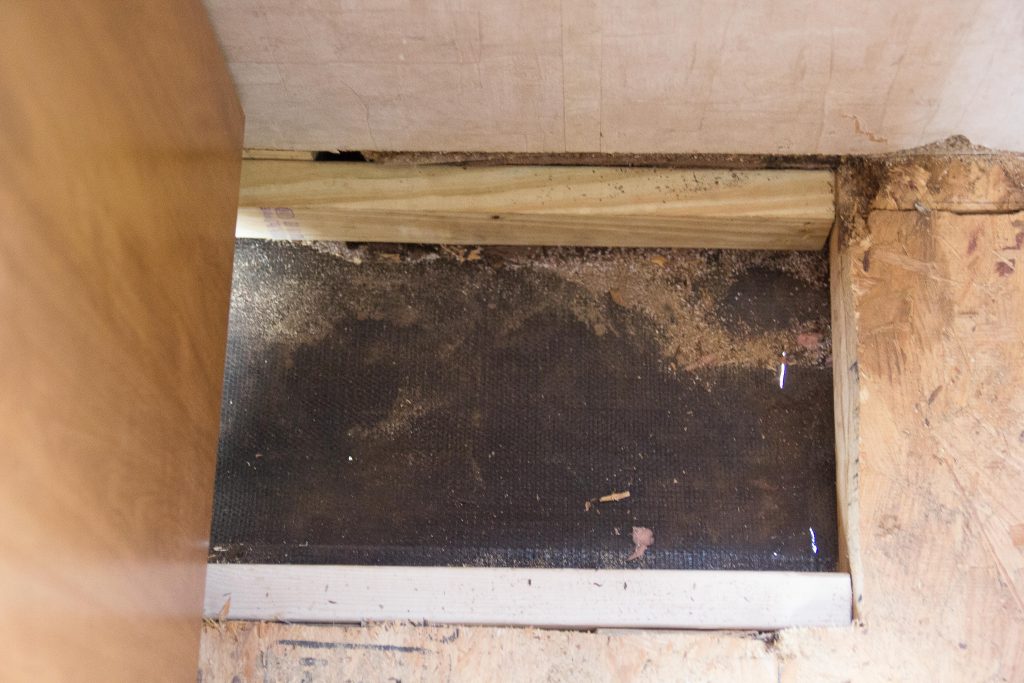
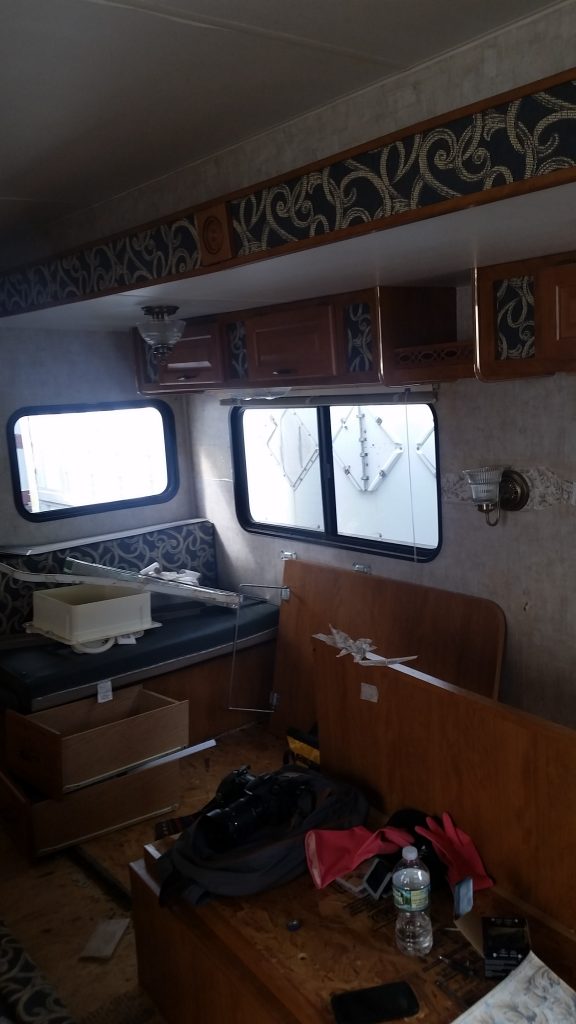
It’s crazy to look back at these photos and see what our camper used to look like! In the next photos we started painting, and it really transforms the place. In these photos we are removing the built-in couch/futon, and one of the booth seats. We went back and forth on keeping these in the camper, but we decided that we would have the most room if we took them out. Pulling out the couch revealed some damaged wall and floor that Luke ended up having to repair. Gotta love that water damage! Especially when it’s in places you didn’t originally know about.
As we removed things from the wall, of course the screws left marks. We planned to buy some cheap putty and fill them in, which worked okay! We did this at the painting stage.
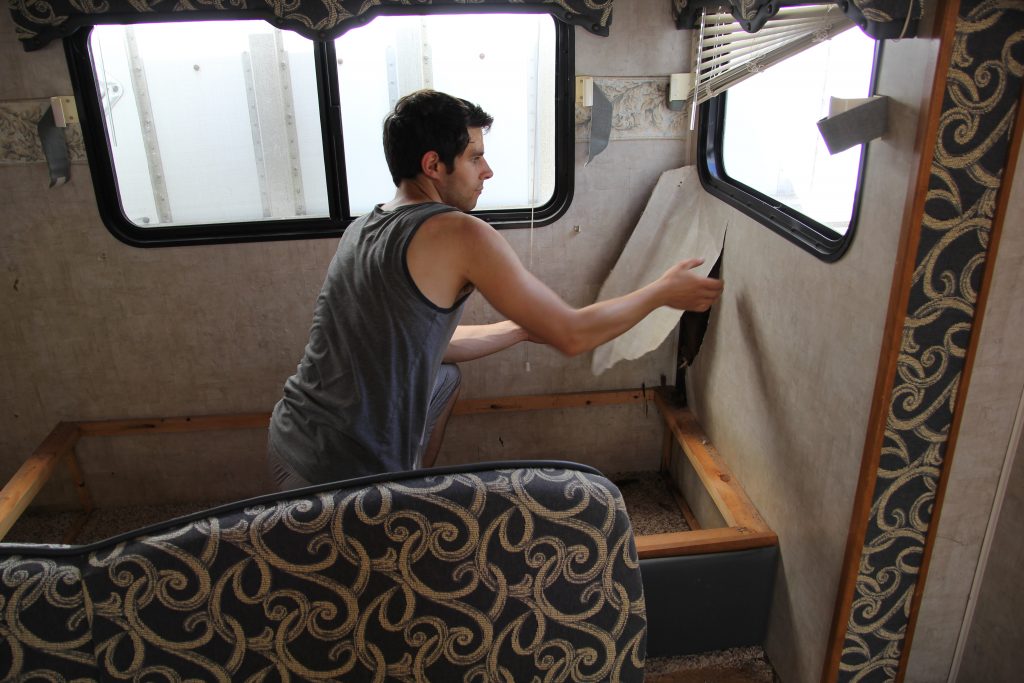

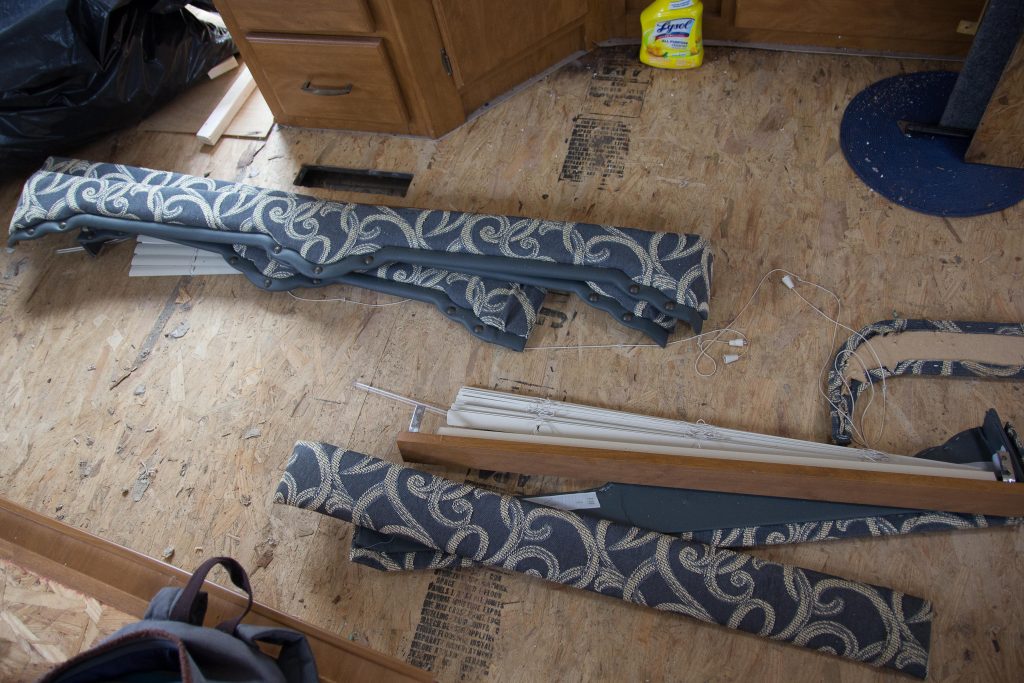
Removing the window treatments wasn’t easy! We want to get better blinds, but for now we have rescrewed them up (after painting). Those blue swirly fabric thingys had to go through. Them being gone made a HUGE difference, it was insane!
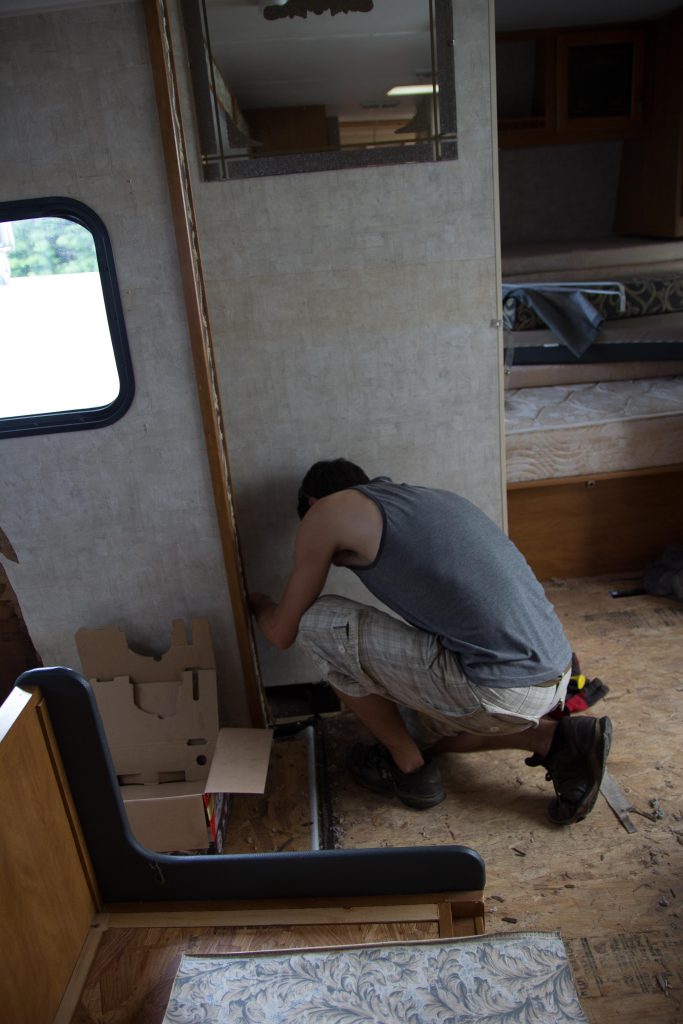
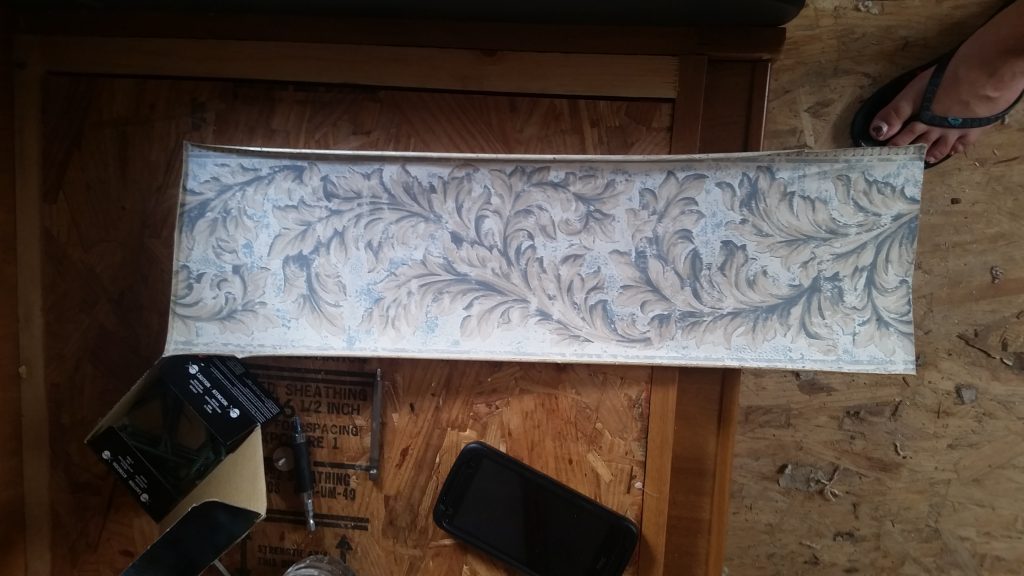
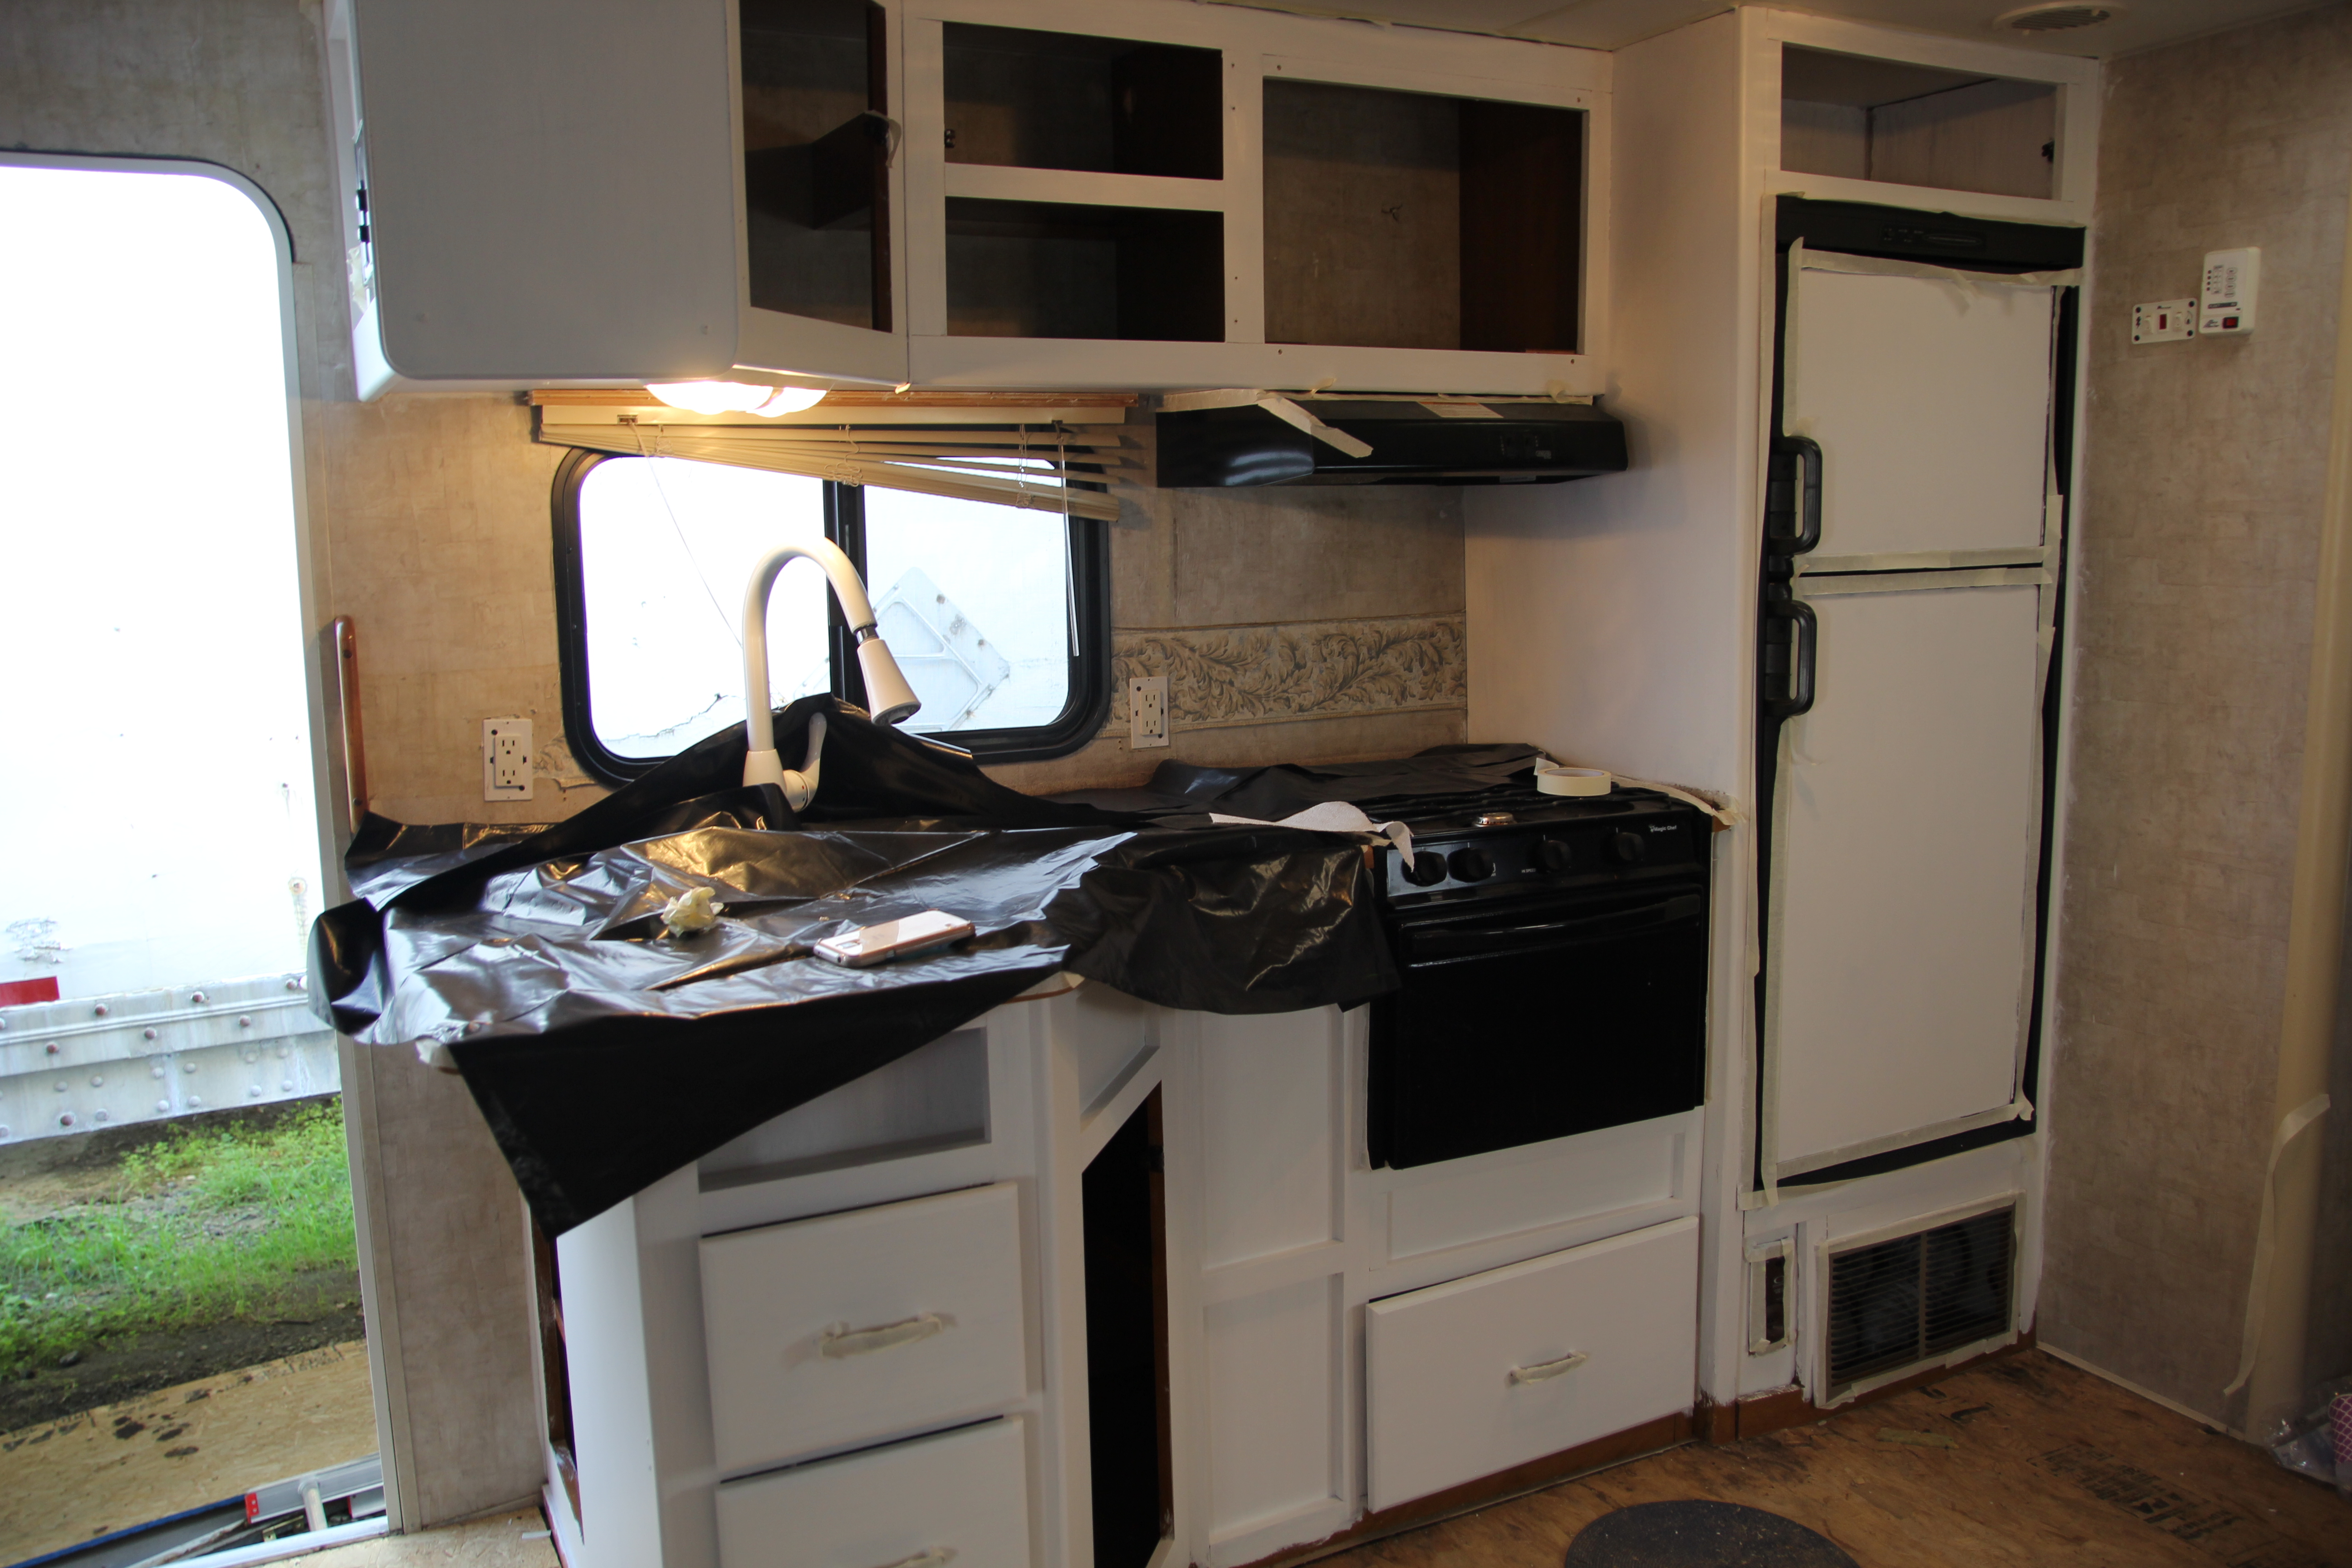
The wallpaper was NOT easy to remove at all. We tried goo gone and paint scrapers, but that stuff was just not coming off easily. There was a thin layer of plastic material behind the wallpaper that we ended up leaving (impossible to remove) and painting over. Honestly, it doesn’t look the best, but you only really notice it if you’re inspecting our walls. We removed this light on the wall later on in the reno.

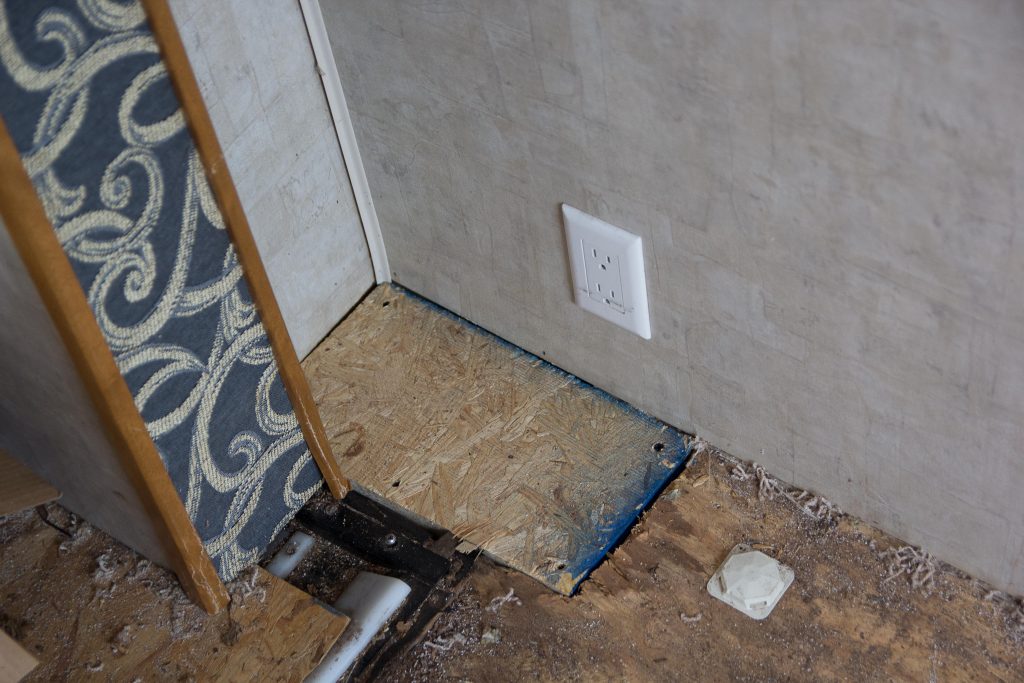
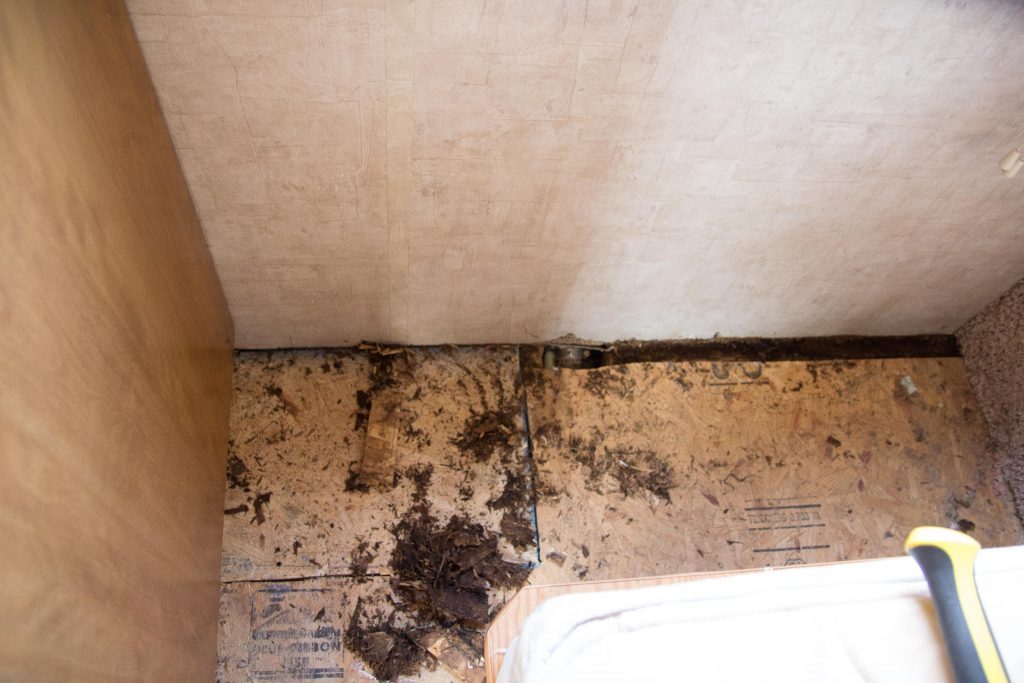
Luke repaired the spots in the floor that were rotted away due to water damage… these were the spots that had mushrooms! As you could see in the photos, he cut out the damaged floor, measured boards to fit snug into the empty spots to create a frame that he could screw plywood to, and fit that under the wall! It looks perfectly normal now that the luan board and vinyl flooring has been placed on top of it.
Stay tuned for our next installment of the Camper Chronicles!
Read More: Part 1 | Part 2 | Part 3 | Part 4 | Part 5 | Part 6 | Part 7| Part 8 | Part 9 | Part 10 | Before & After