Hey! Welcome back to the Camper Chronicles! It’s time for the pretty part… painting!! This was a job that Tawny was able to do, and it took forever! You wouldn’t think that such a small space would take so long to paint… but it did! It’s very difficult to paint in all the nooks and crannies of the space, especially when you’re doing it on the cheap with crappy brushes, haha.
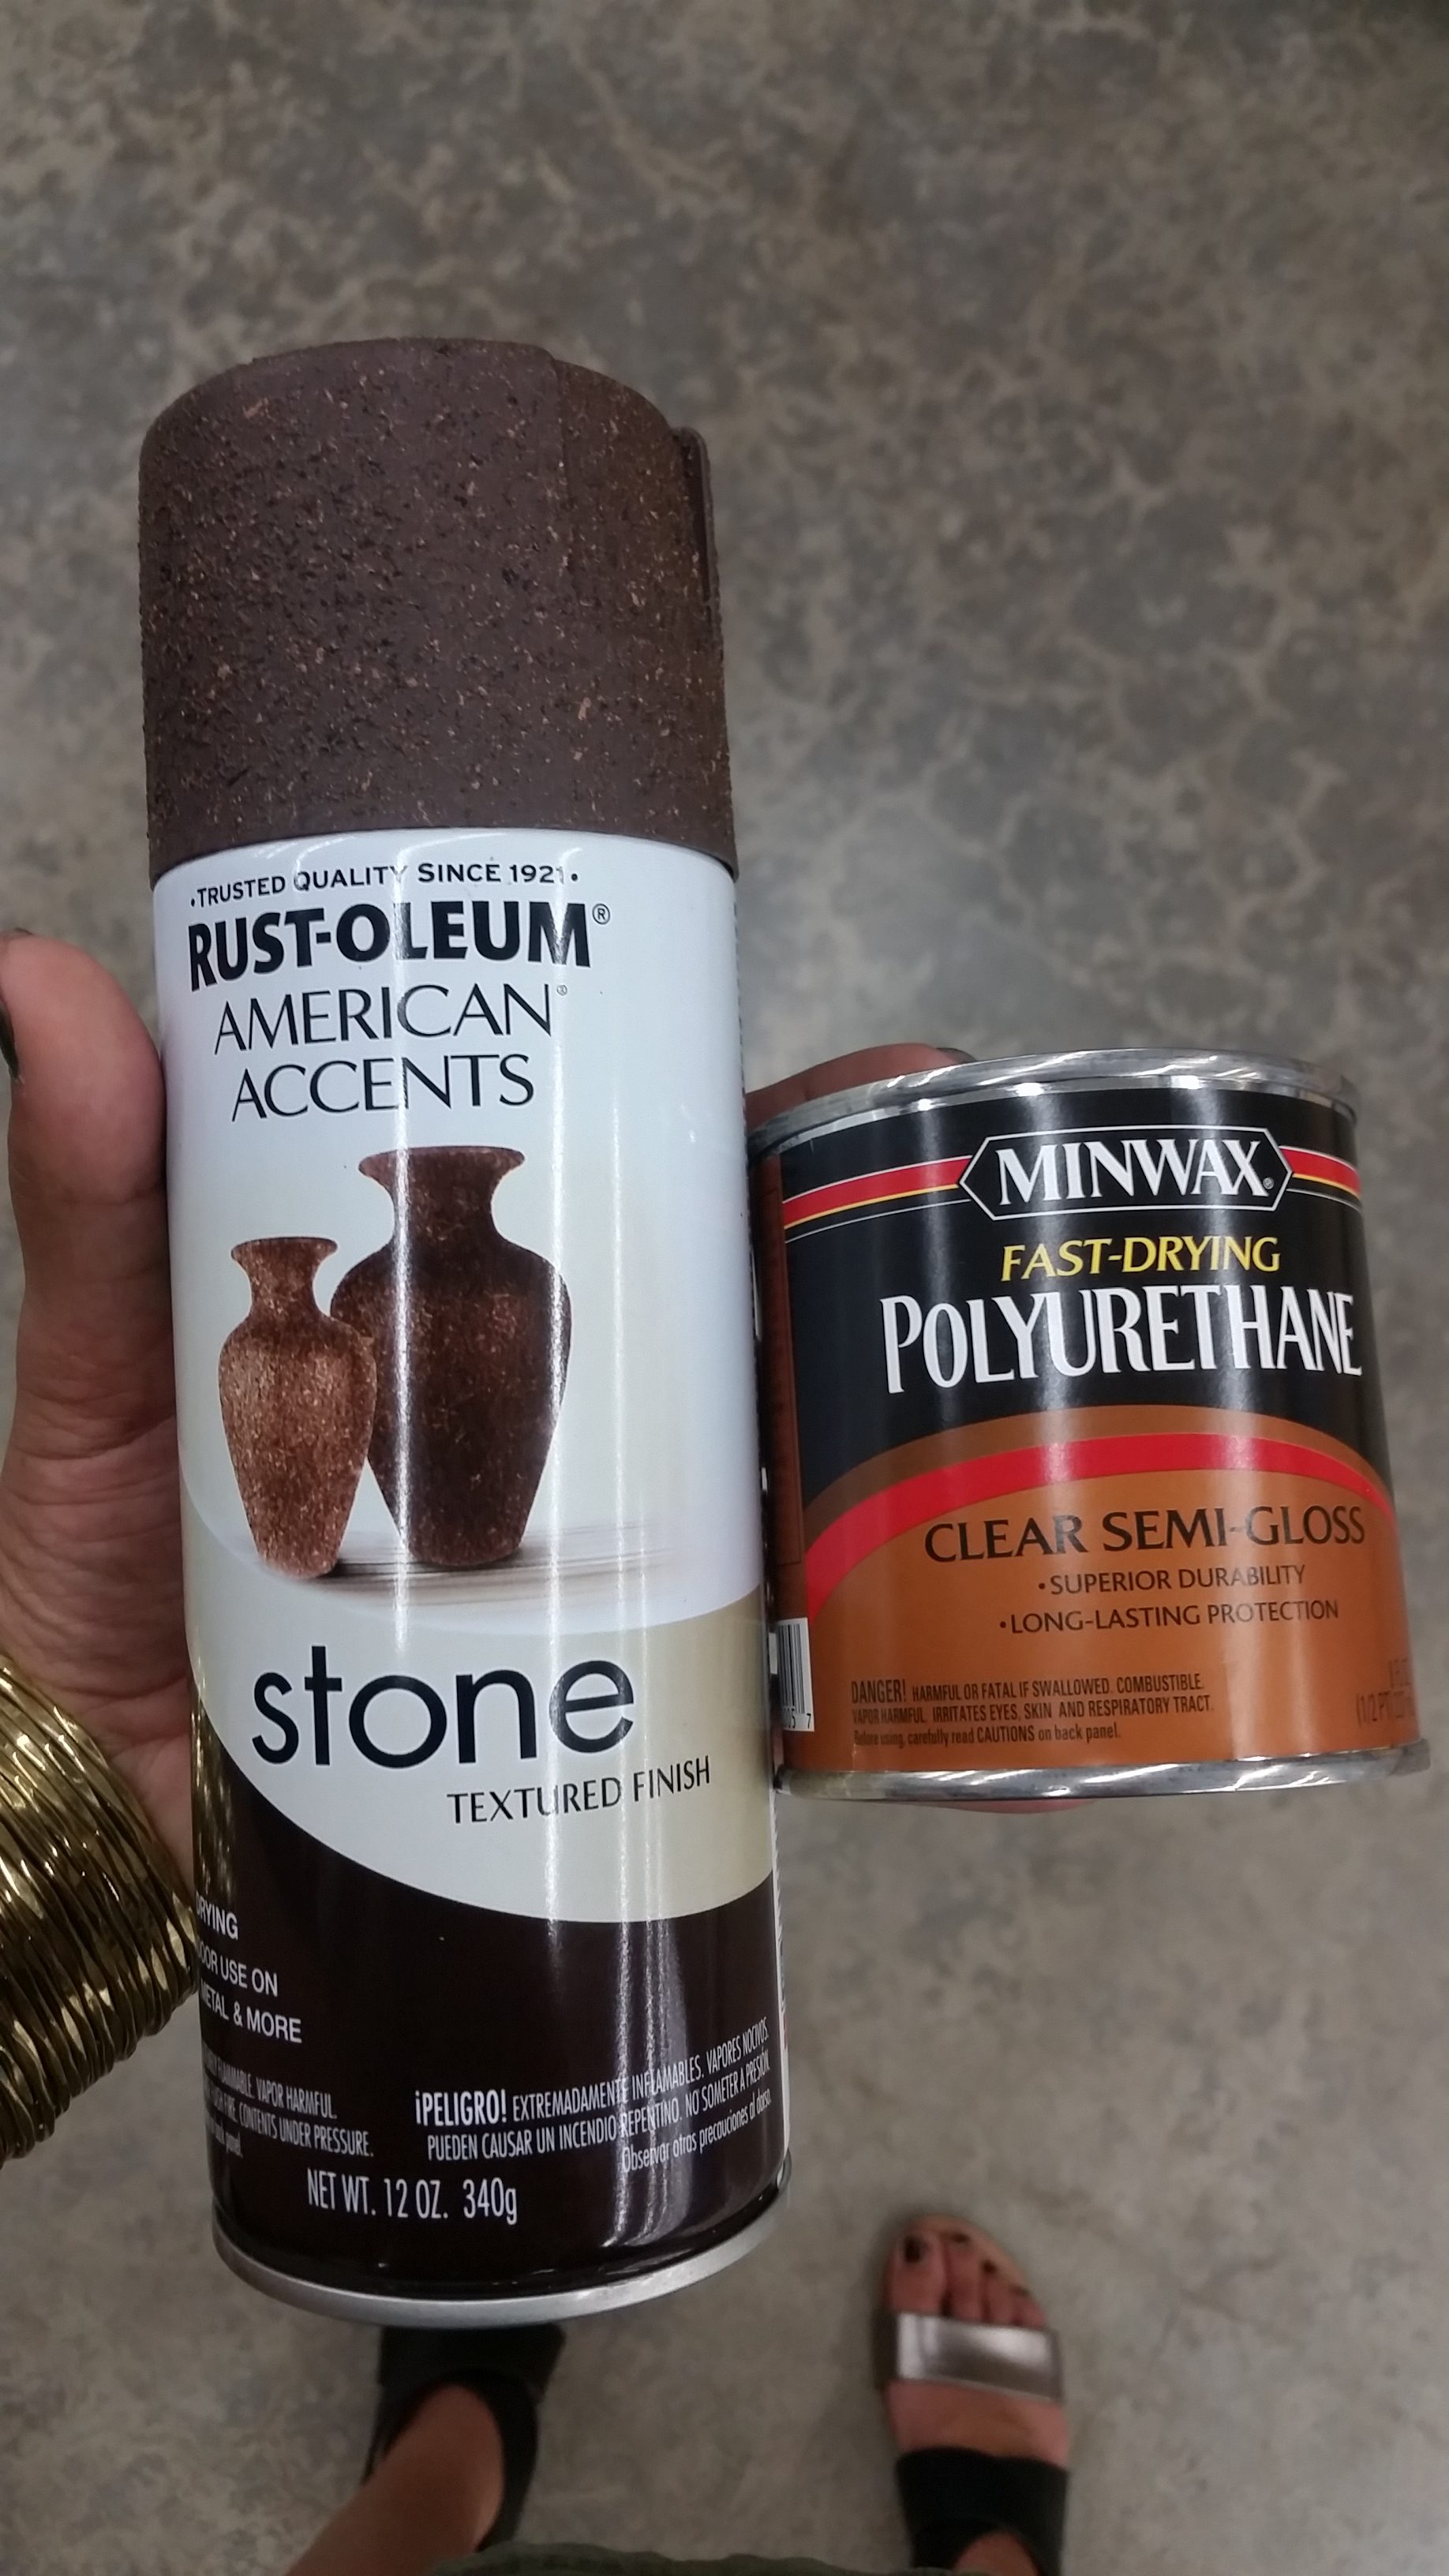
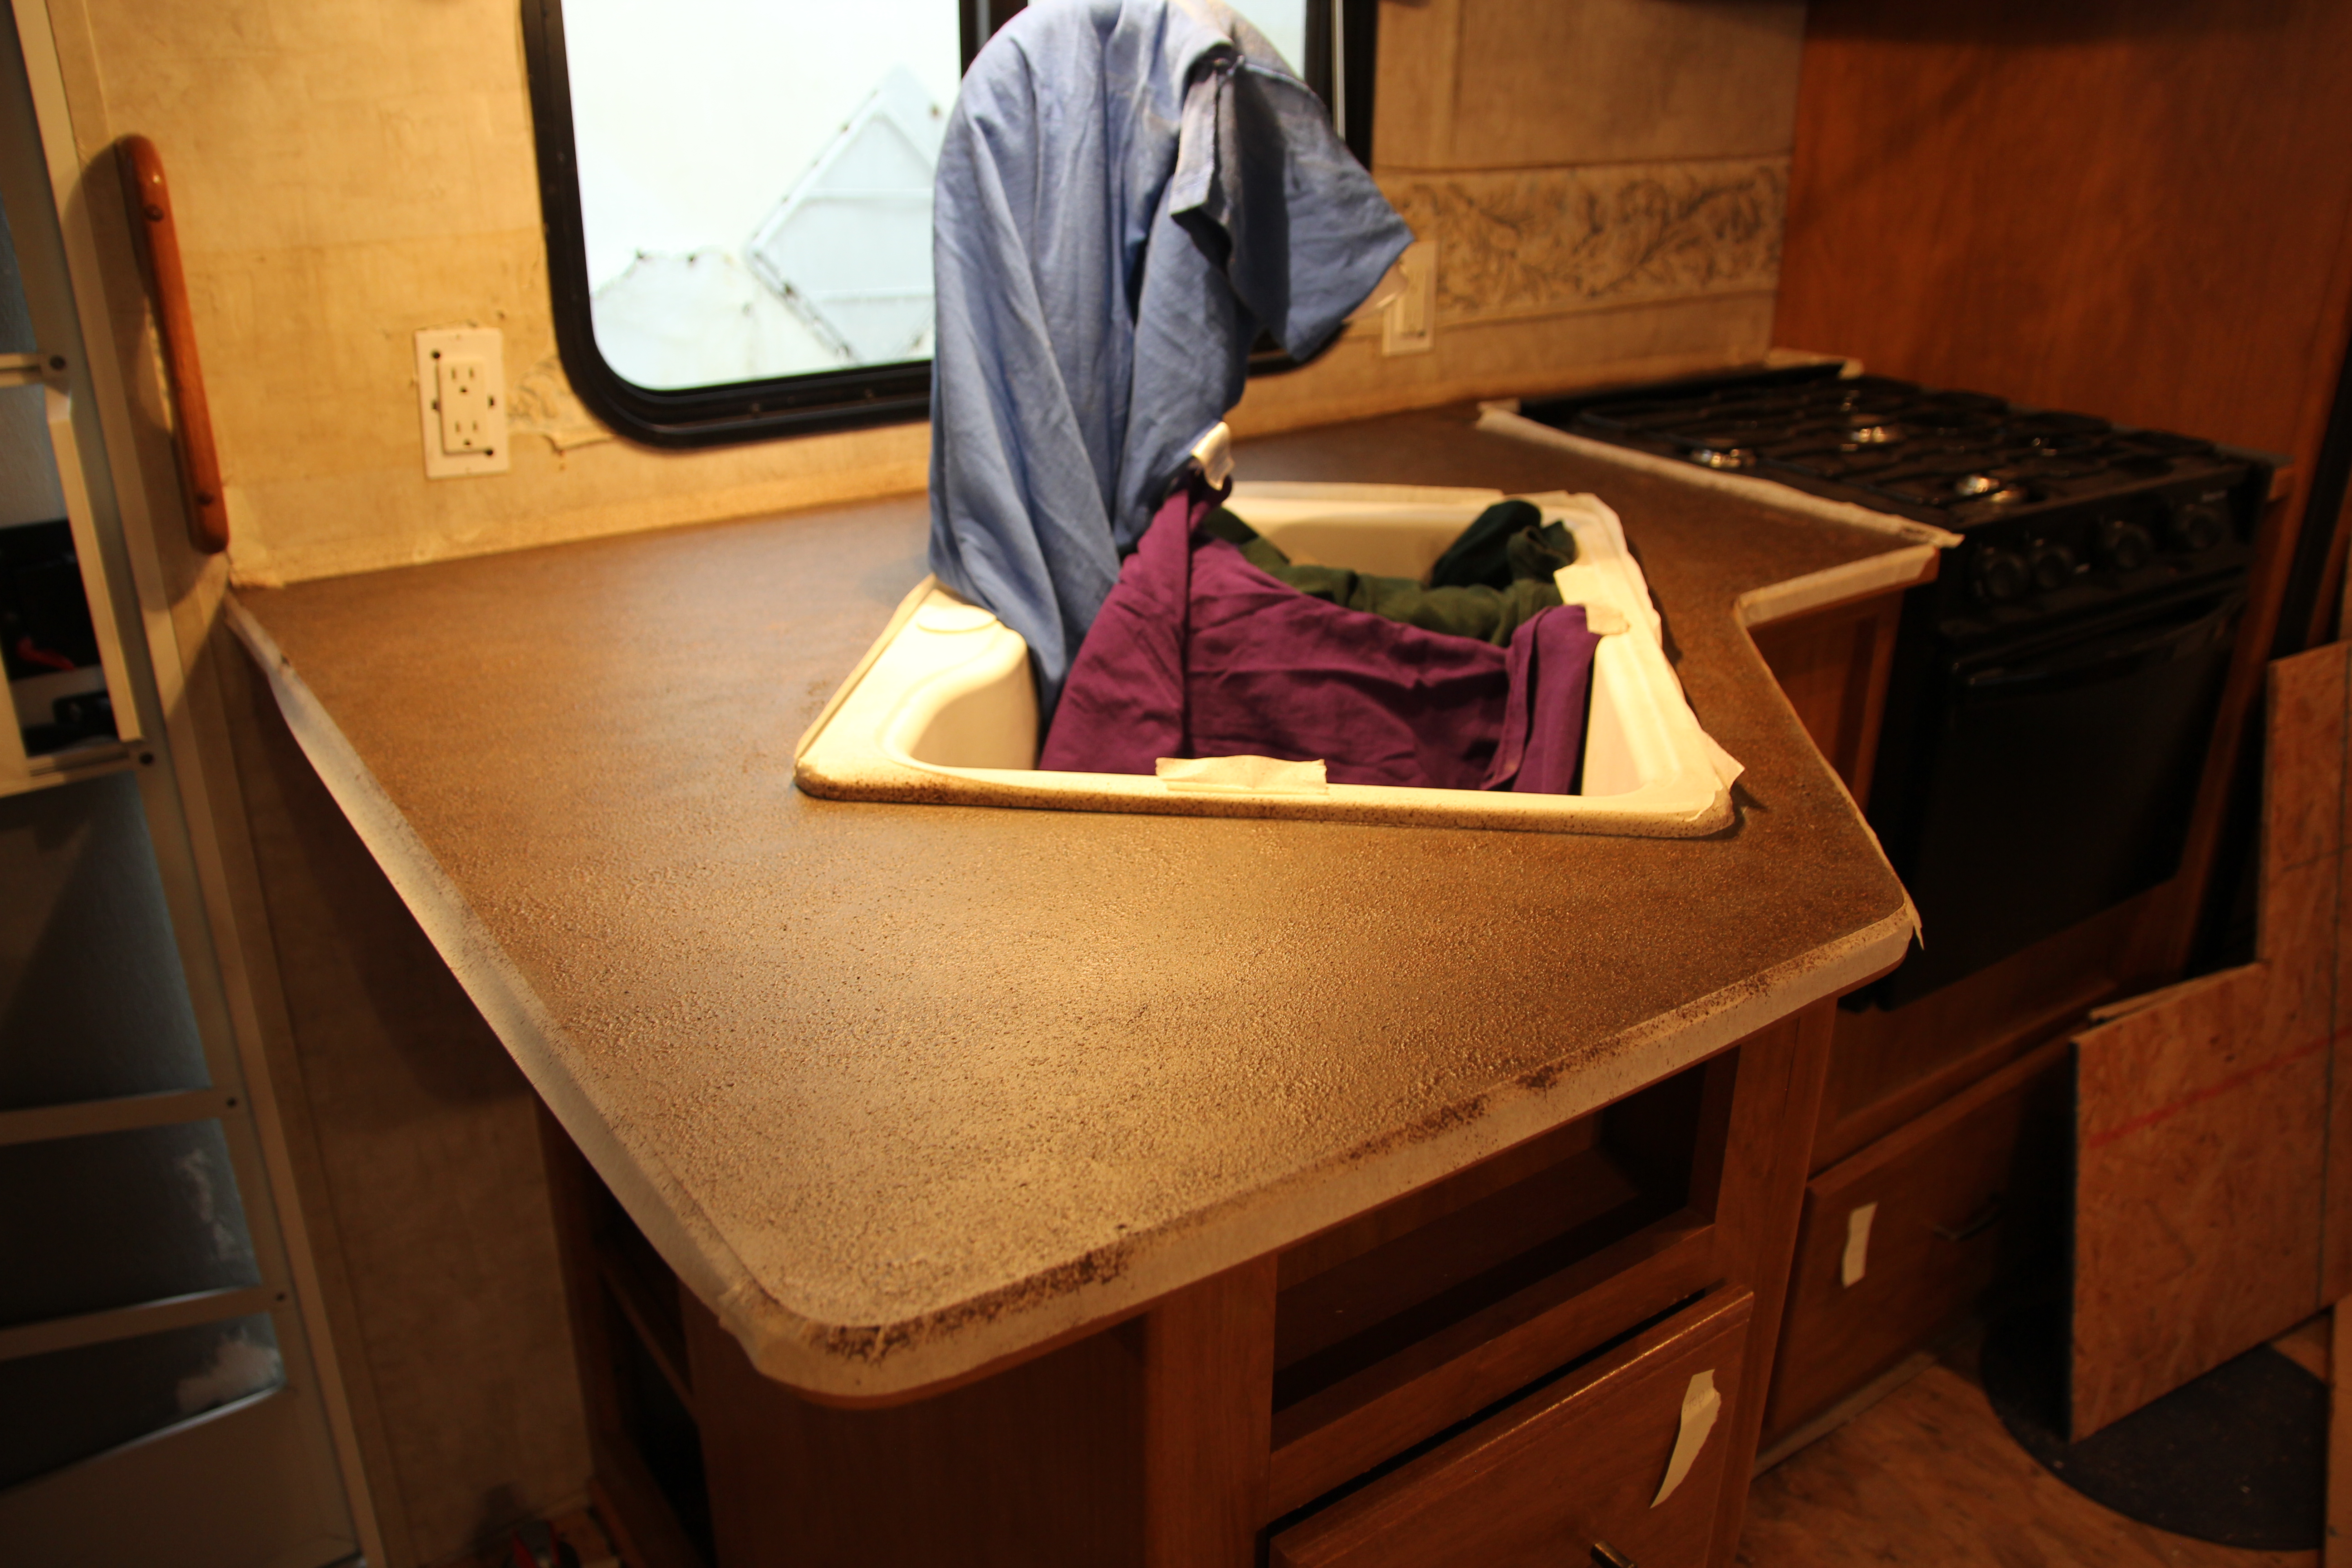
We used a Pinterest hack to refinish our kitchen counters for cheap as well! It took two cans of the Rust-oleum to cover the counterspace, and then 6 coats of the Polyurethane.
I used old t-shirts to put into the sink to protect it. I also taped up the edges since the spray paint really liked to splatter! I made sure to do this before I painted because I knew it would make a mess.
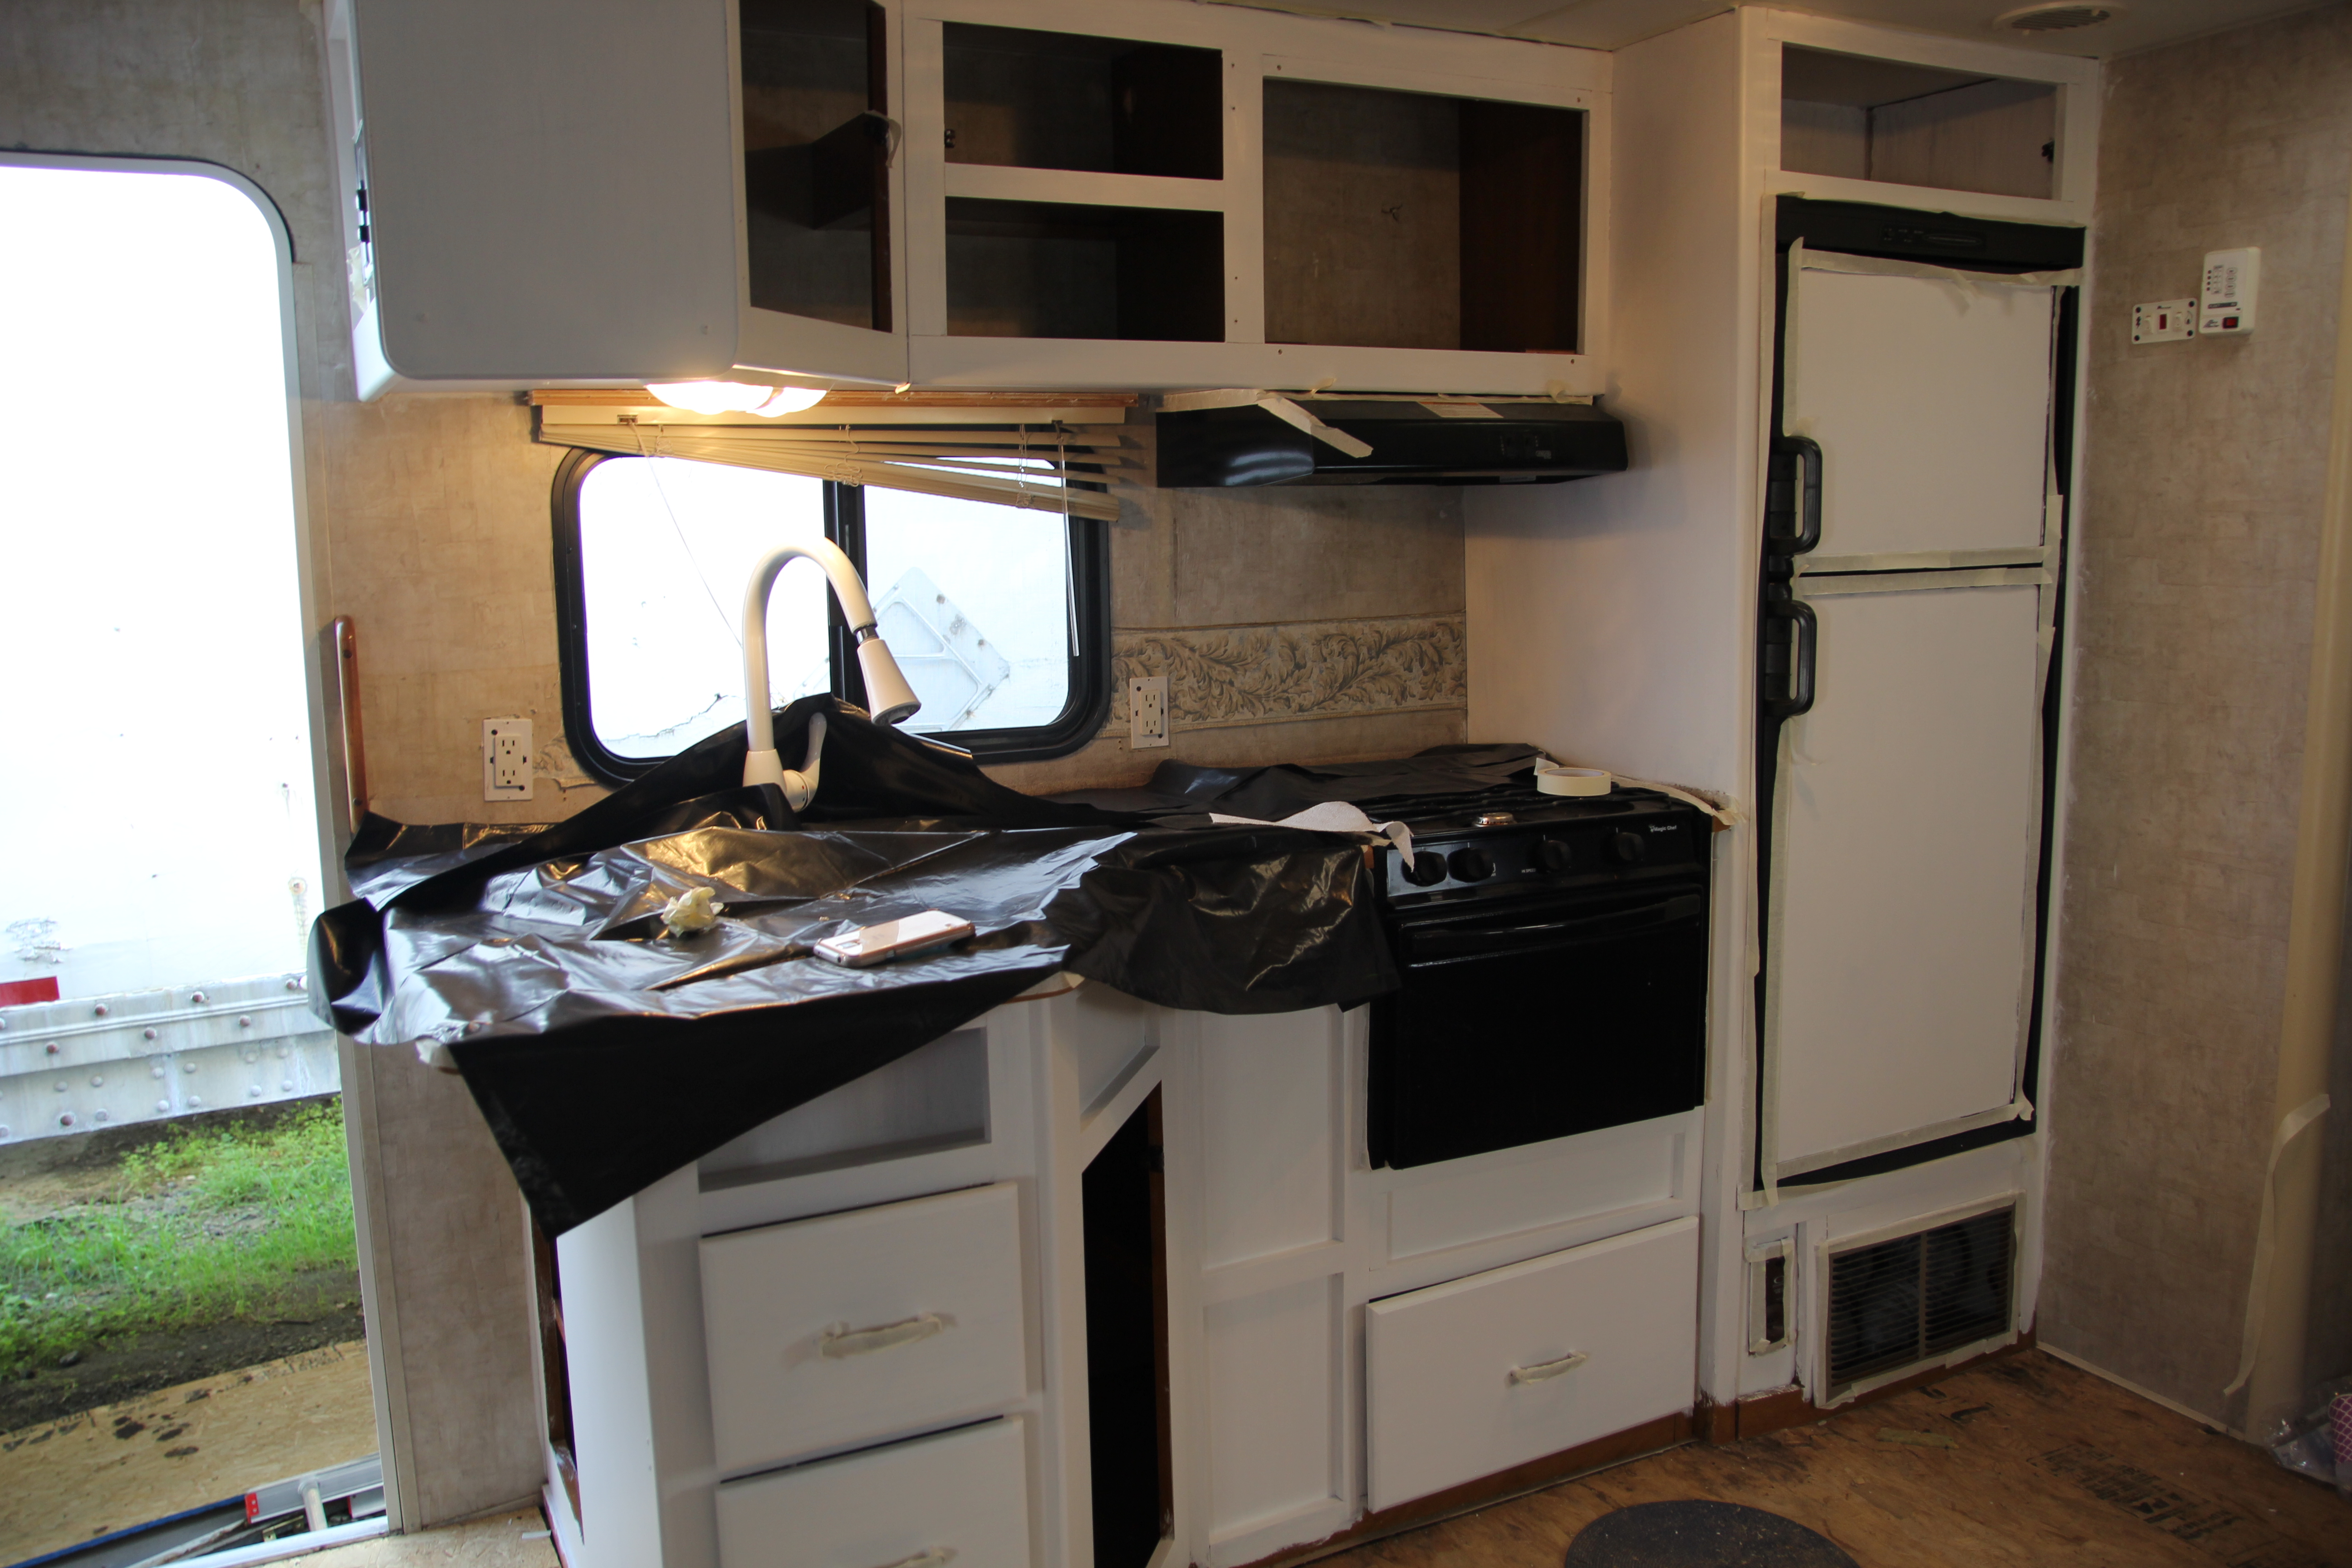
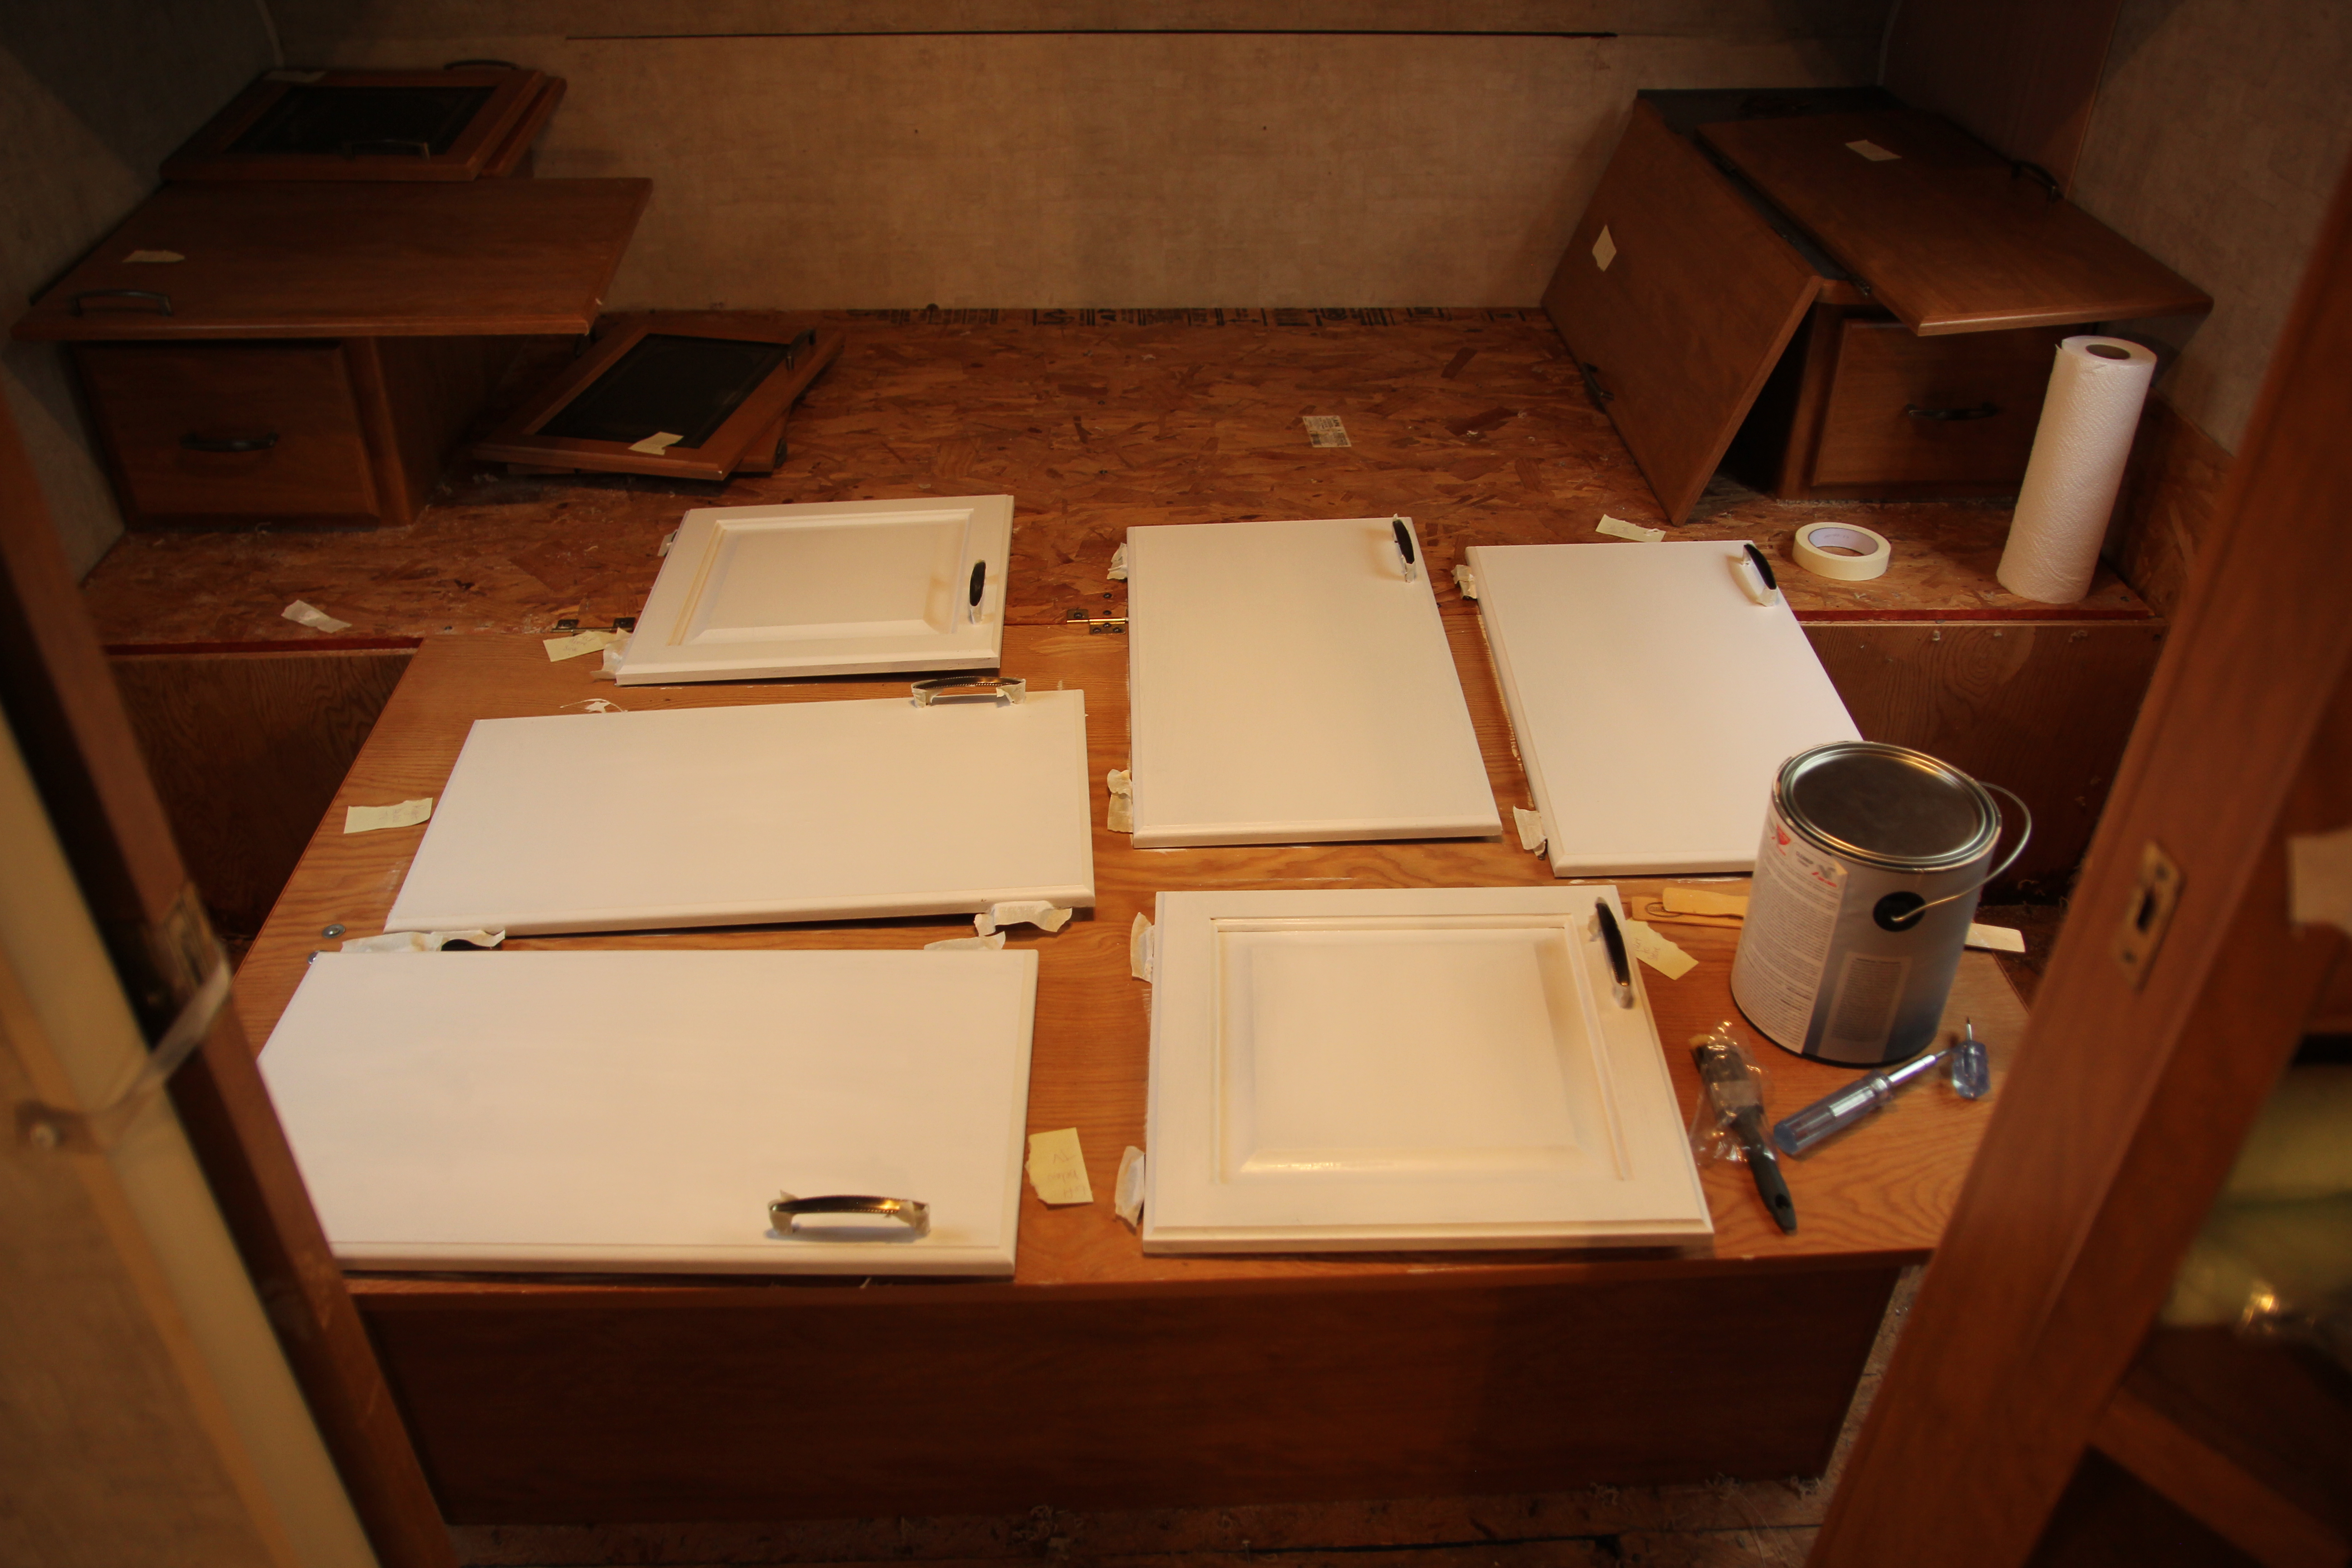
I removed all the cabinet doors to make the painting process a little easier. I didn’t remove the handles, but I definitely should have. Taping them up and painting around them was pretty annoying. Probably more annoying than it would have been if I had just taken them off and put them back on at the end.
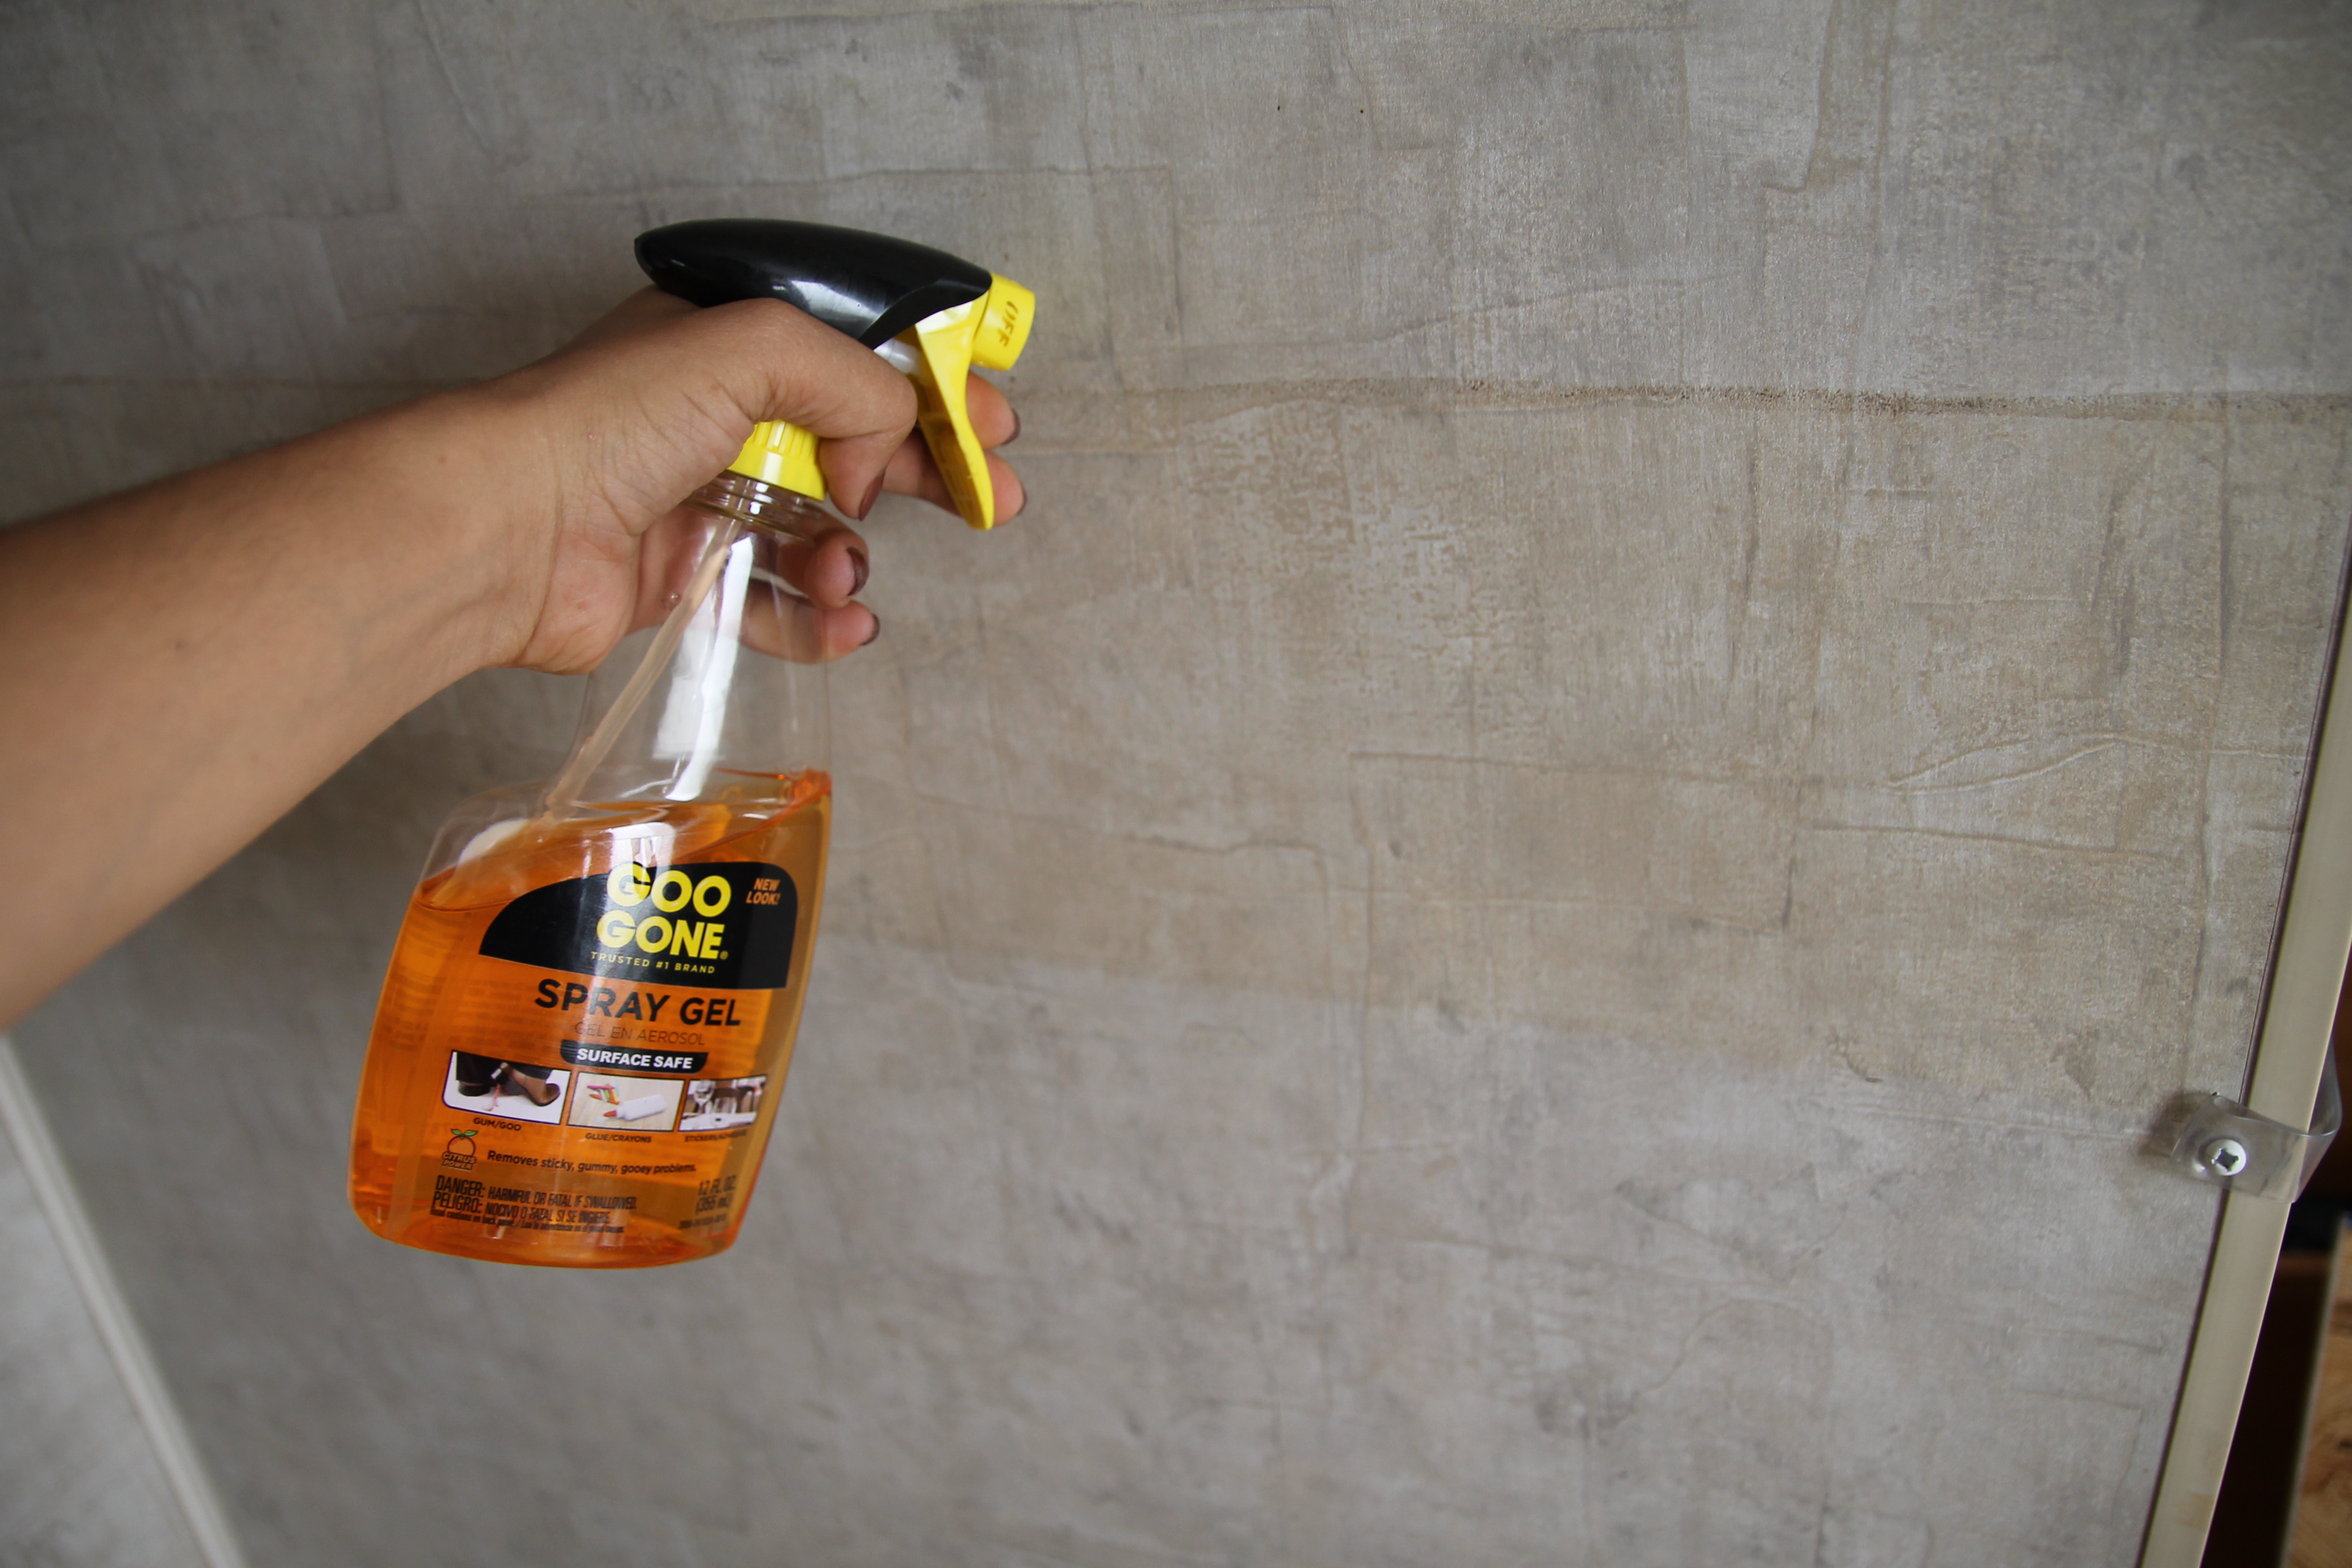
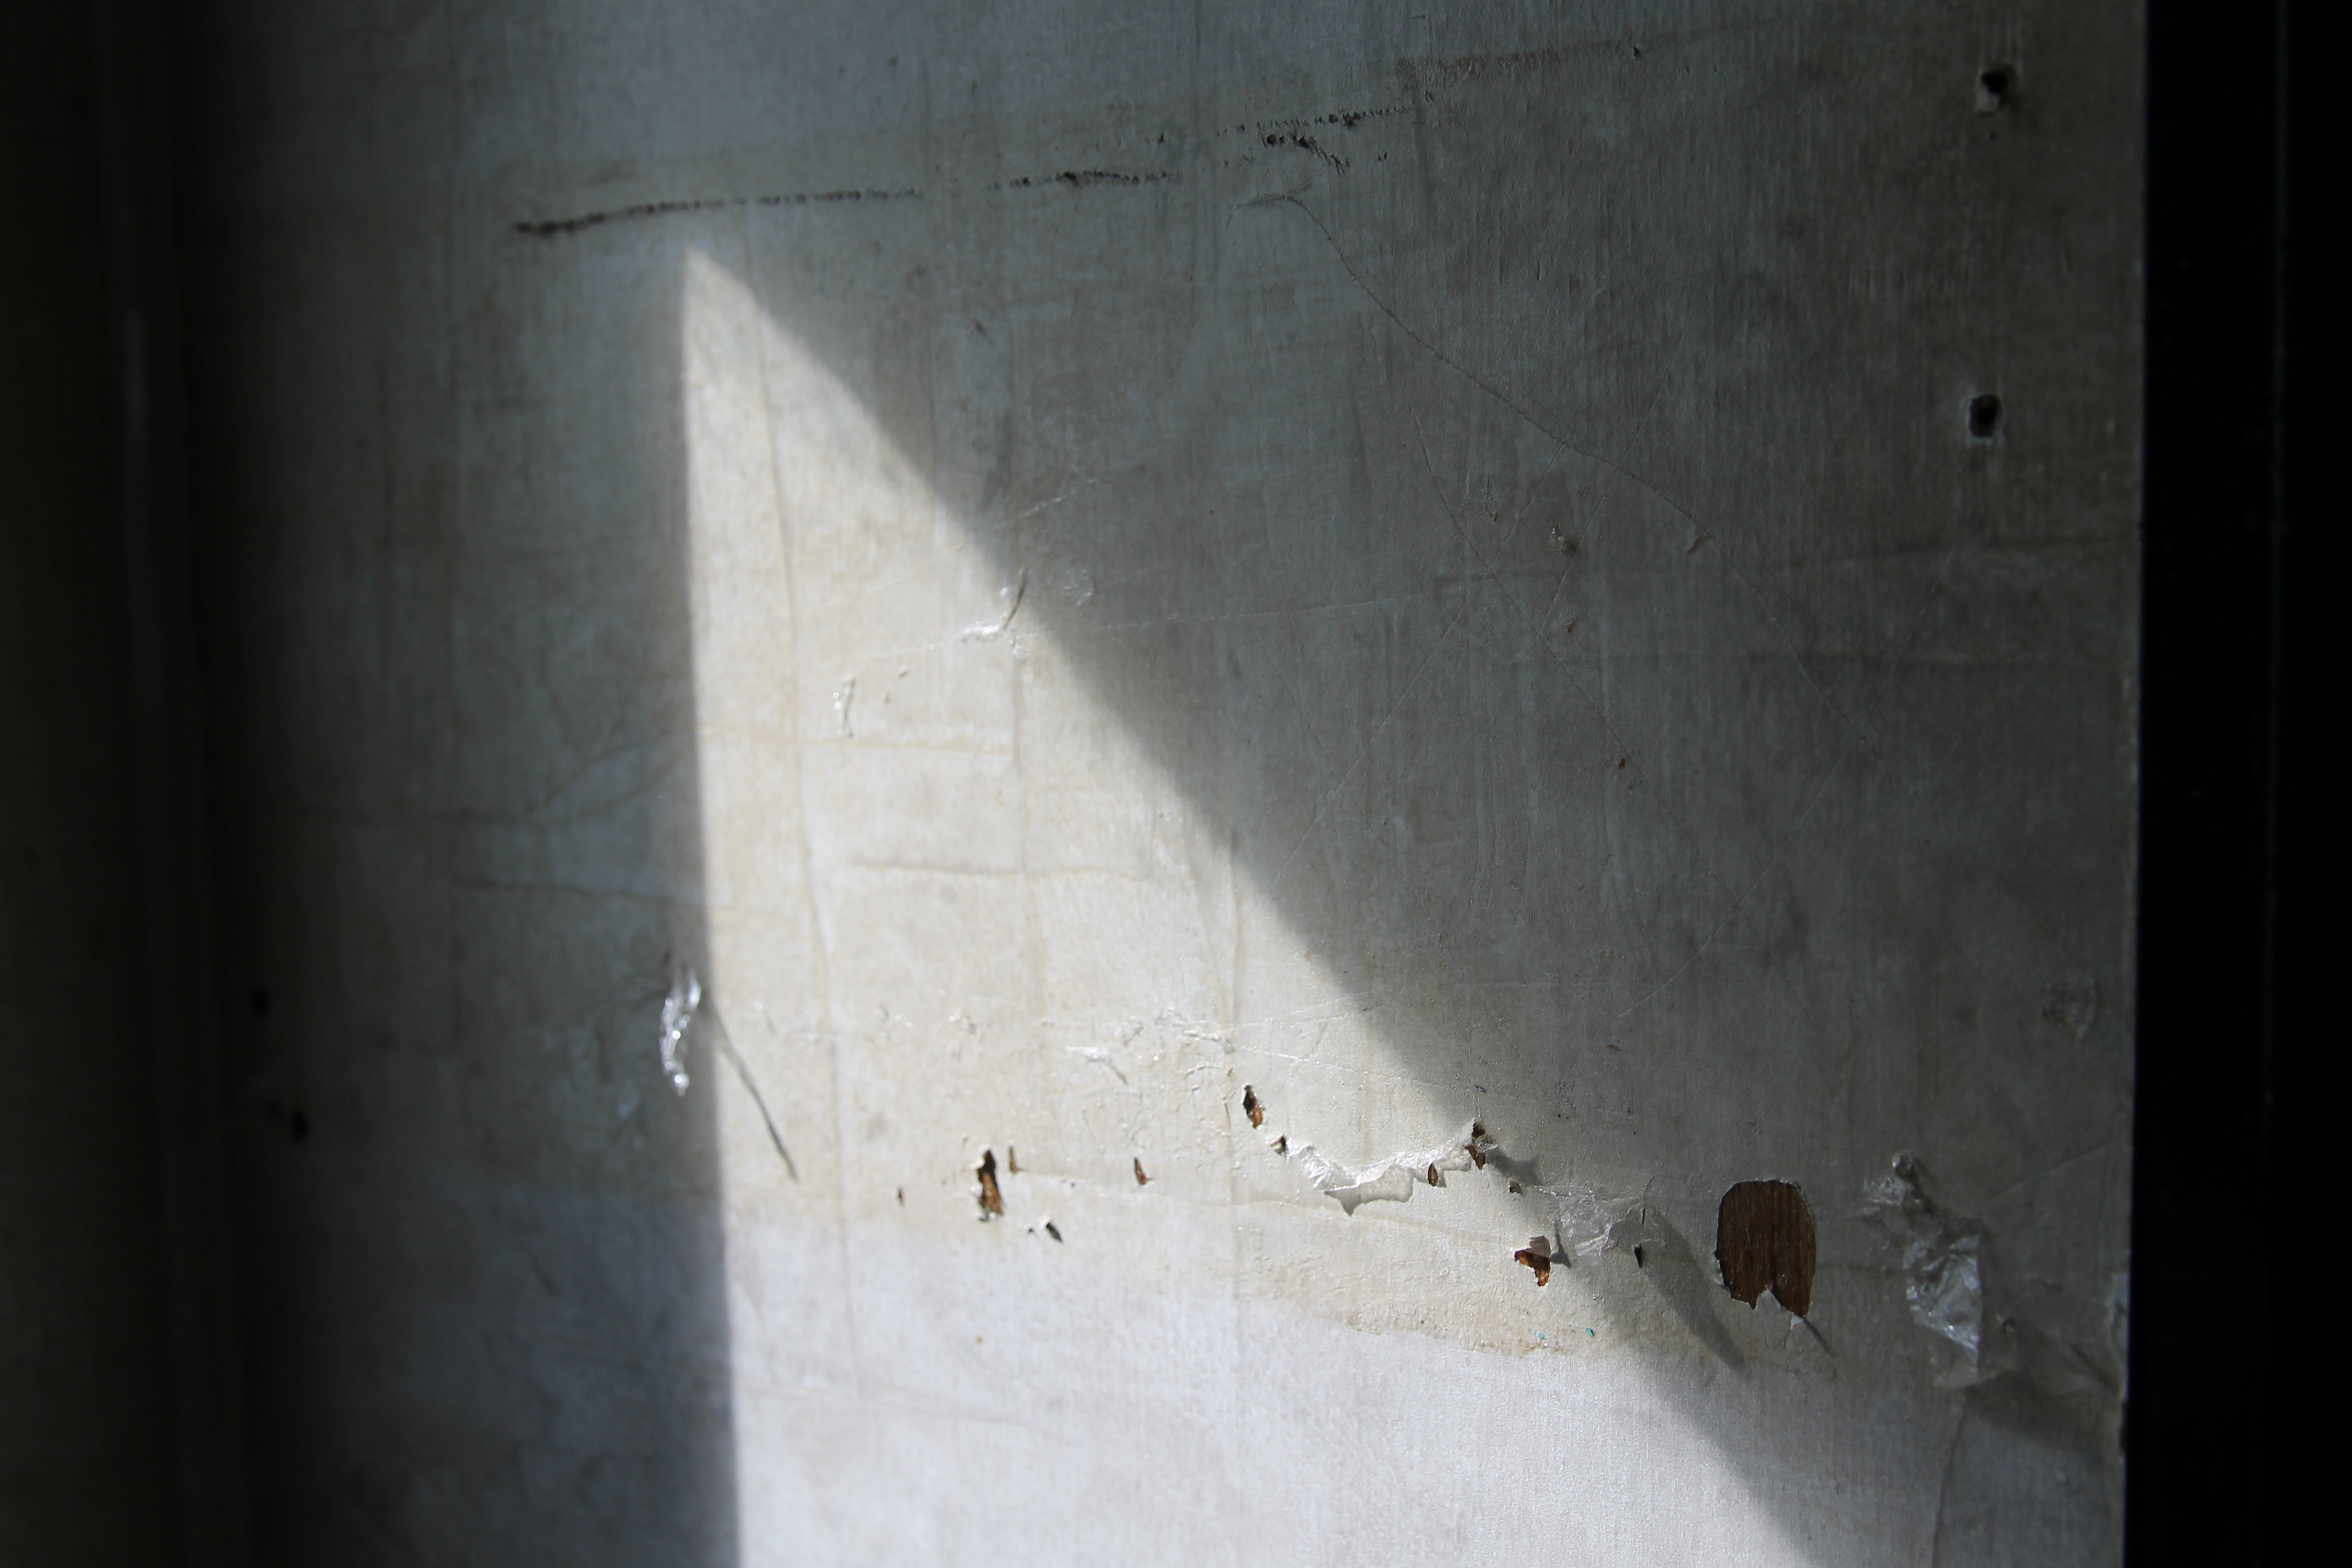
There was a random wallpaper border going around the entire house, which I peeled off. The glue they used was very stubborn, so I did my best to use a scraper and Goo Gone to get it off. It wasn’t perfect, but I worked for hours on it!
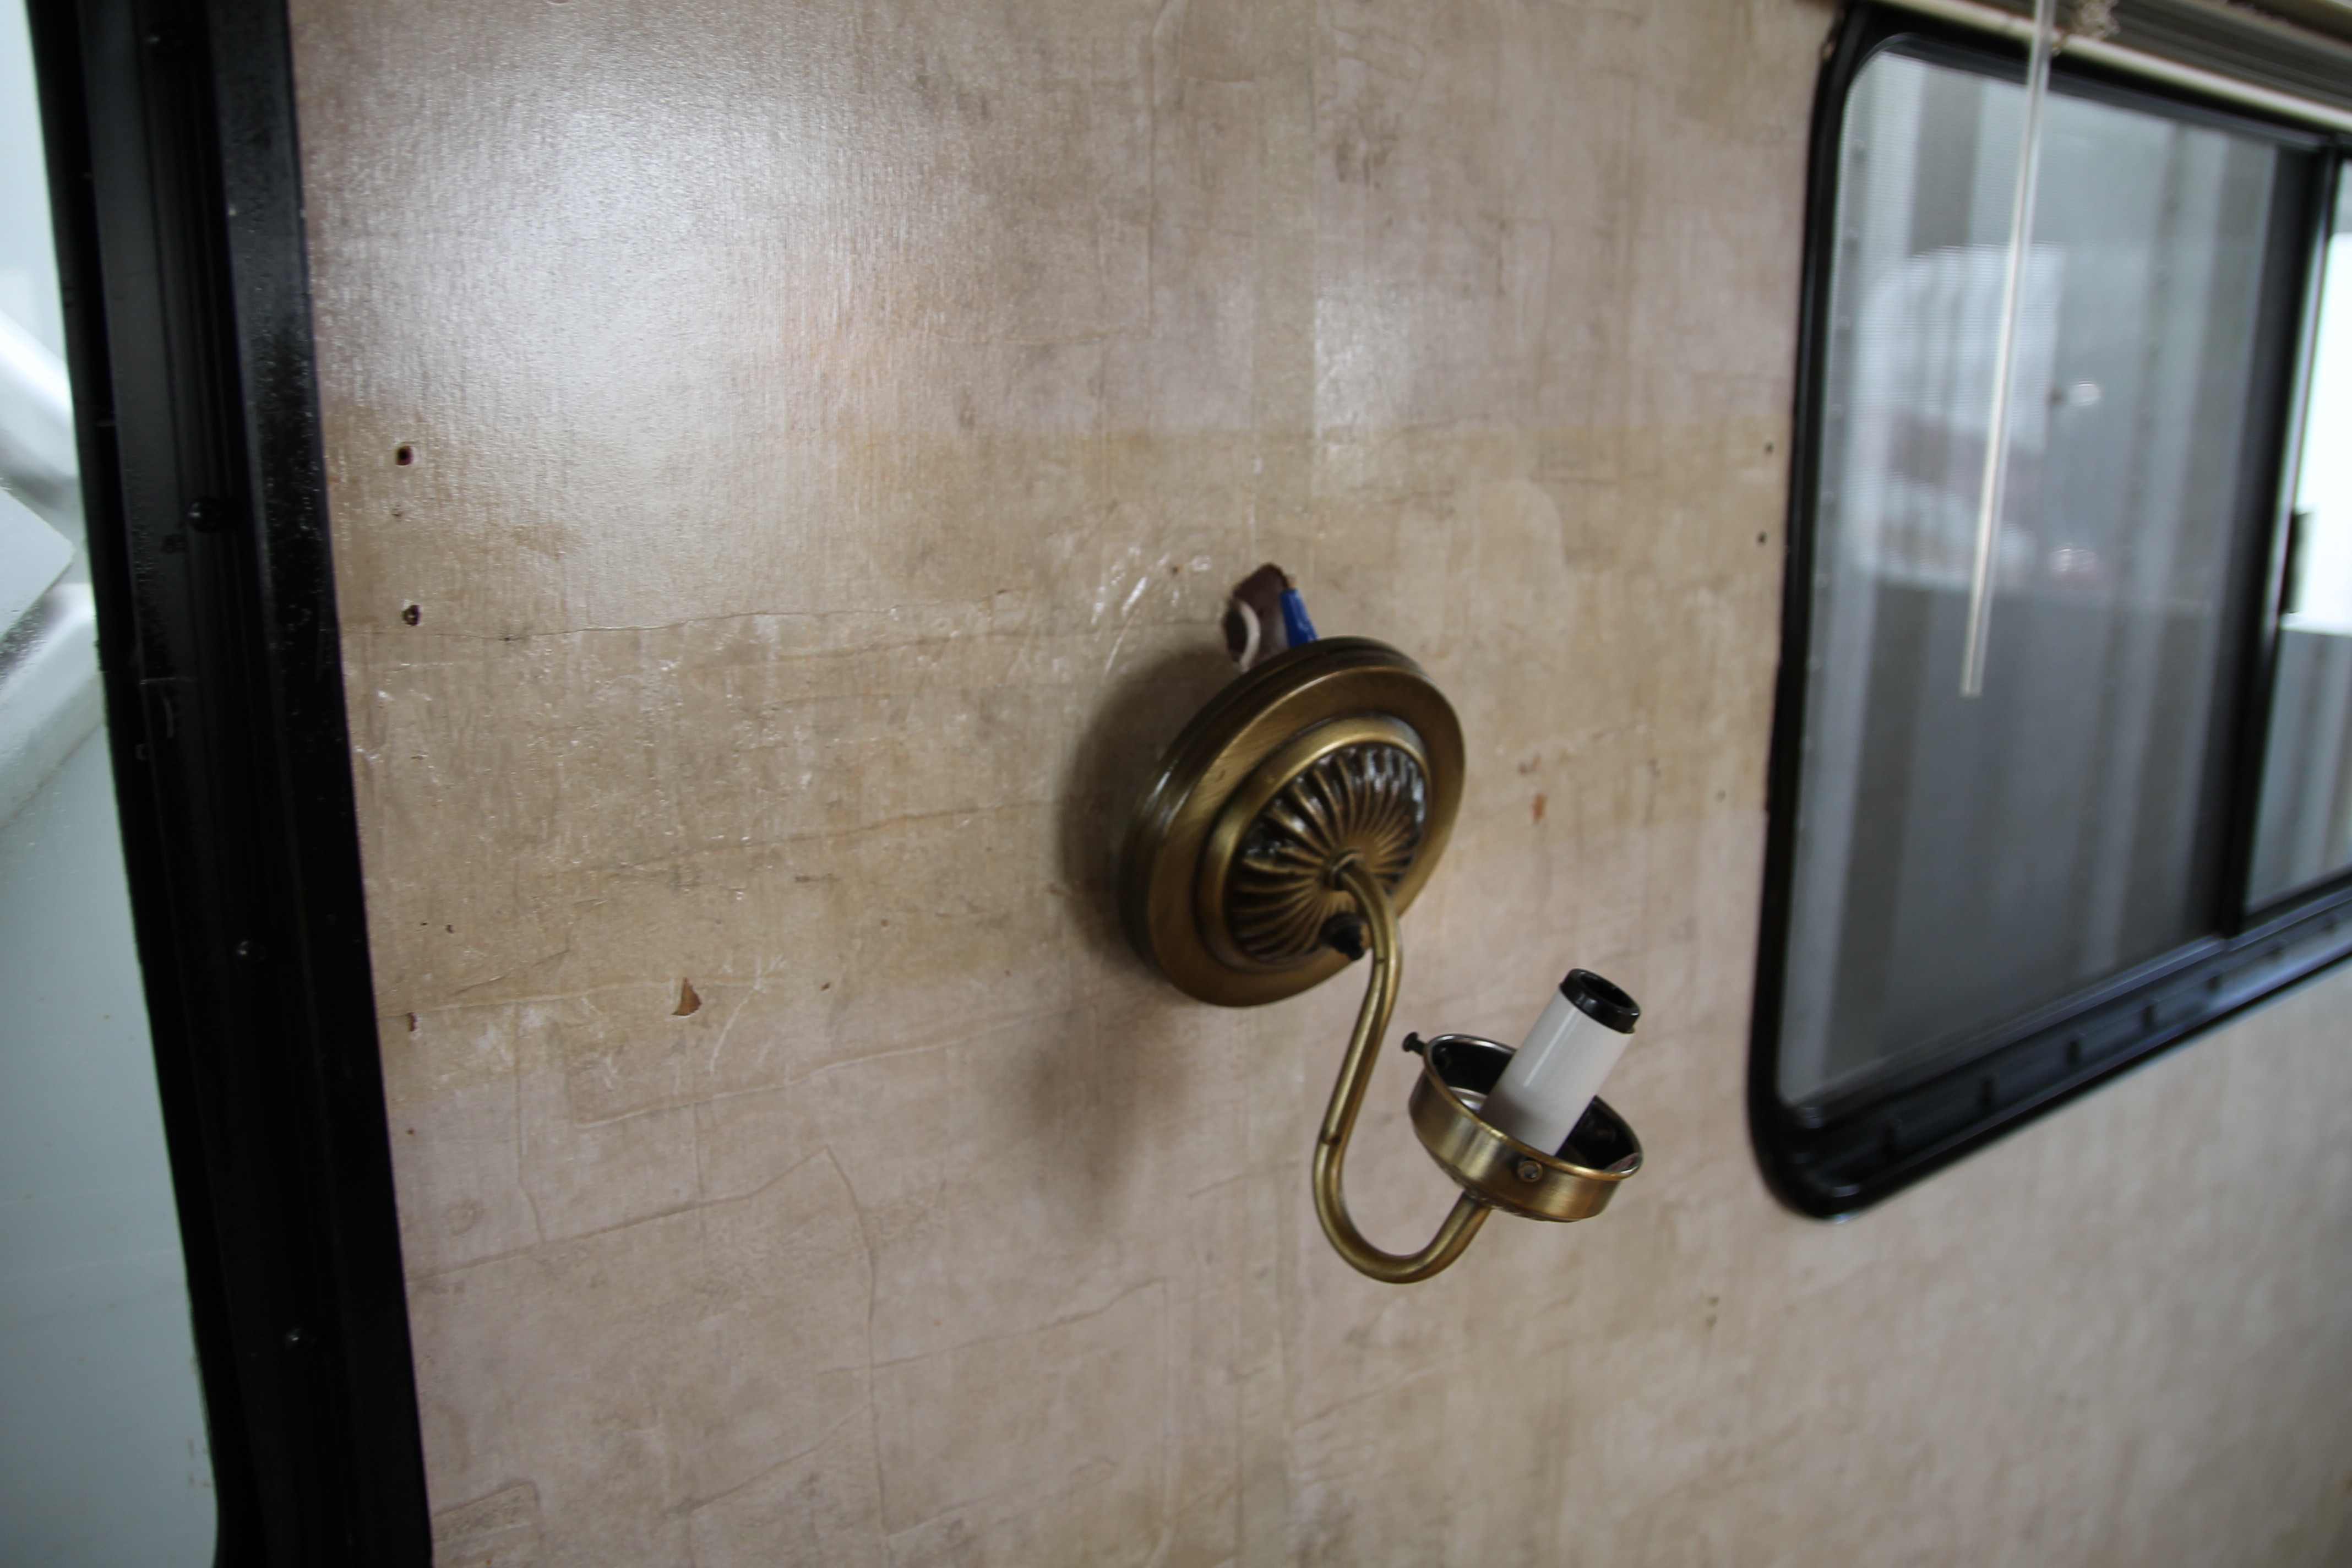
 We ended up taking this light fixture down and capping the wires, and we covered it with a picture. It was such a random place for a light fixture, and it took up precious wall space that I wanted to use for decor! Also, with the way we ended up laying out the seating, you would have bumped your head on it constantly.
Here is where you can see that I worked so hard to get the glue and thin paper off of where the wallpaper was, but the glue was actually so strong that I ended up ripping some holes through the other wallpaper! Ugh. I ended up painting over it anyway because it was annoying me so much. If you look closely you can still see it, but overall it’s not too noticeable.
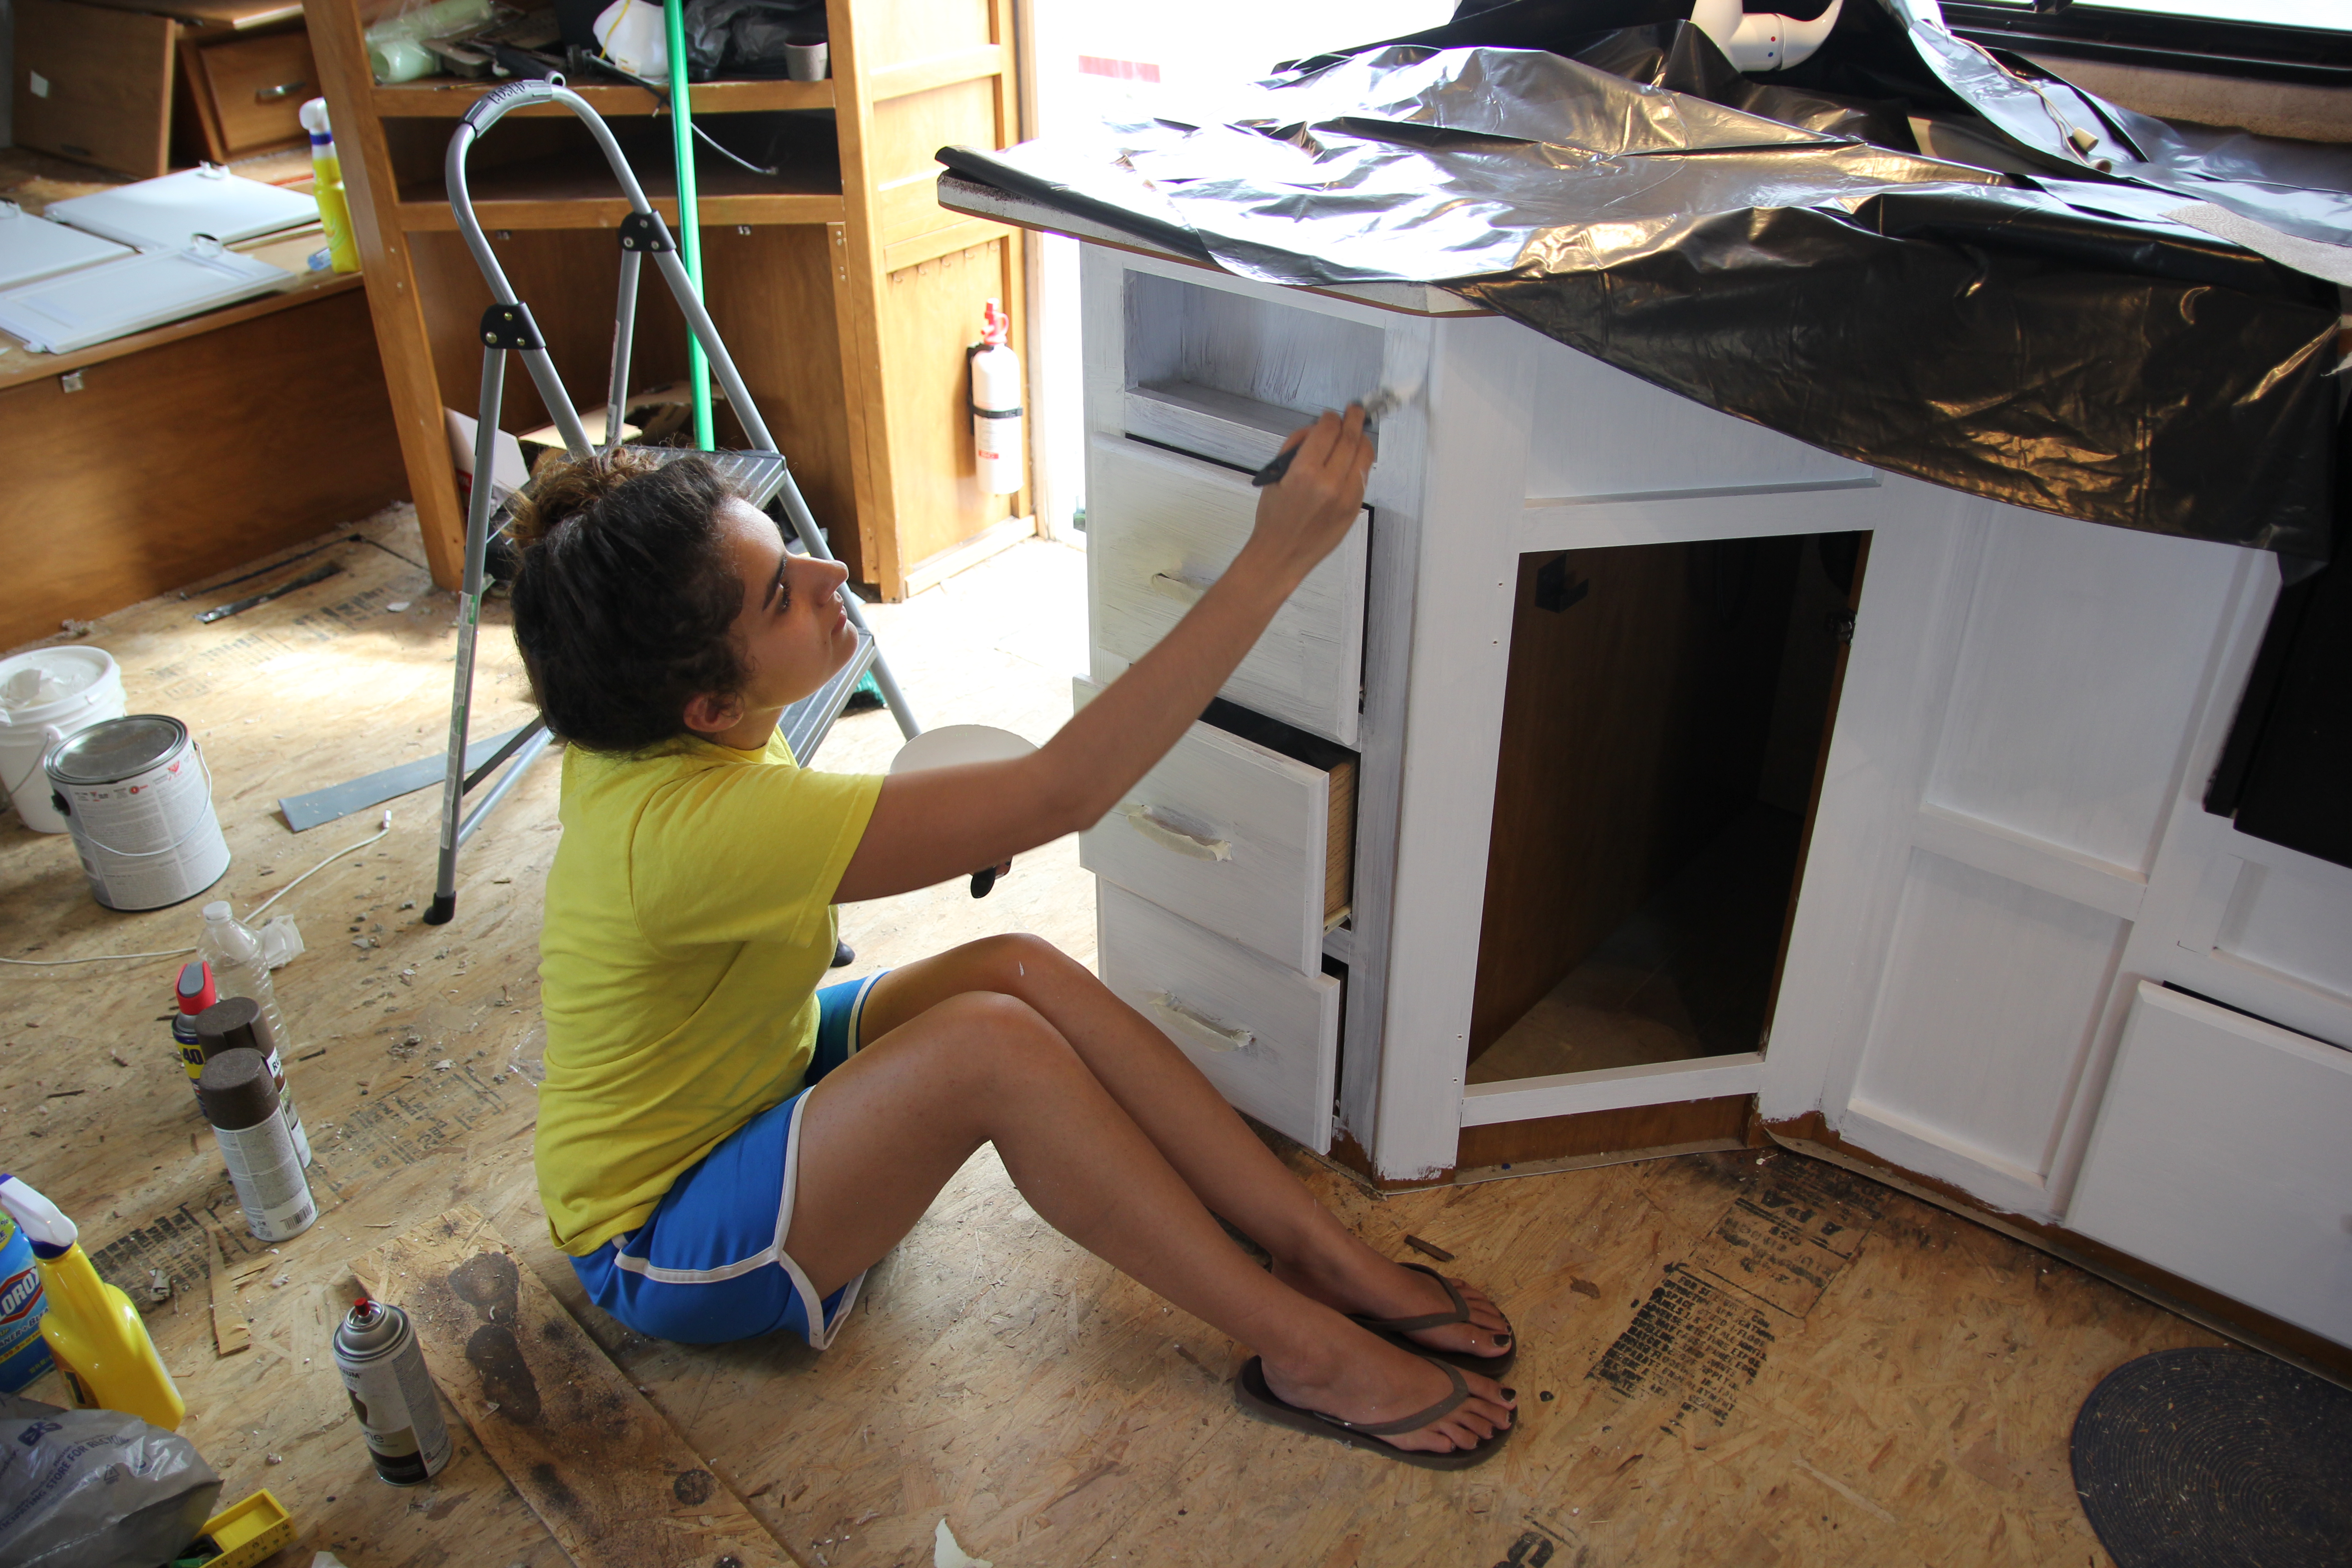
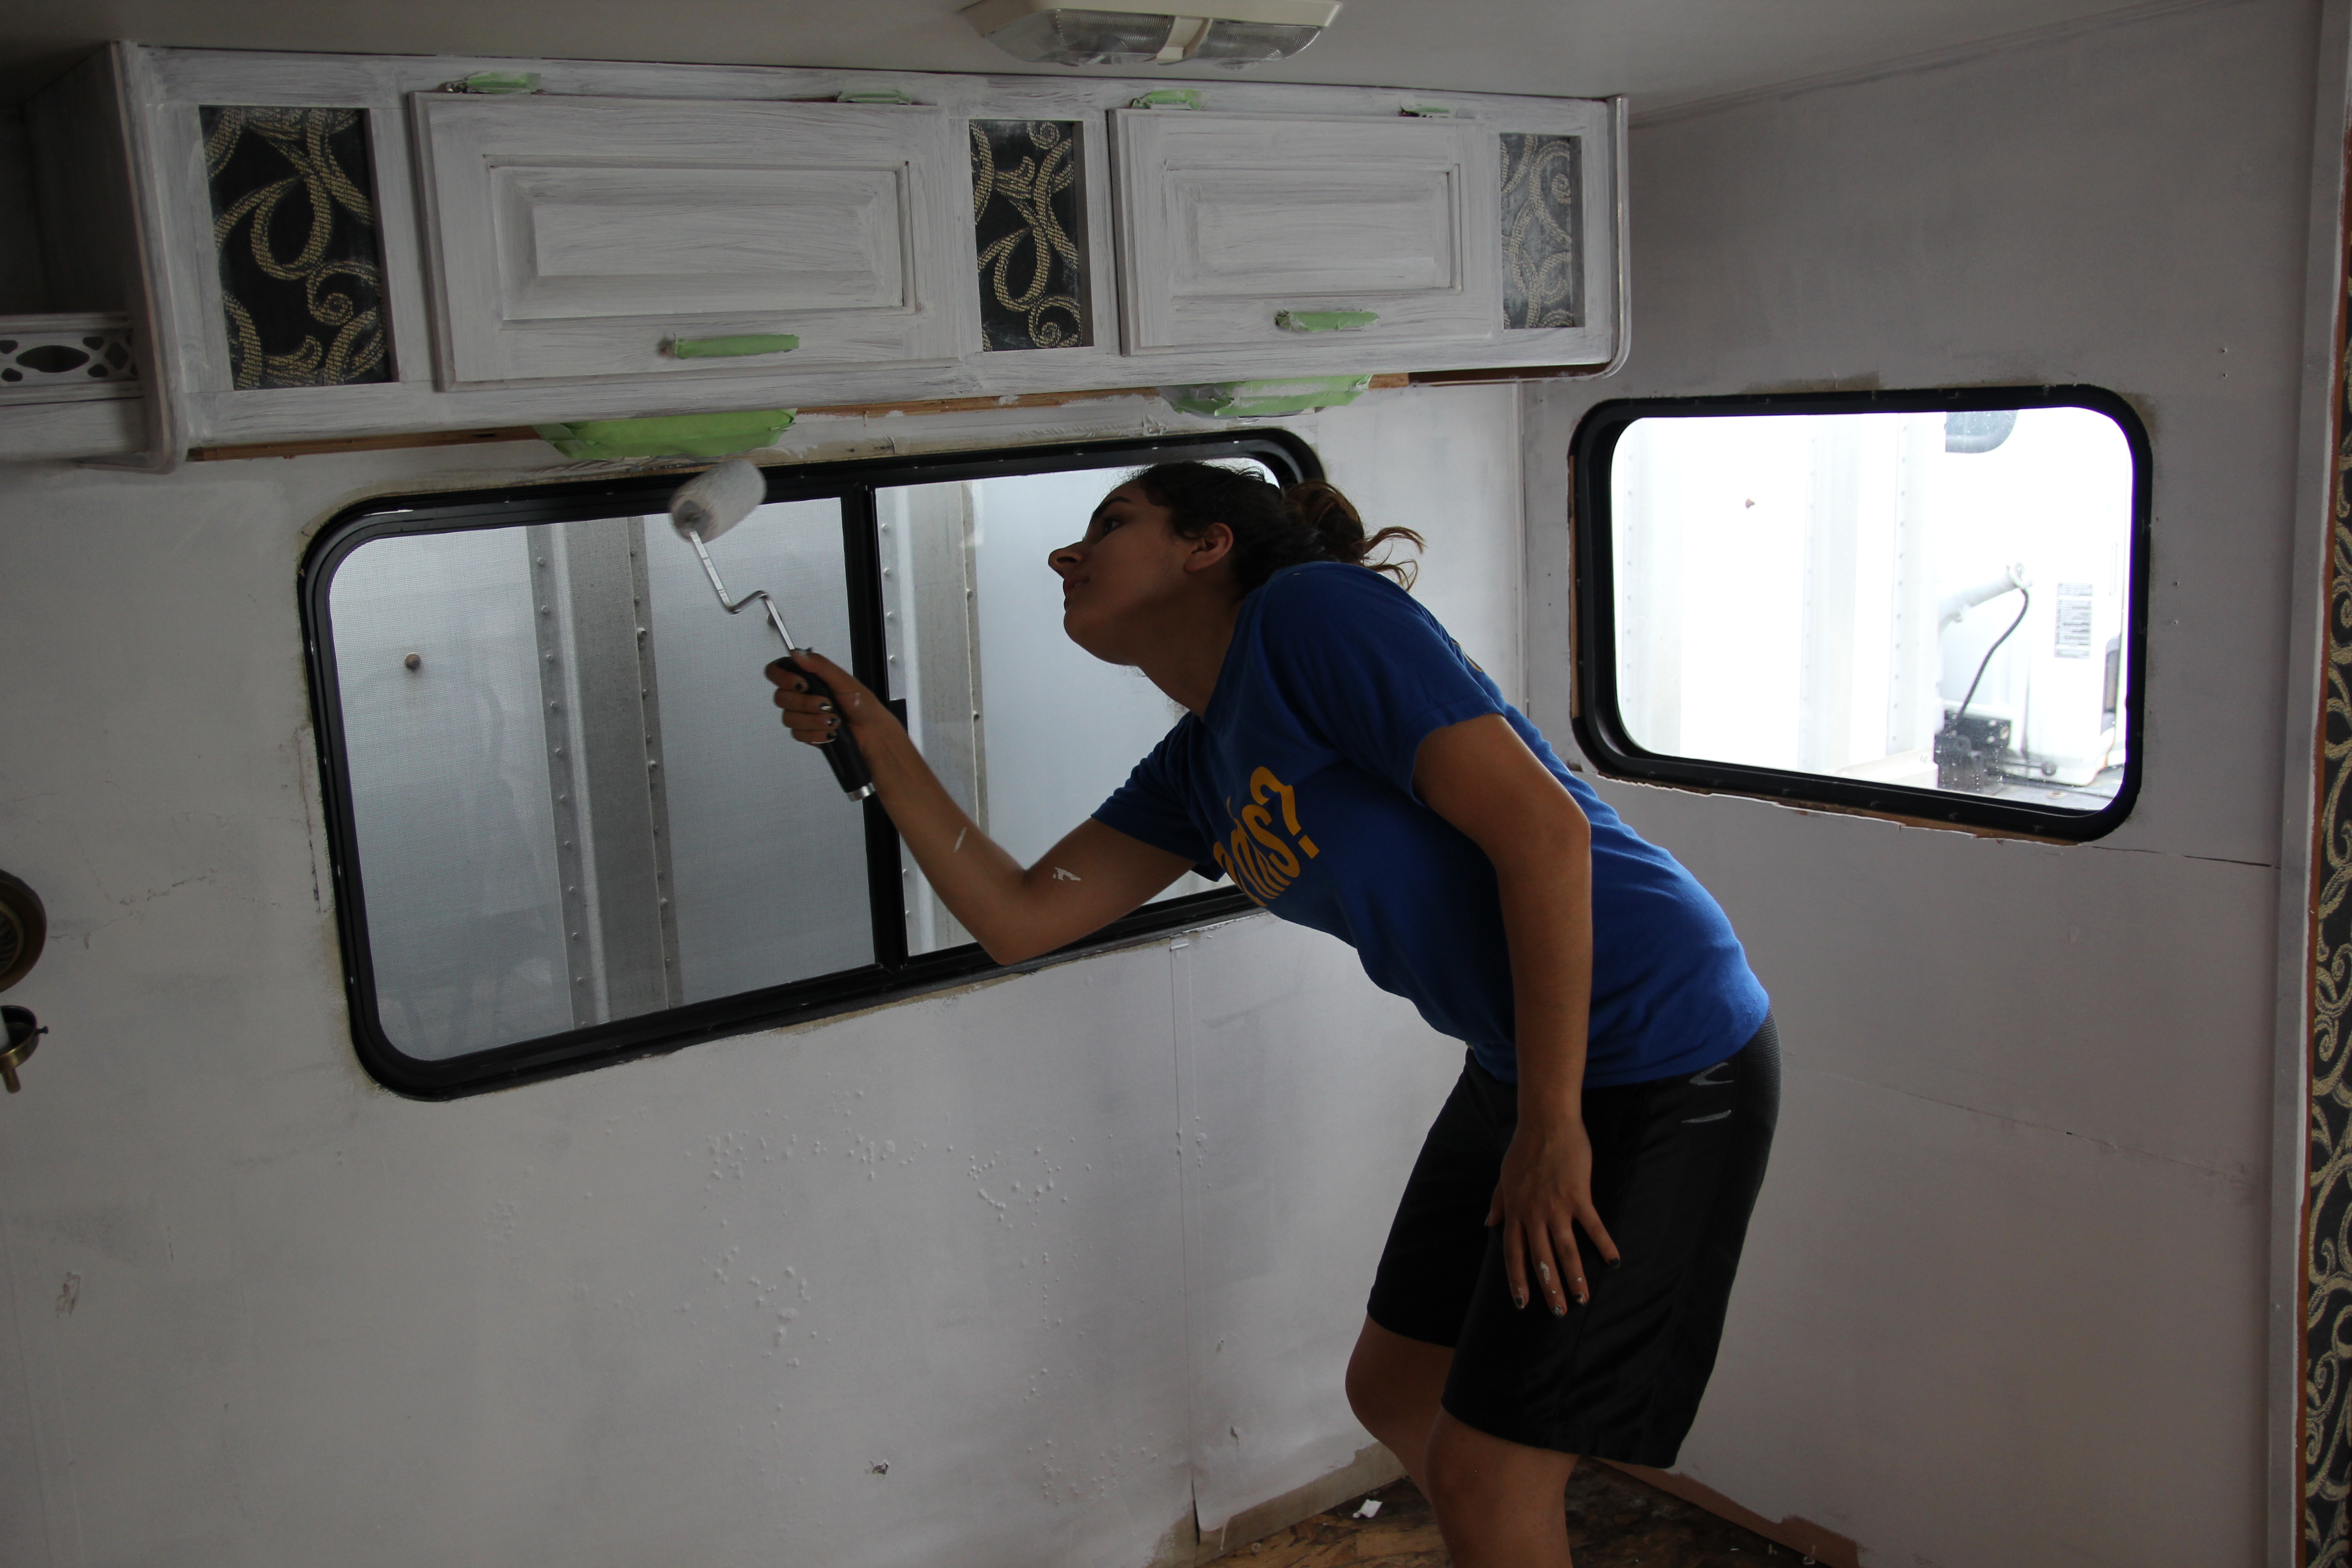
Here’s a rare photo of me painting, since I mostly worked on this while I was home alone and Luke was at work. It took me an entire week of 8 hour days to finish all of the painting. It was hard work, but so worth it in the end! Unfortunately, we don’t have any pics of me painting the bedroom or back room, but you get the idea. We ended up using Primer + Paint Combos, which we don’t recommend. We were just trying to save some time and money, but it was definitely not worth it! The fake wood material used to make up the cabinets in the camper is really hard to get paint to soak in to, so we would recommend a really good primer before painting. They’re pretty easy to ding up and we had to touch up the paint every once in a while.
So. much. painting. That ugly orangey wood was everywhere it seemed!!

Here’s my “After” shot. Our floor was pretty dirty so I had to shop vac it a few times before I was ready to finish off the bottom part…the problem with using white paint!
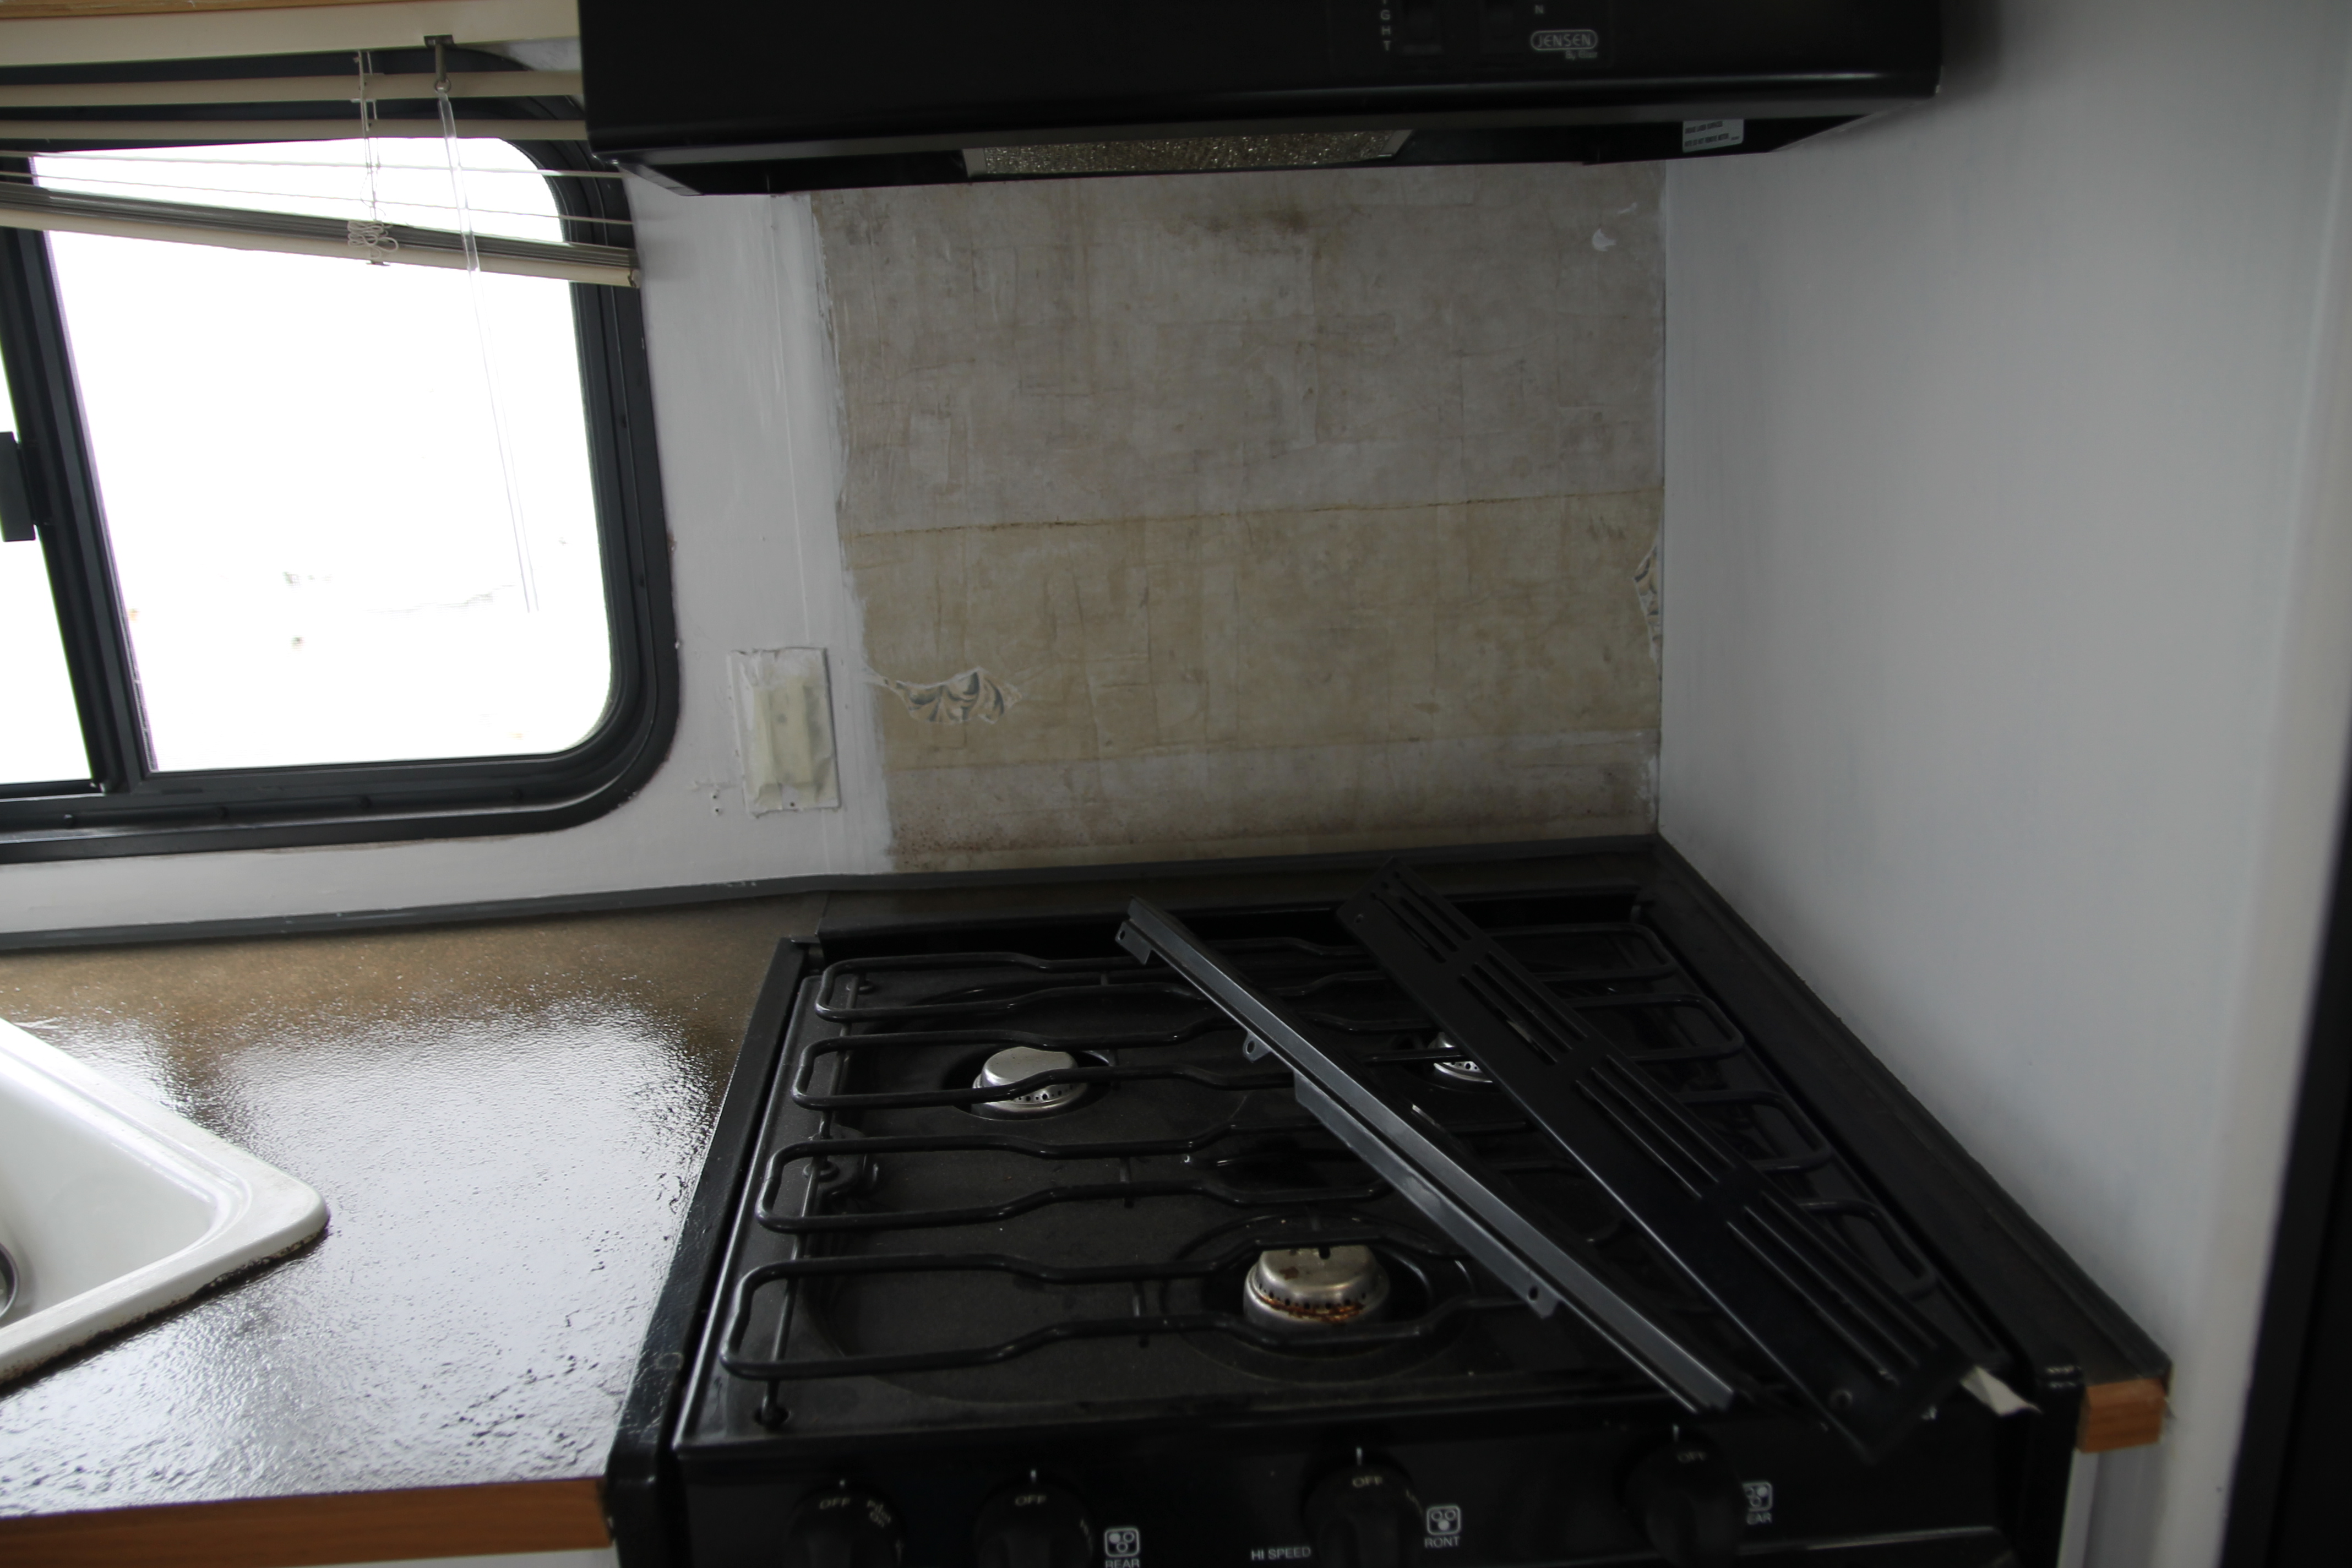
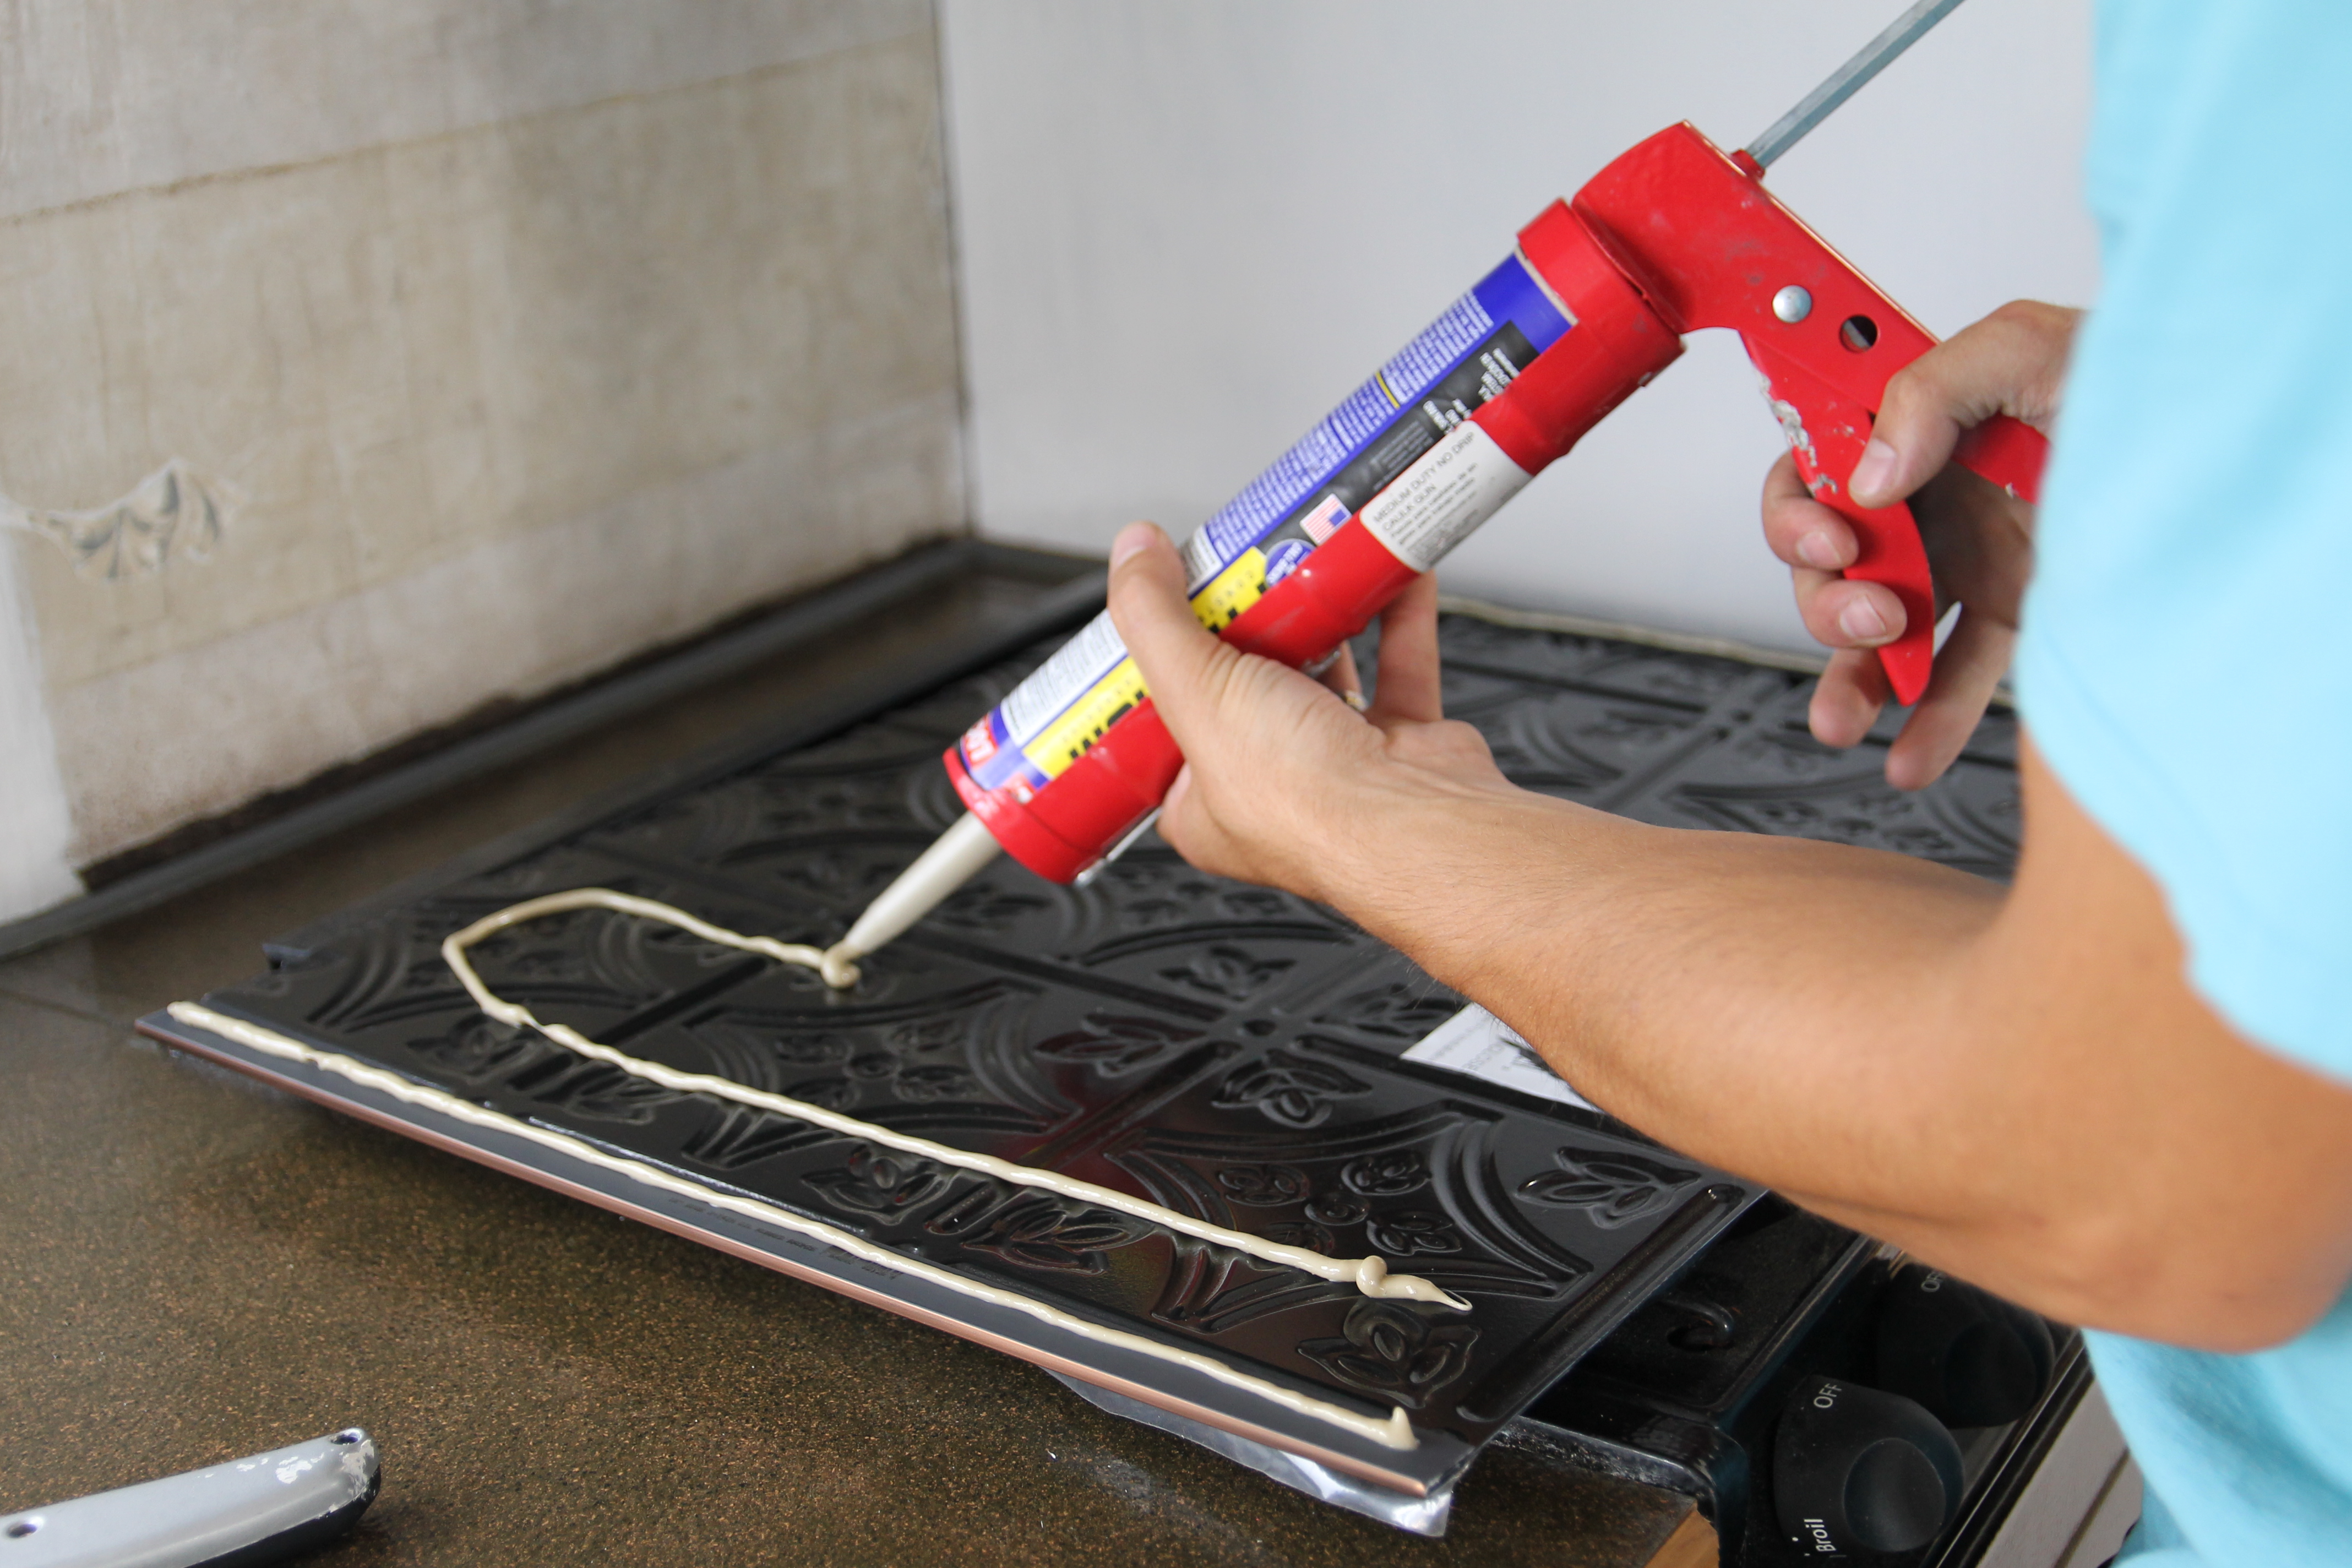
The wall behind the stove was something I wanted to use as a pop of color, but it also was kind of soft due to the exhaust fan letting in water. Completely replacing that wall was going to be impossible, so we decided to kind of strengthen it by adding some backsplash. It was a great, good-looking fix, especially since it was only $20. Win!
I know that the suspense is killing you, but we’re going to save the official before and after photos for a future post! Make sure you’re looking out for it!
Stay tuned for our next installment of the Camper Chronicles!
Read More: Part 1 | Part 2 | Part 3 | Part 4 | Part 5 | Part 6 | Part 7| Part 8 | Part 9 | Part 10 | Before & After