Our camper update for today is about the floor in the back room, which needed to be replaced where the bunkbeds had been. Again, Luke is going to be typing this one up since he was the one who did all of this work! I did my best to take pictures when I could.
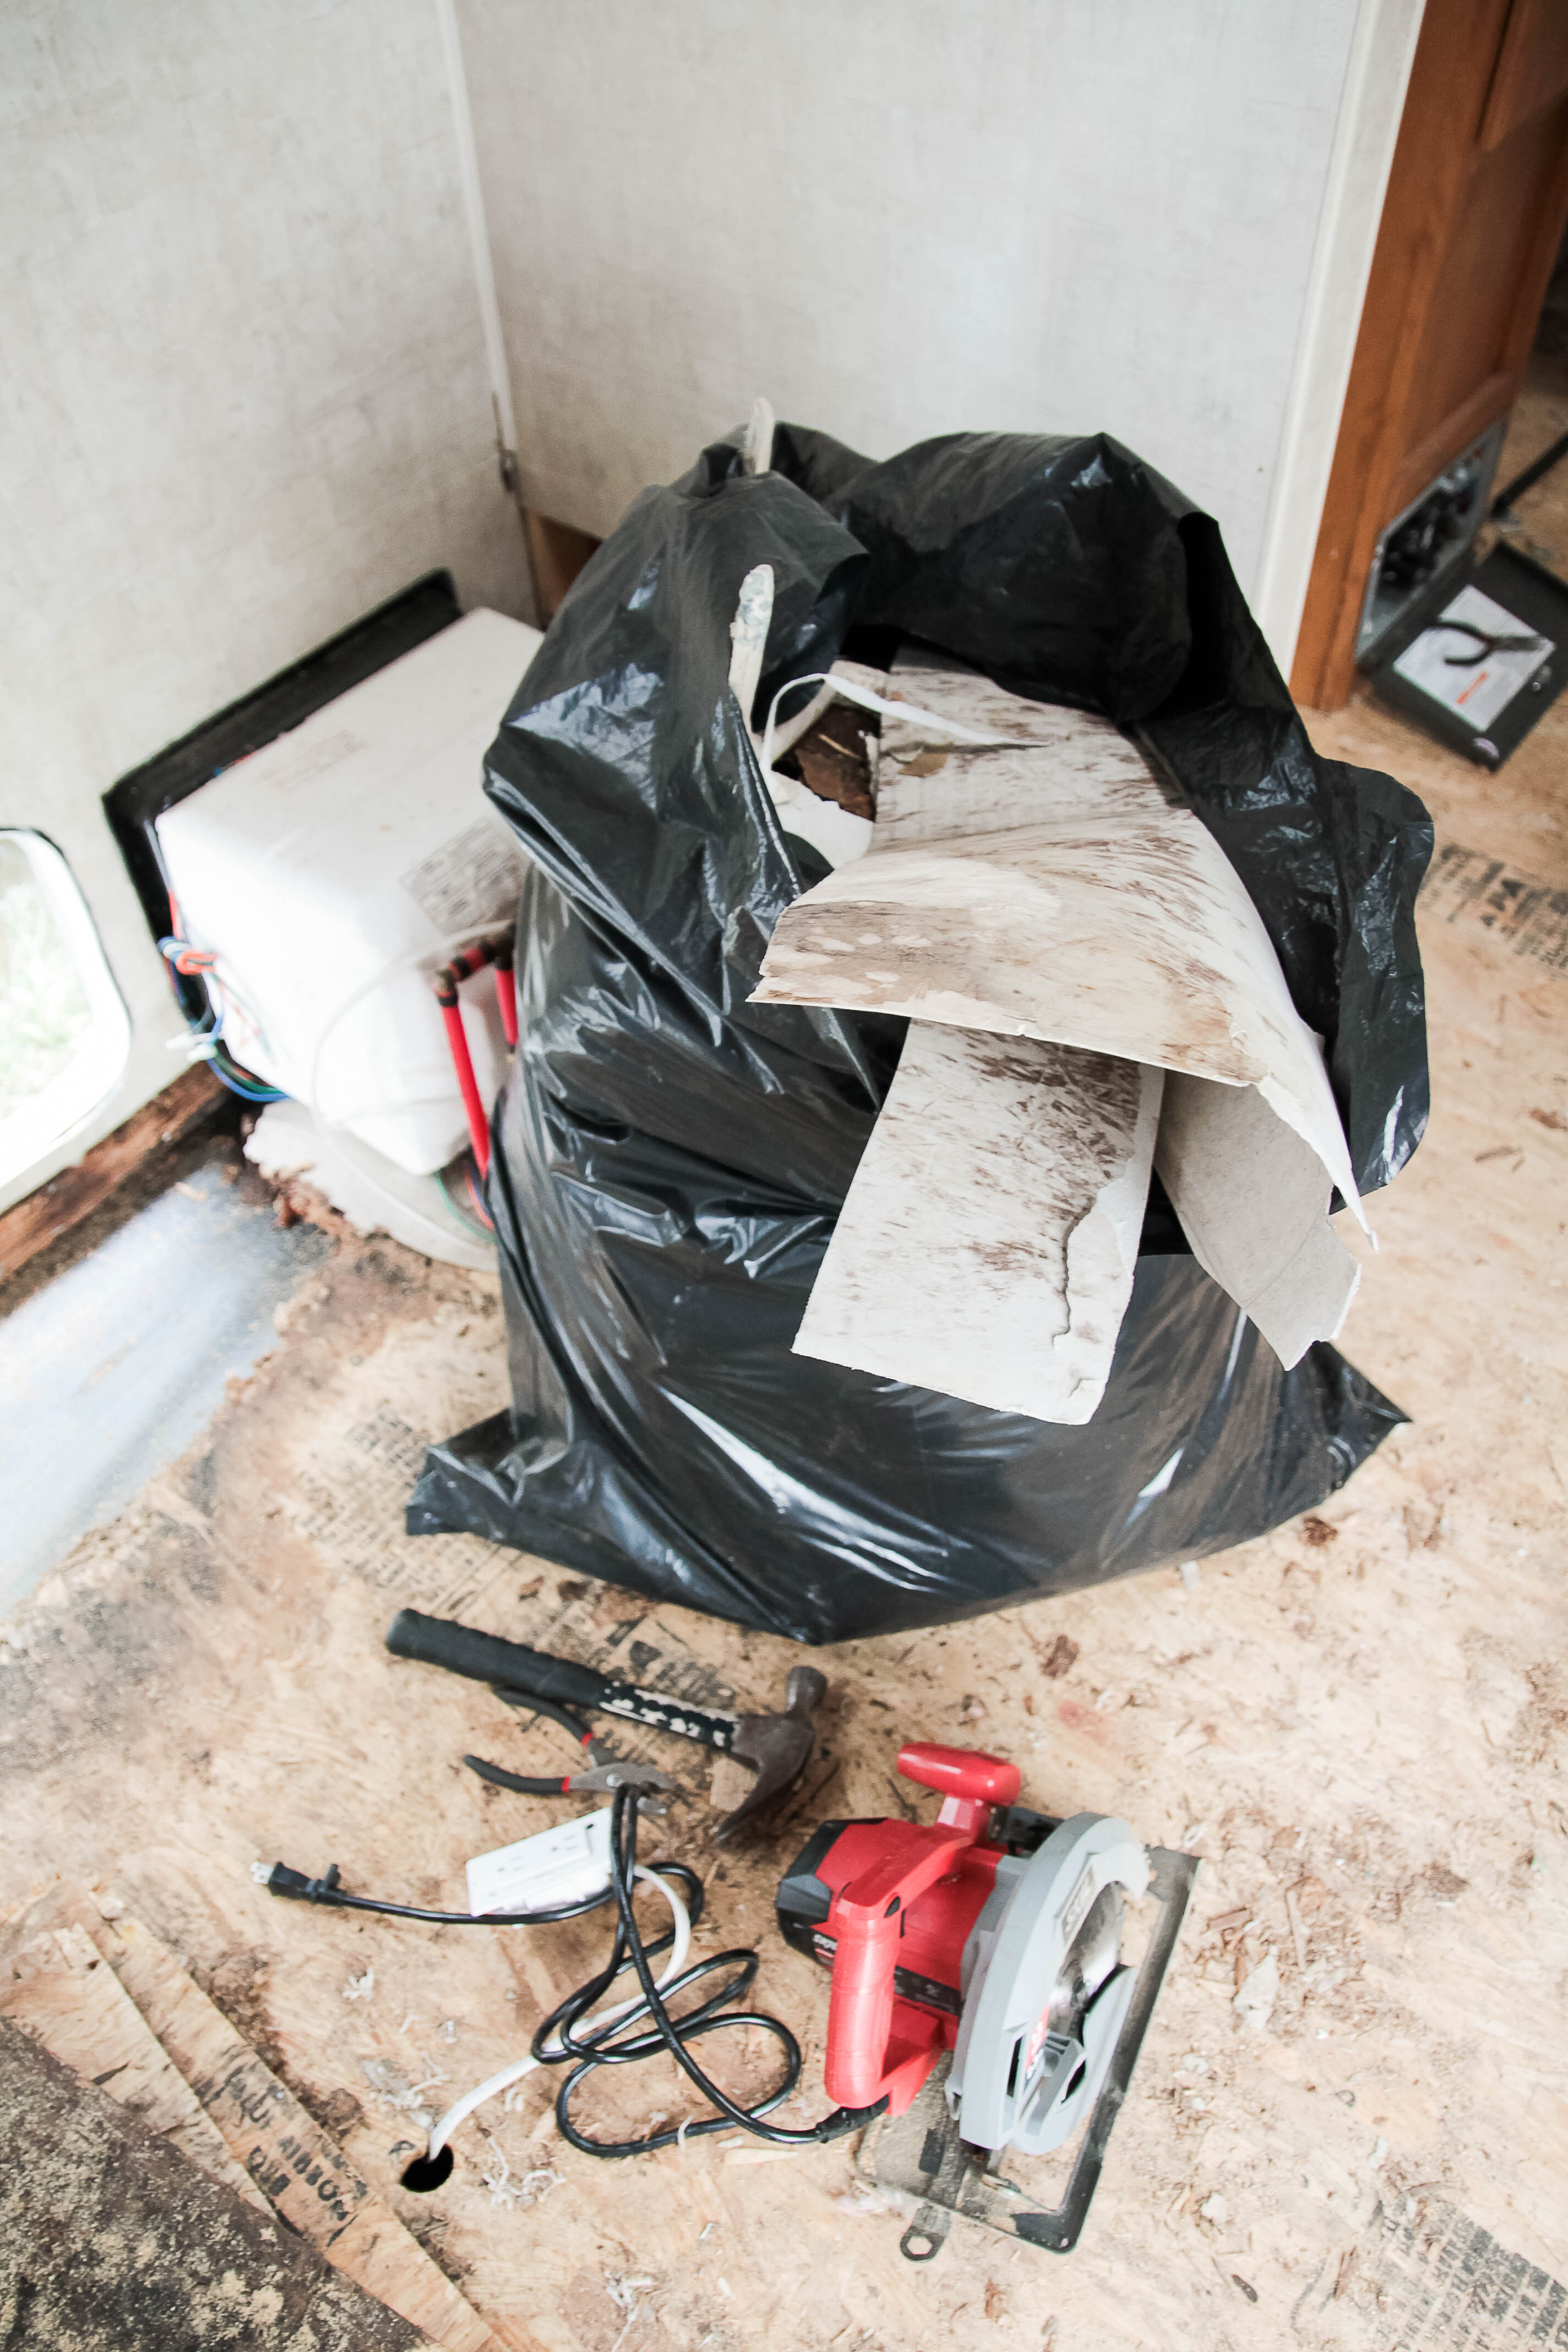
This project created a lot of trash.
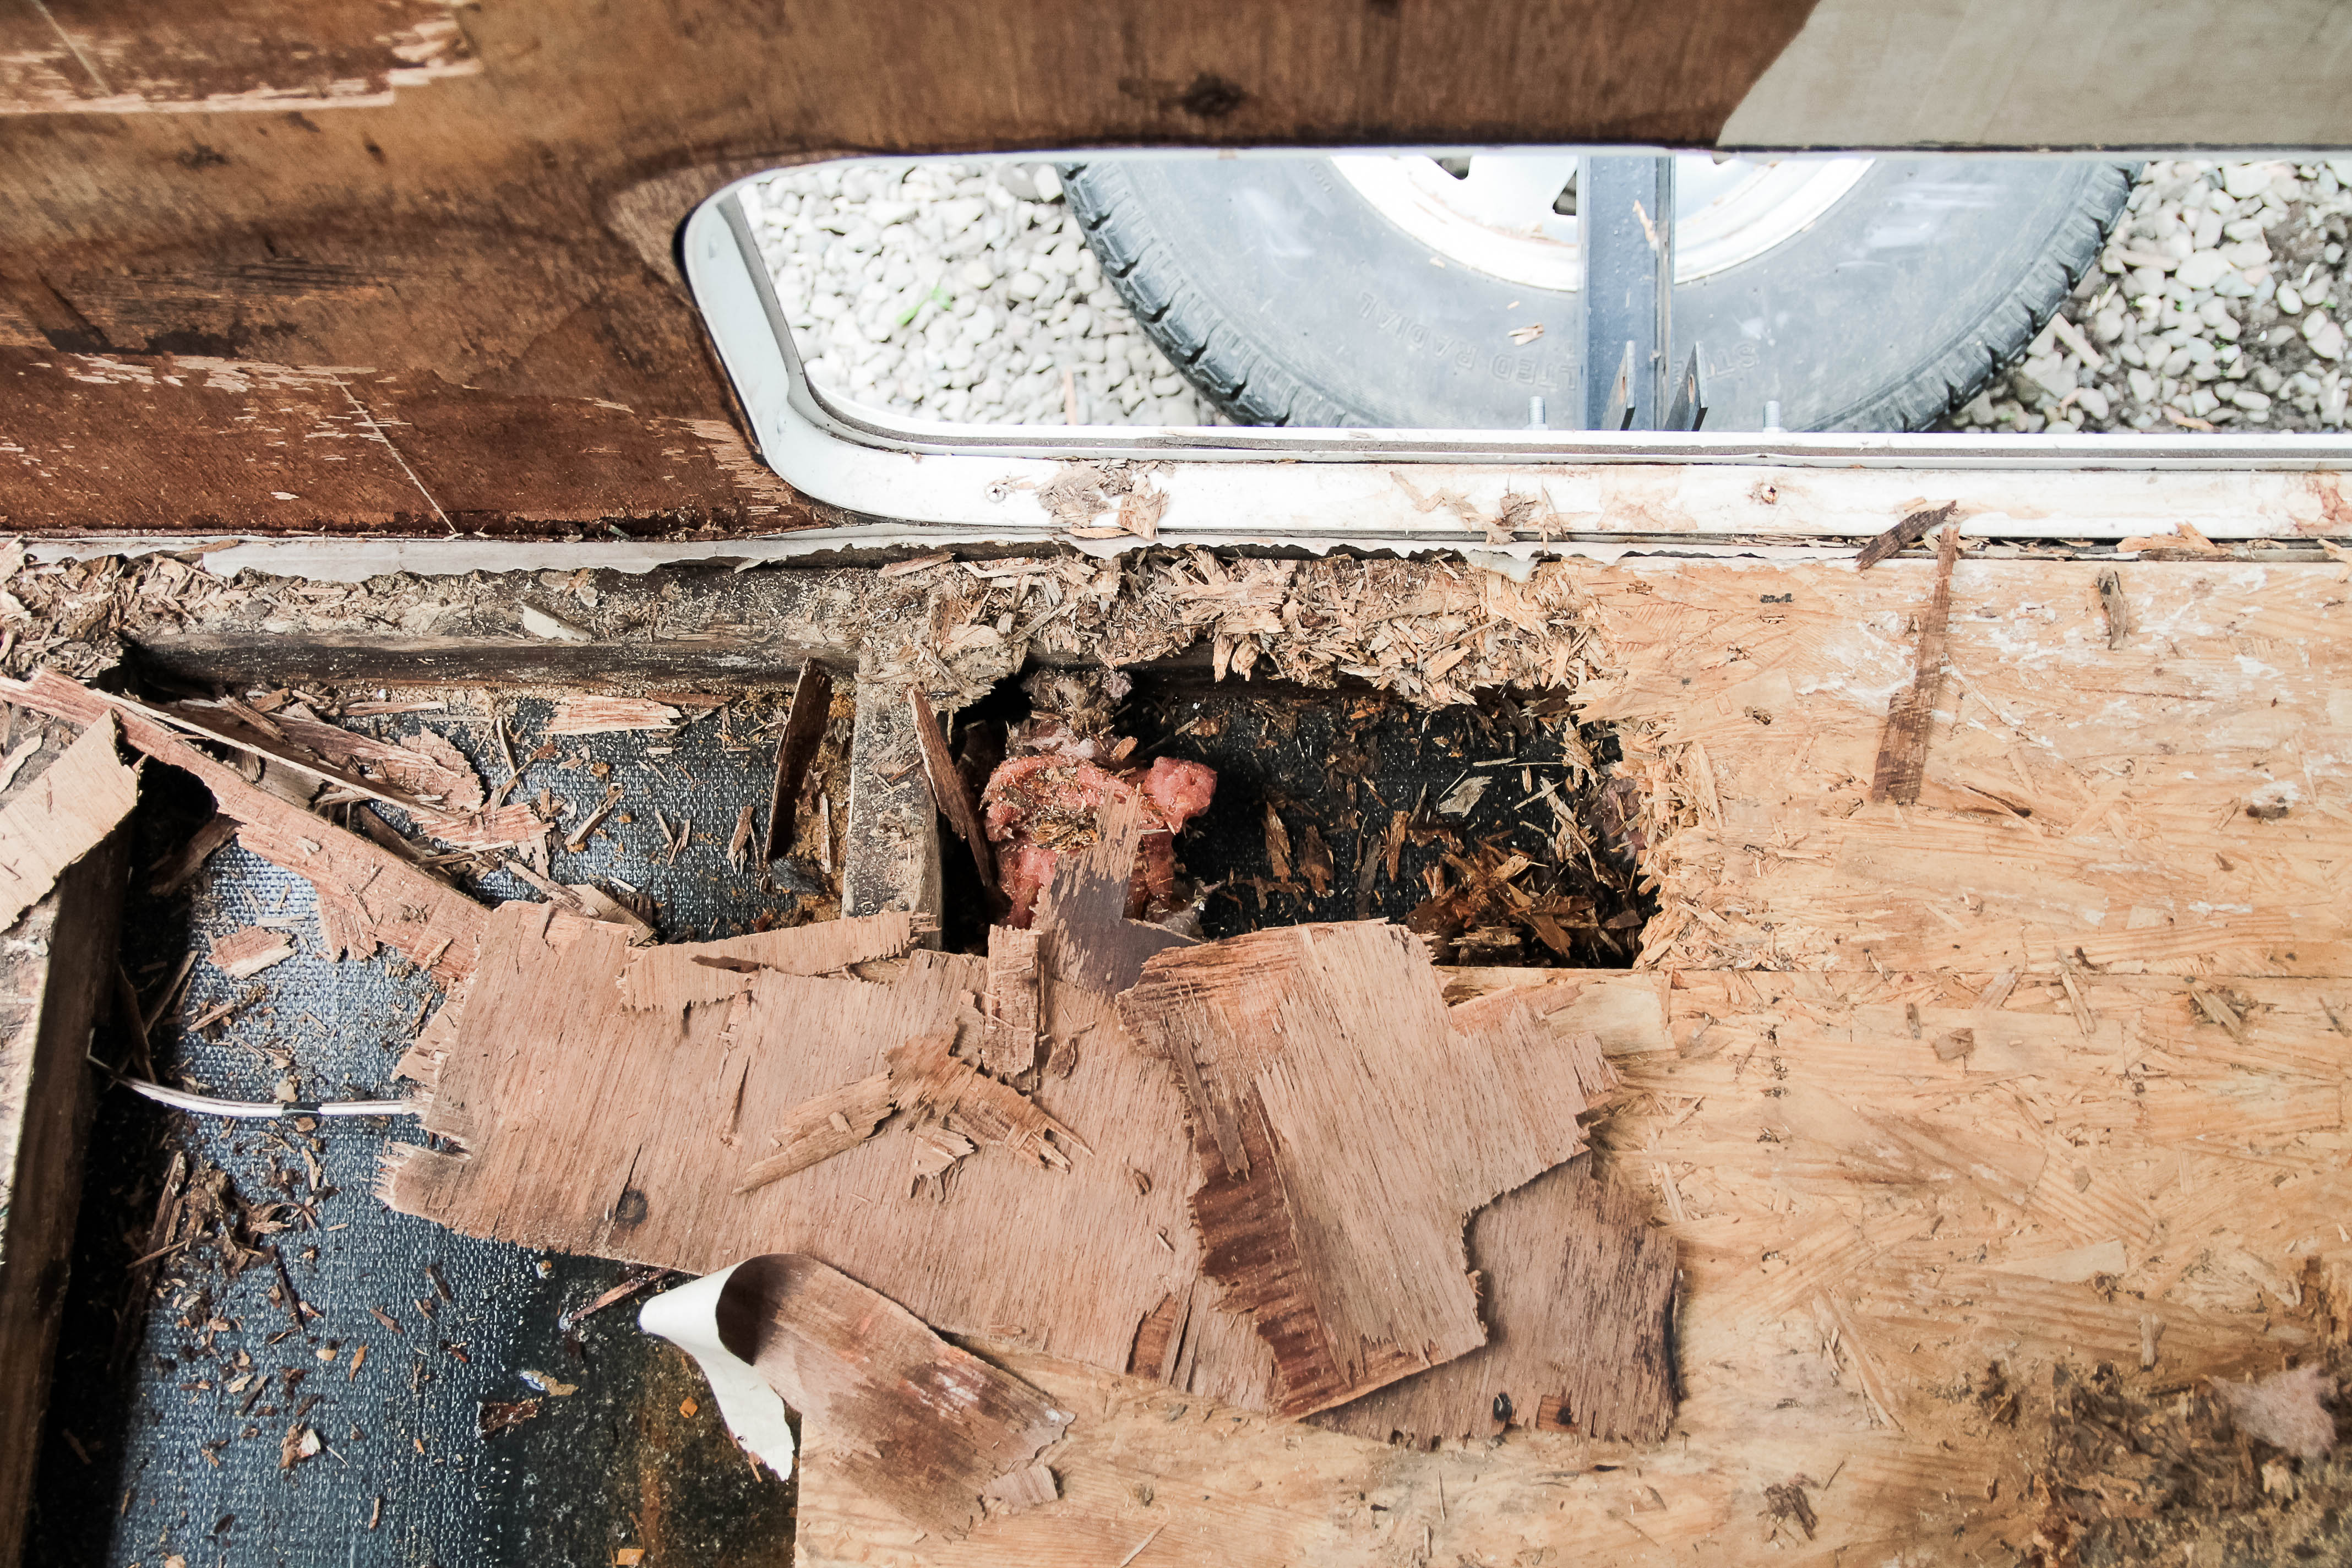
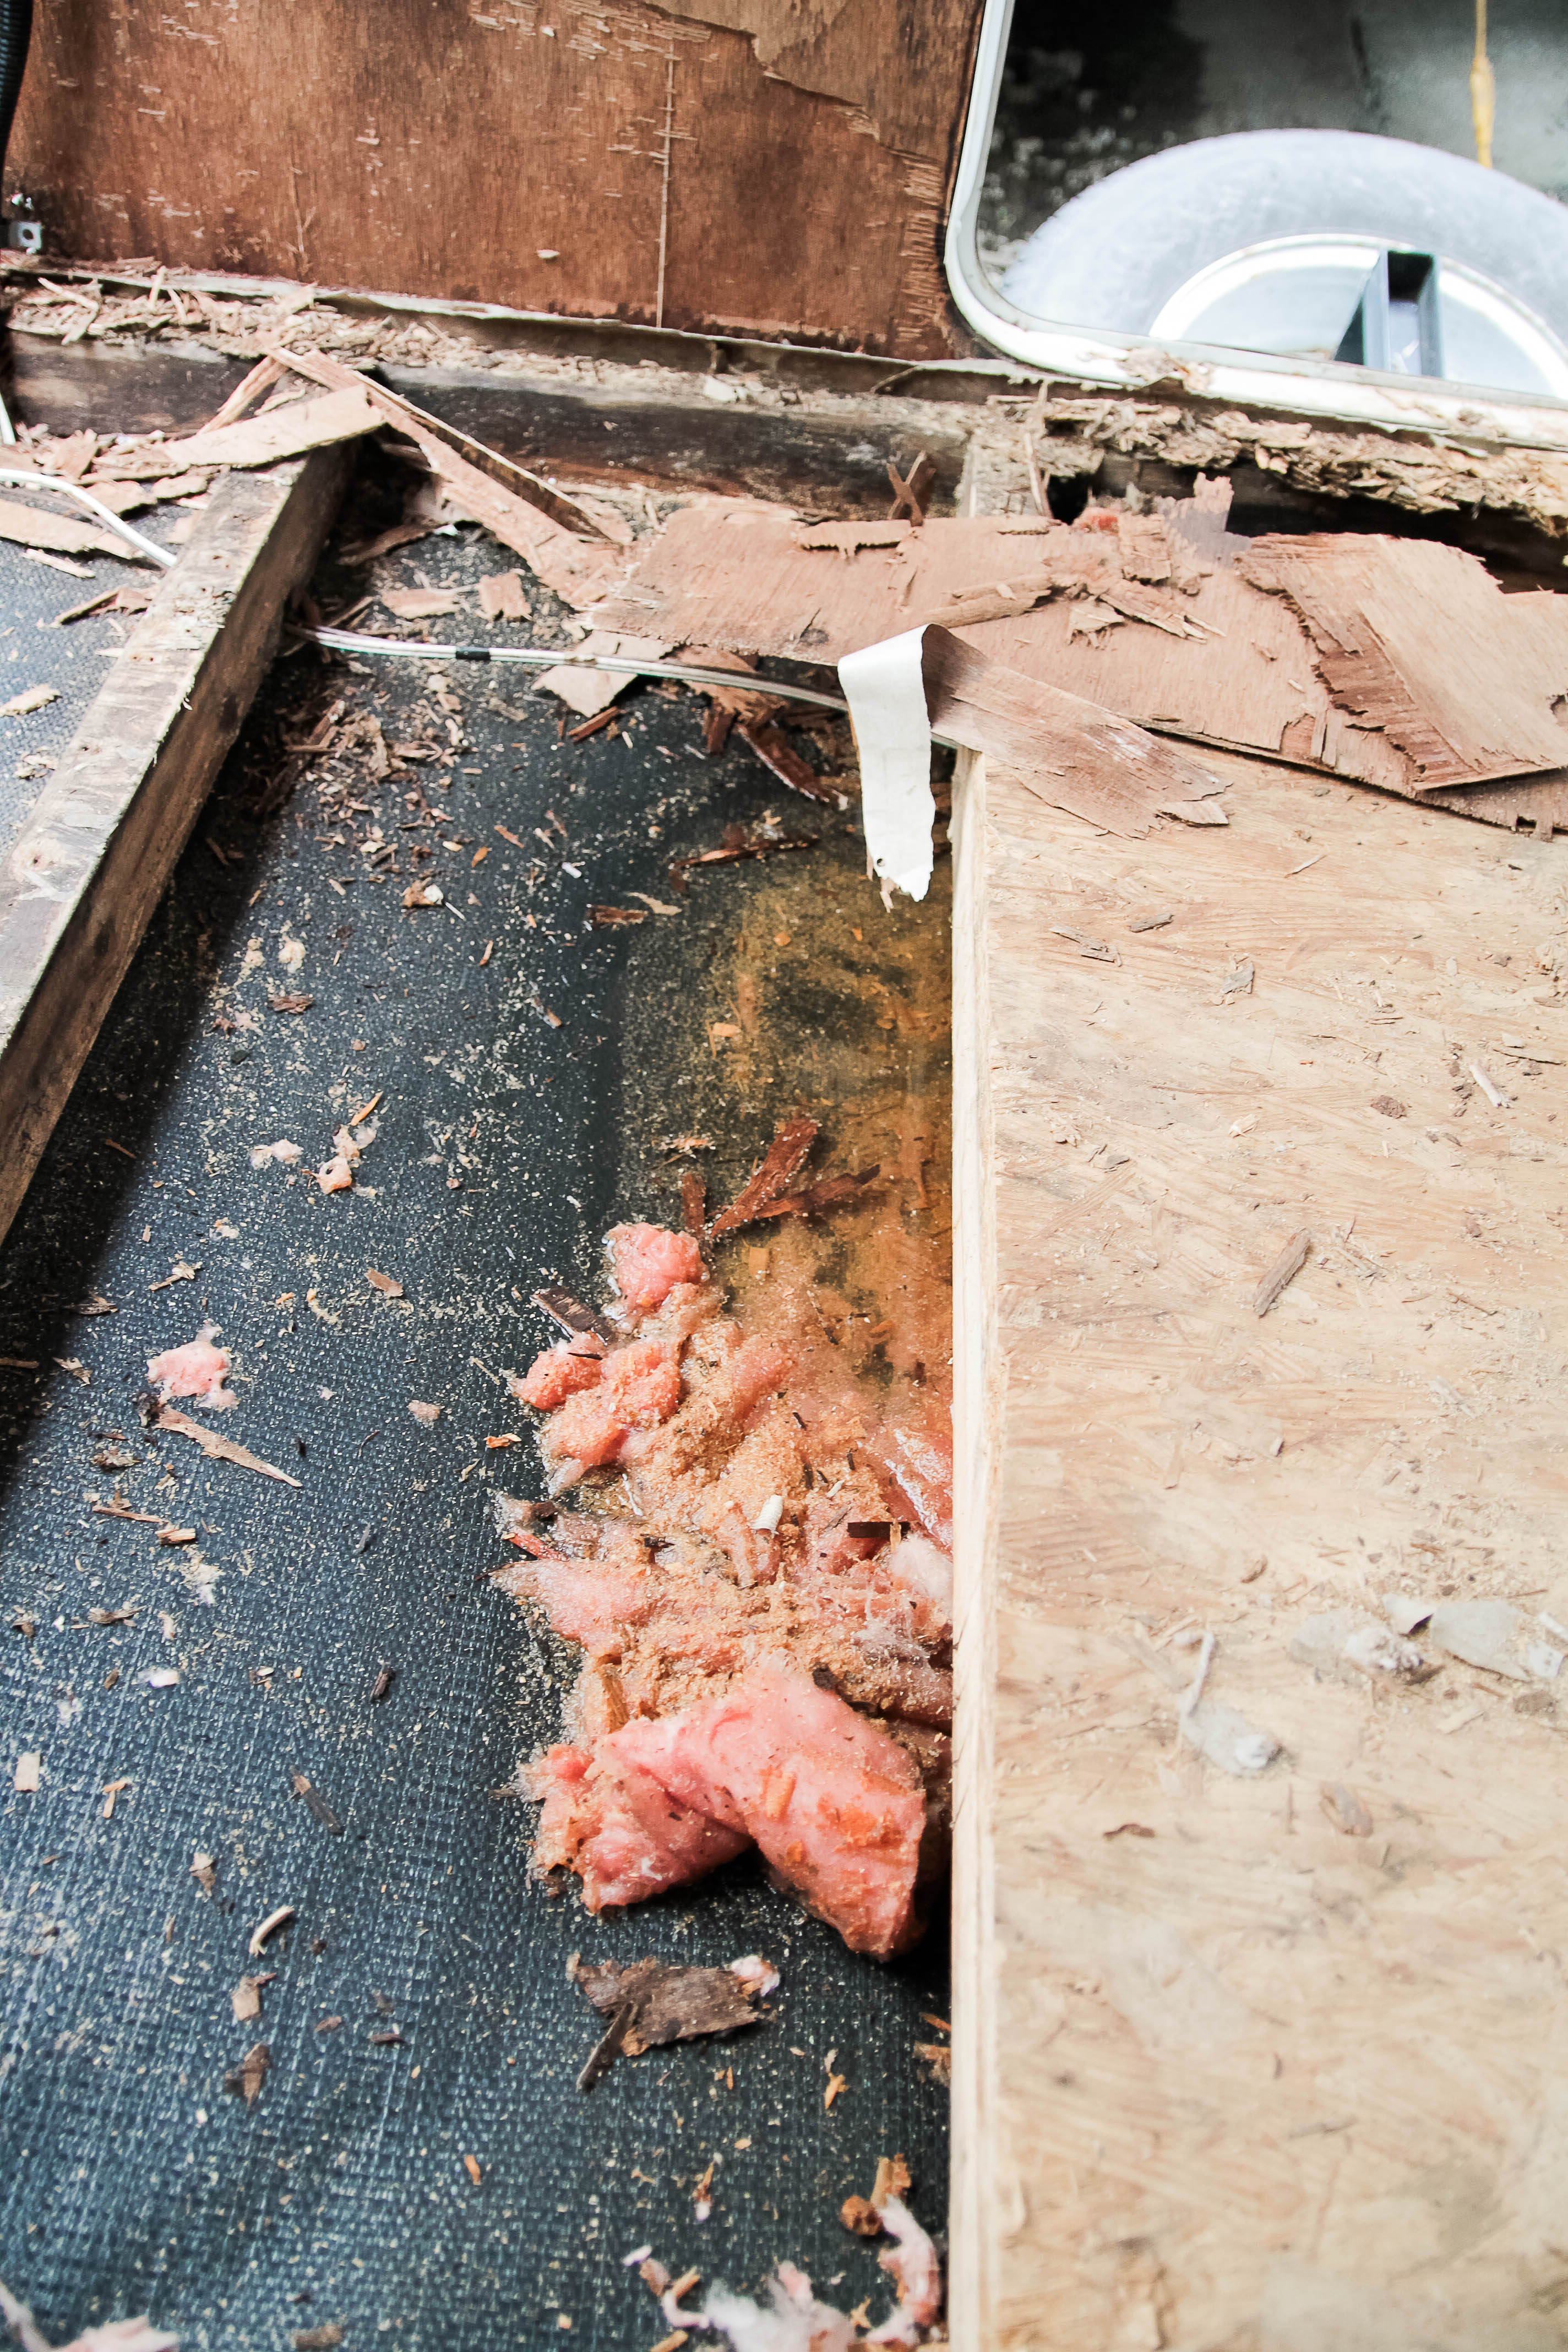
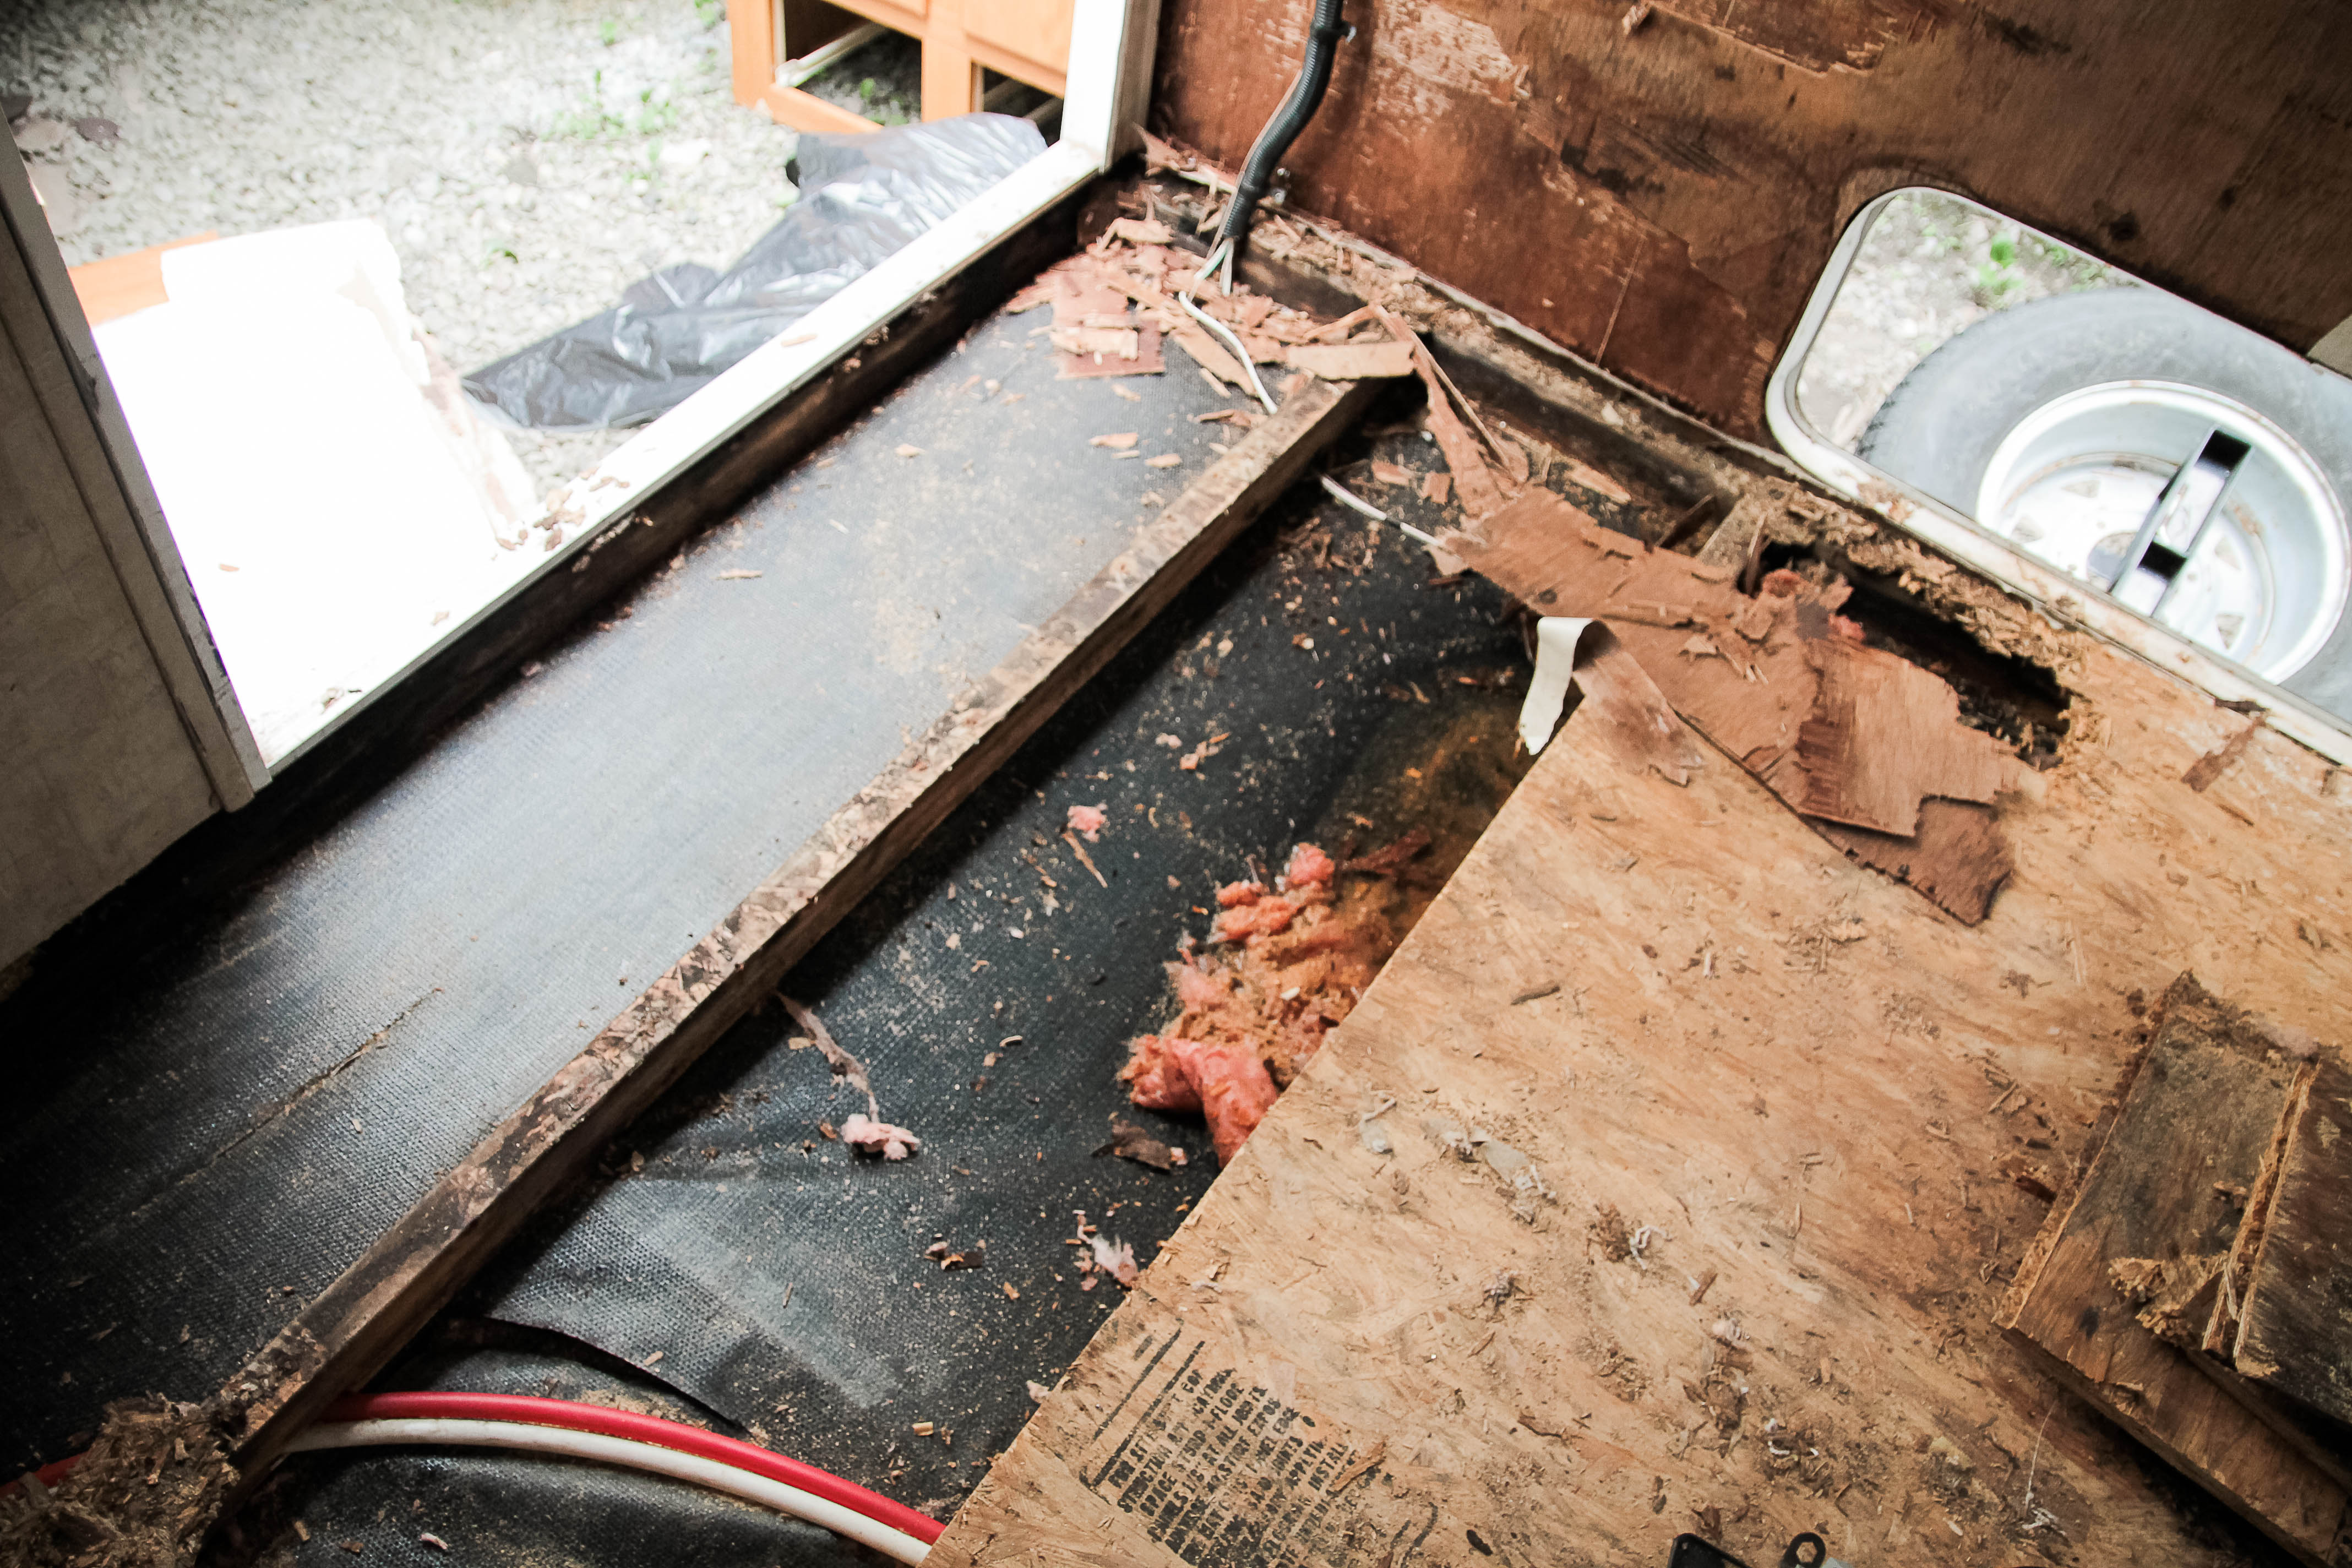
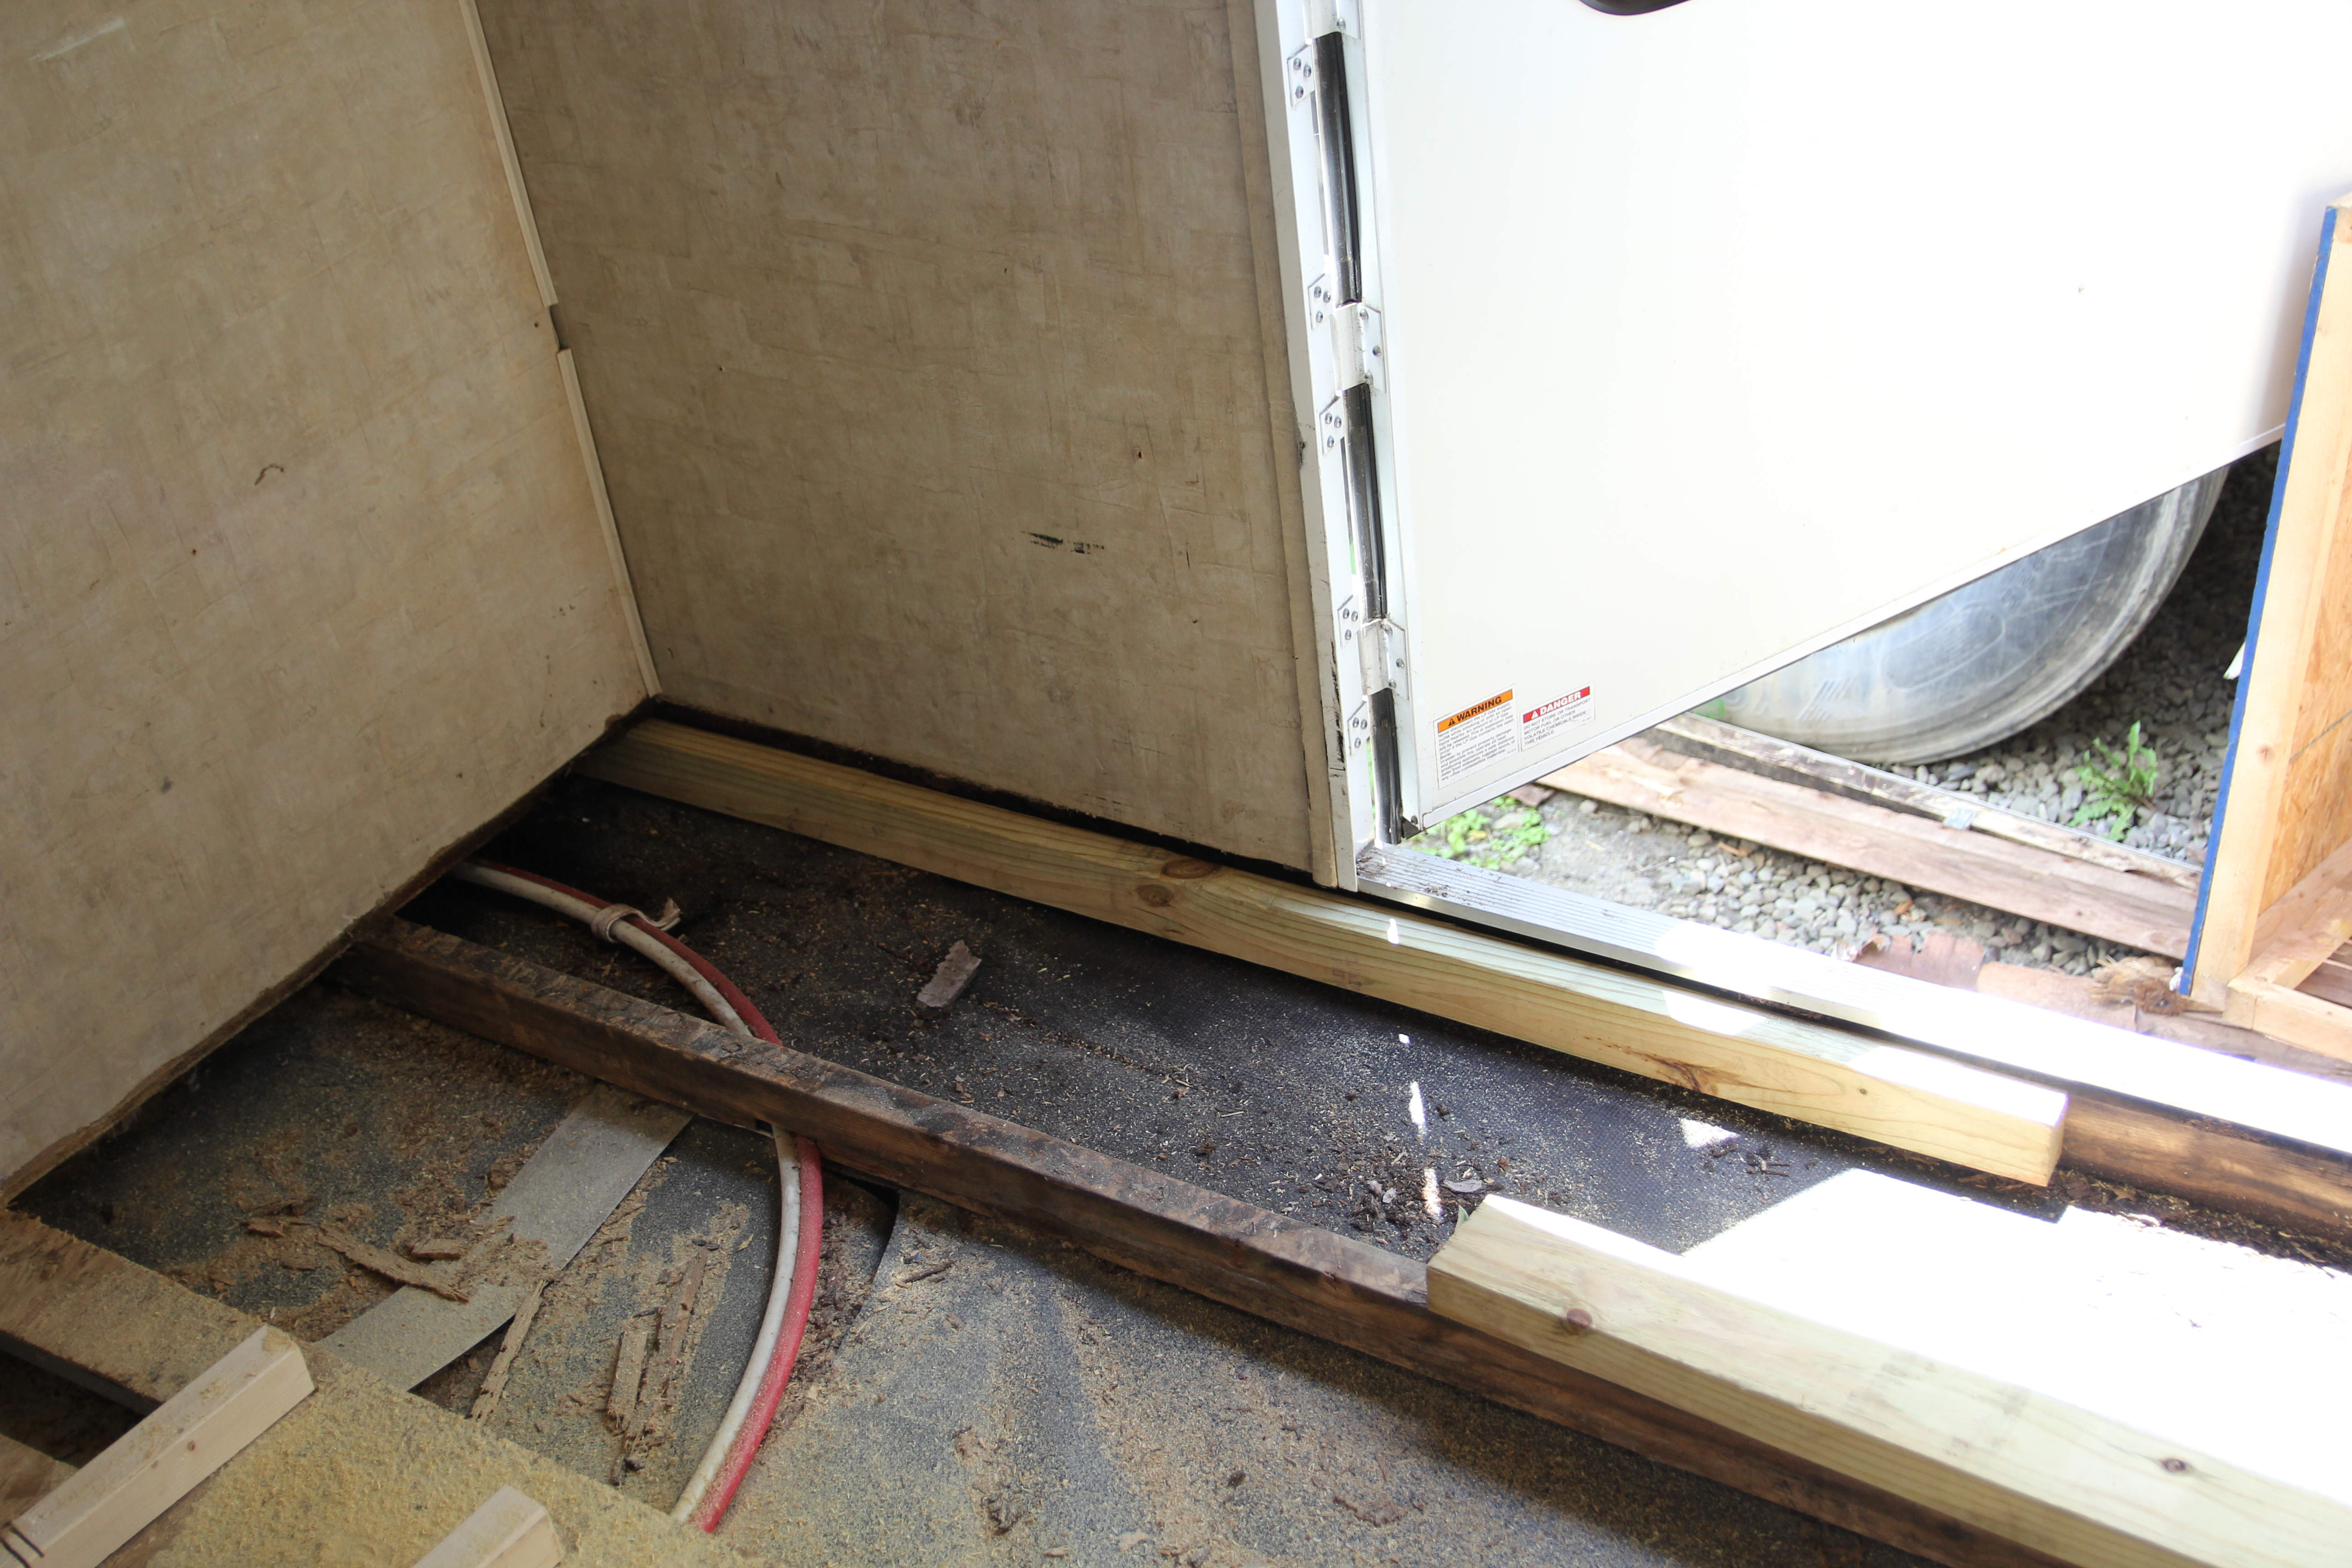
I pulled/cut out all of the water-damaged parts of the floor. Once I had it opened up, I realized that a puddle had accumulated beneath the floor. I cut slits in this part of the underlayment in order to get the water to drain. I took out all of the wet insulation as well.

We let it air-out and dry for a couple weeks, mostly because I didn’t have a chance to get back to it for a while.
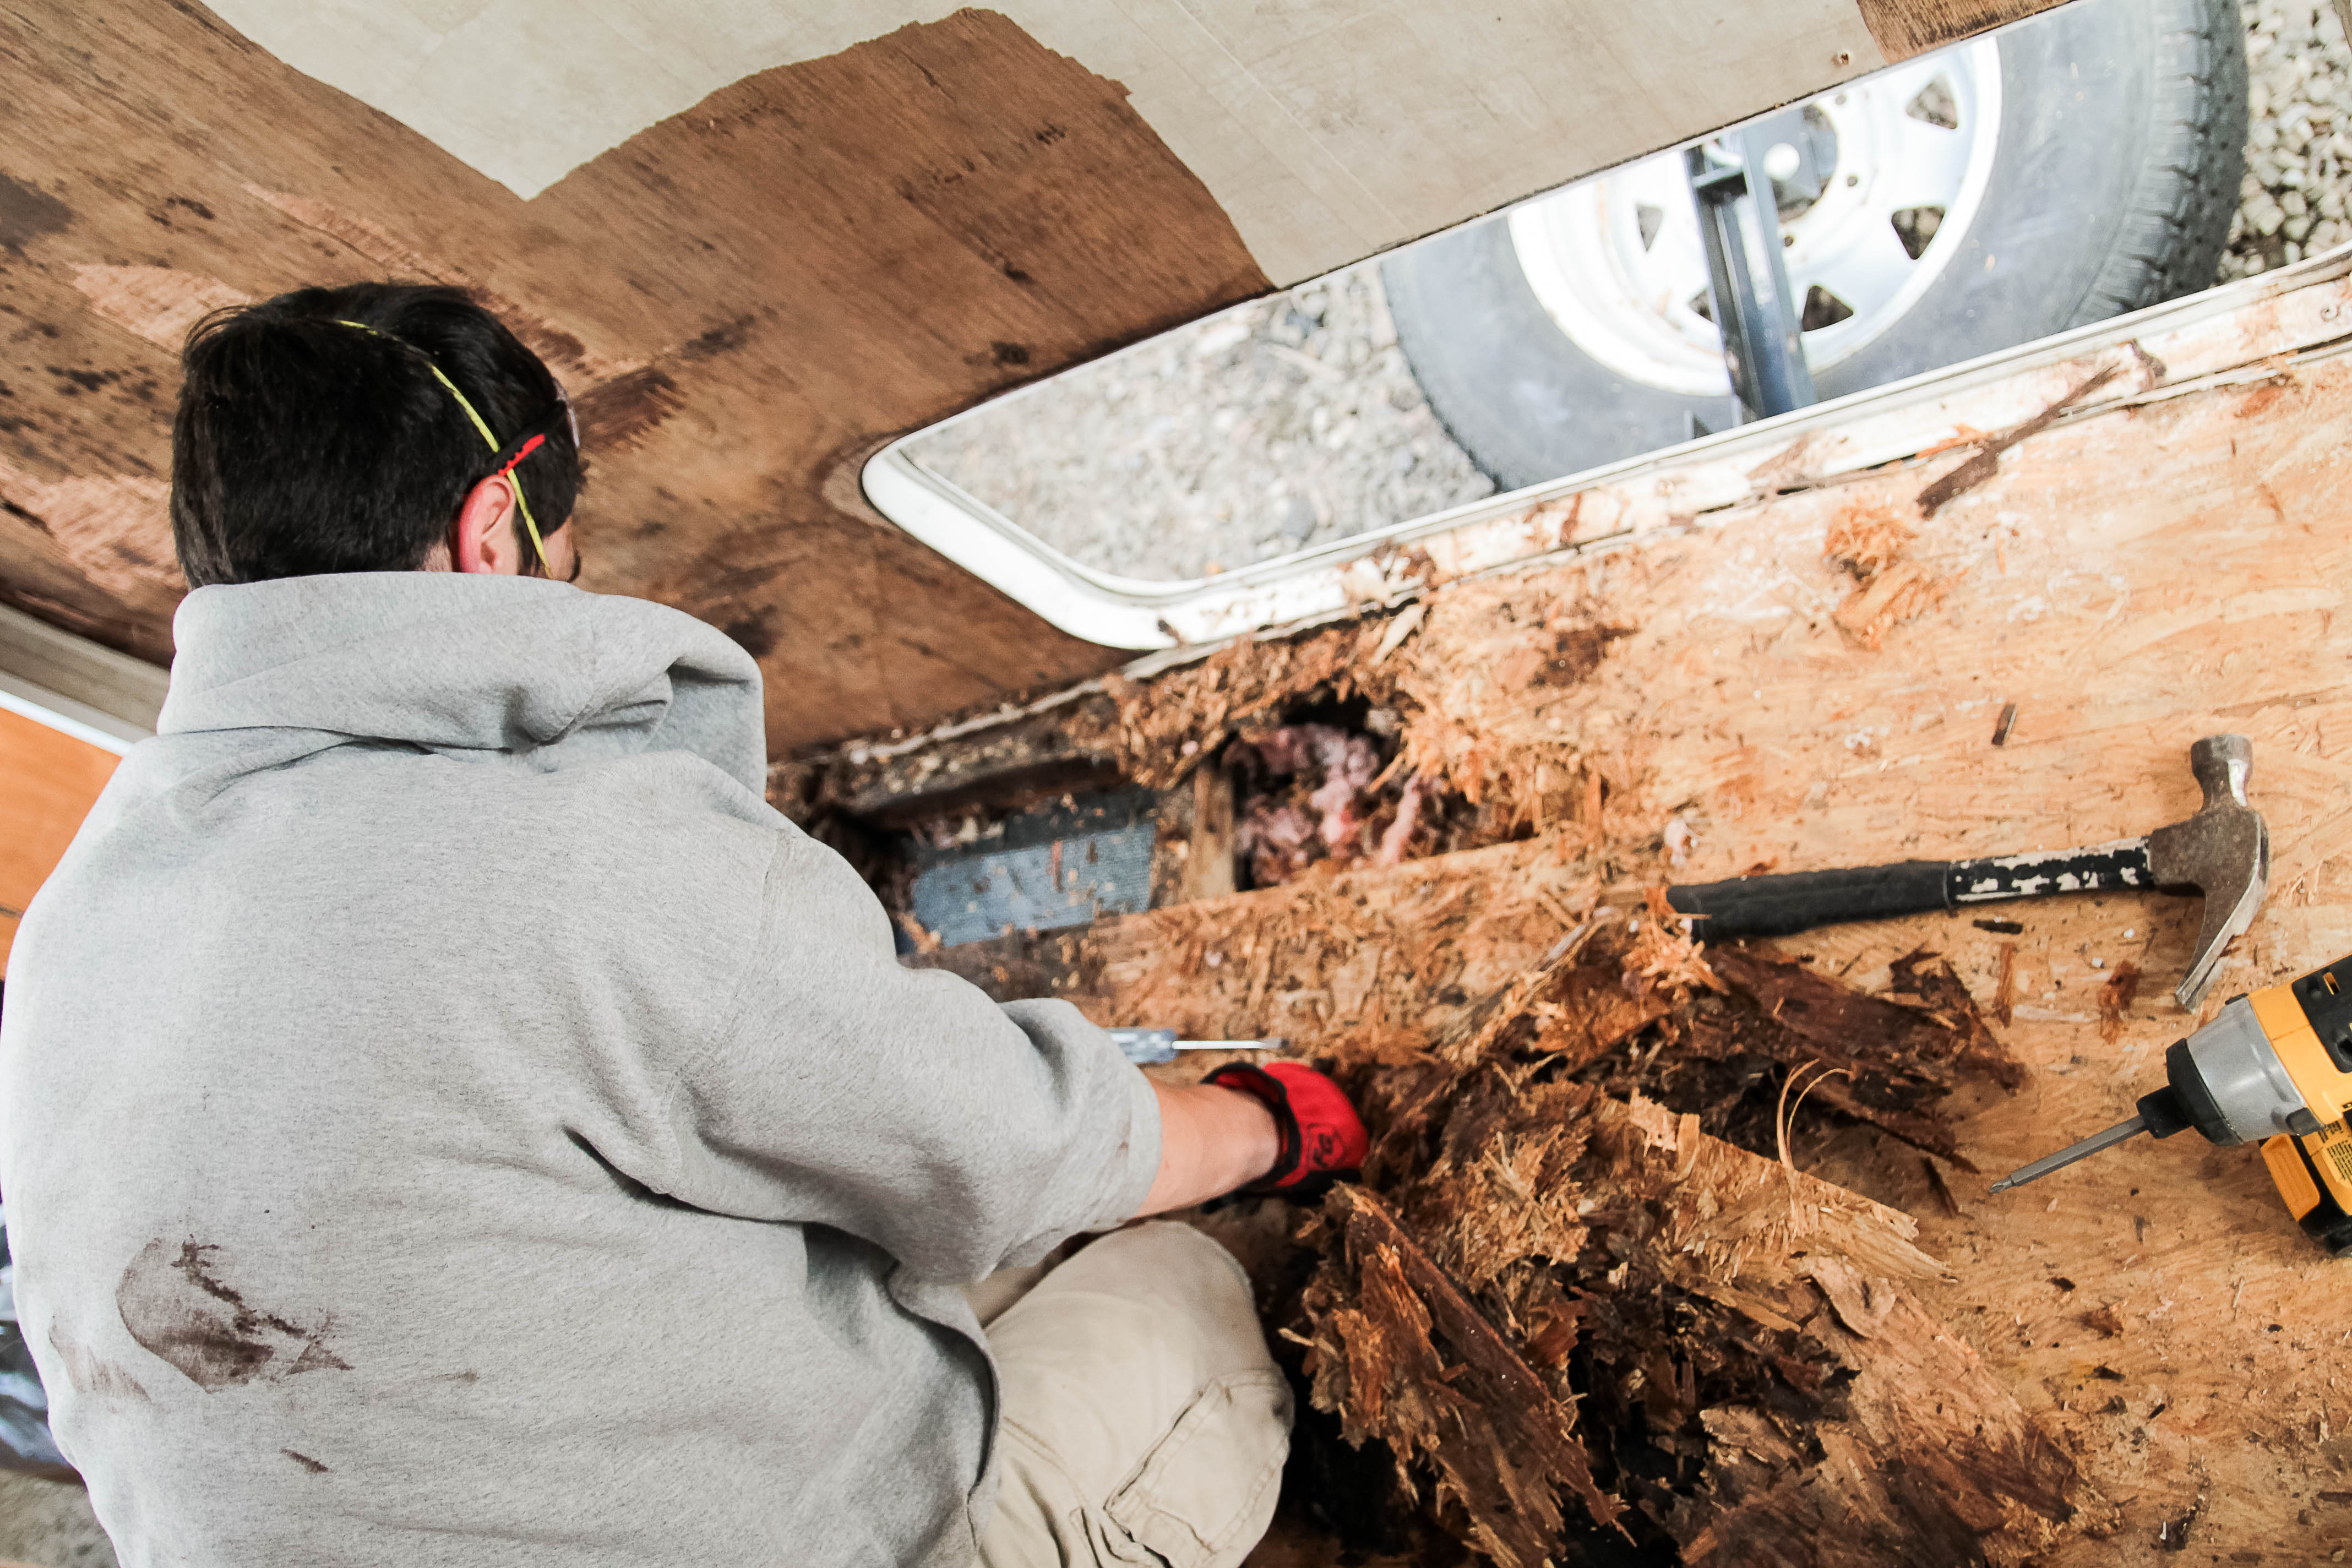
The floor was so damaged and wet that parts of it just crumbled apart in my hands as I was pulling it out.

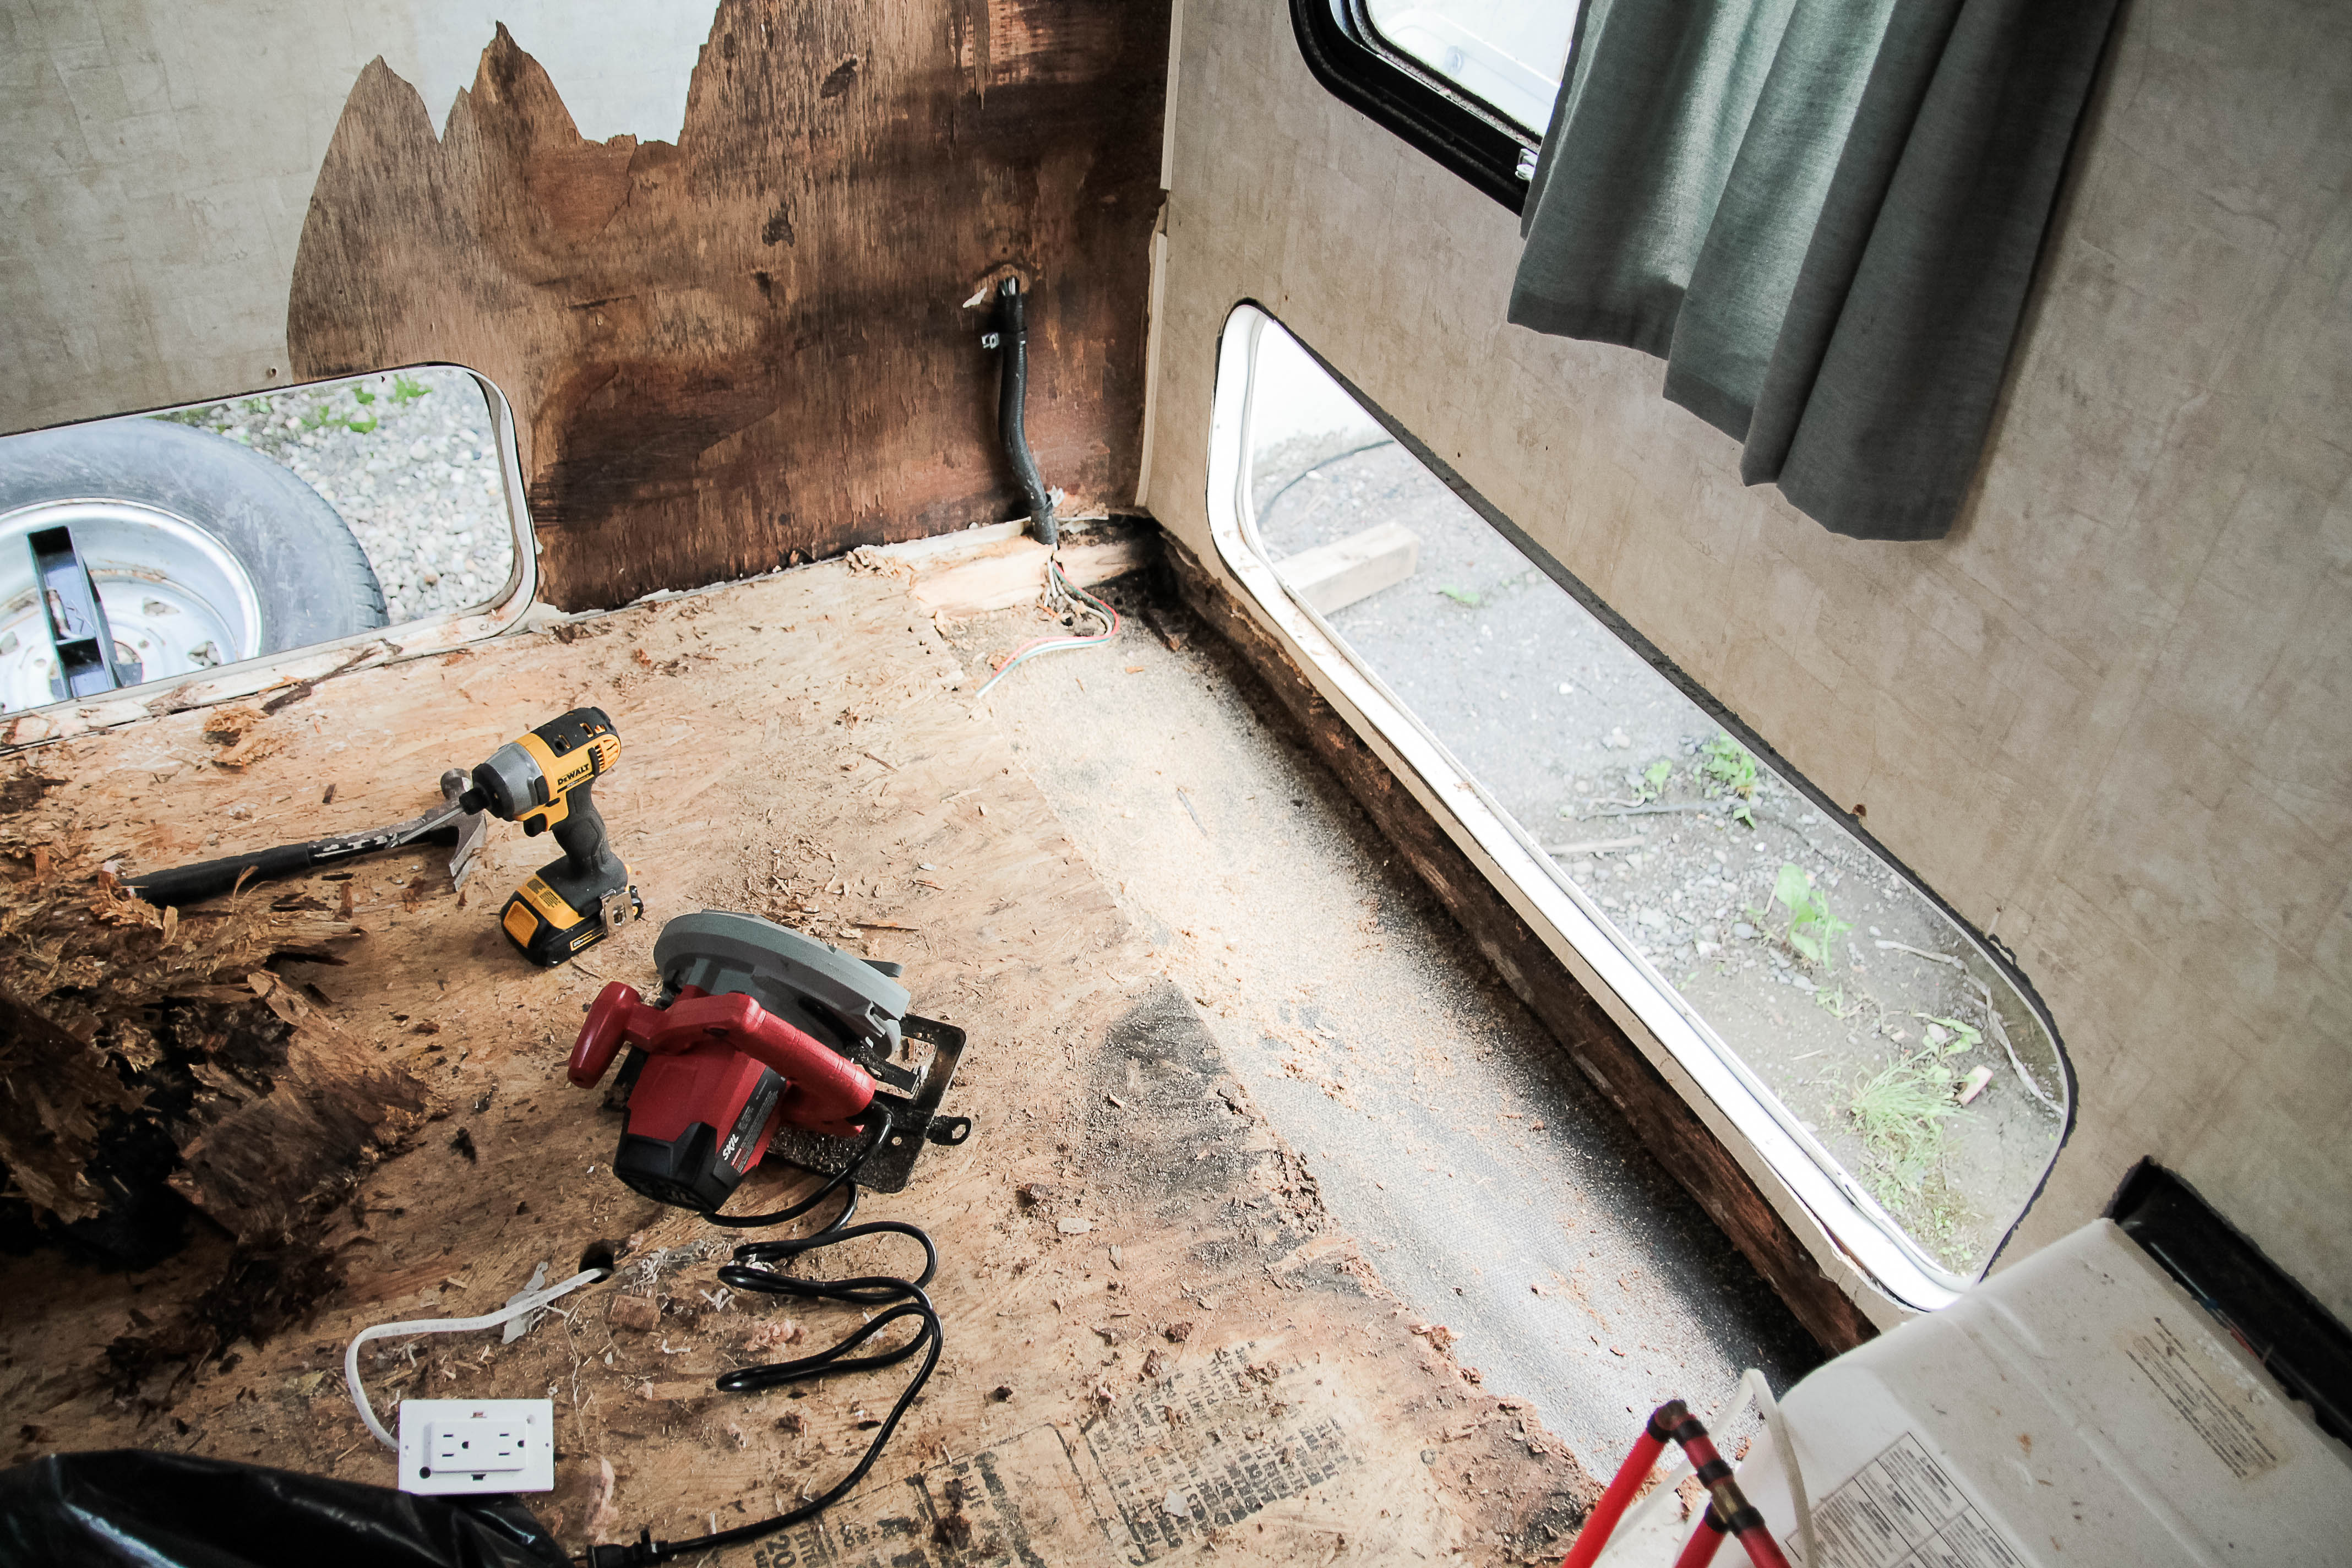
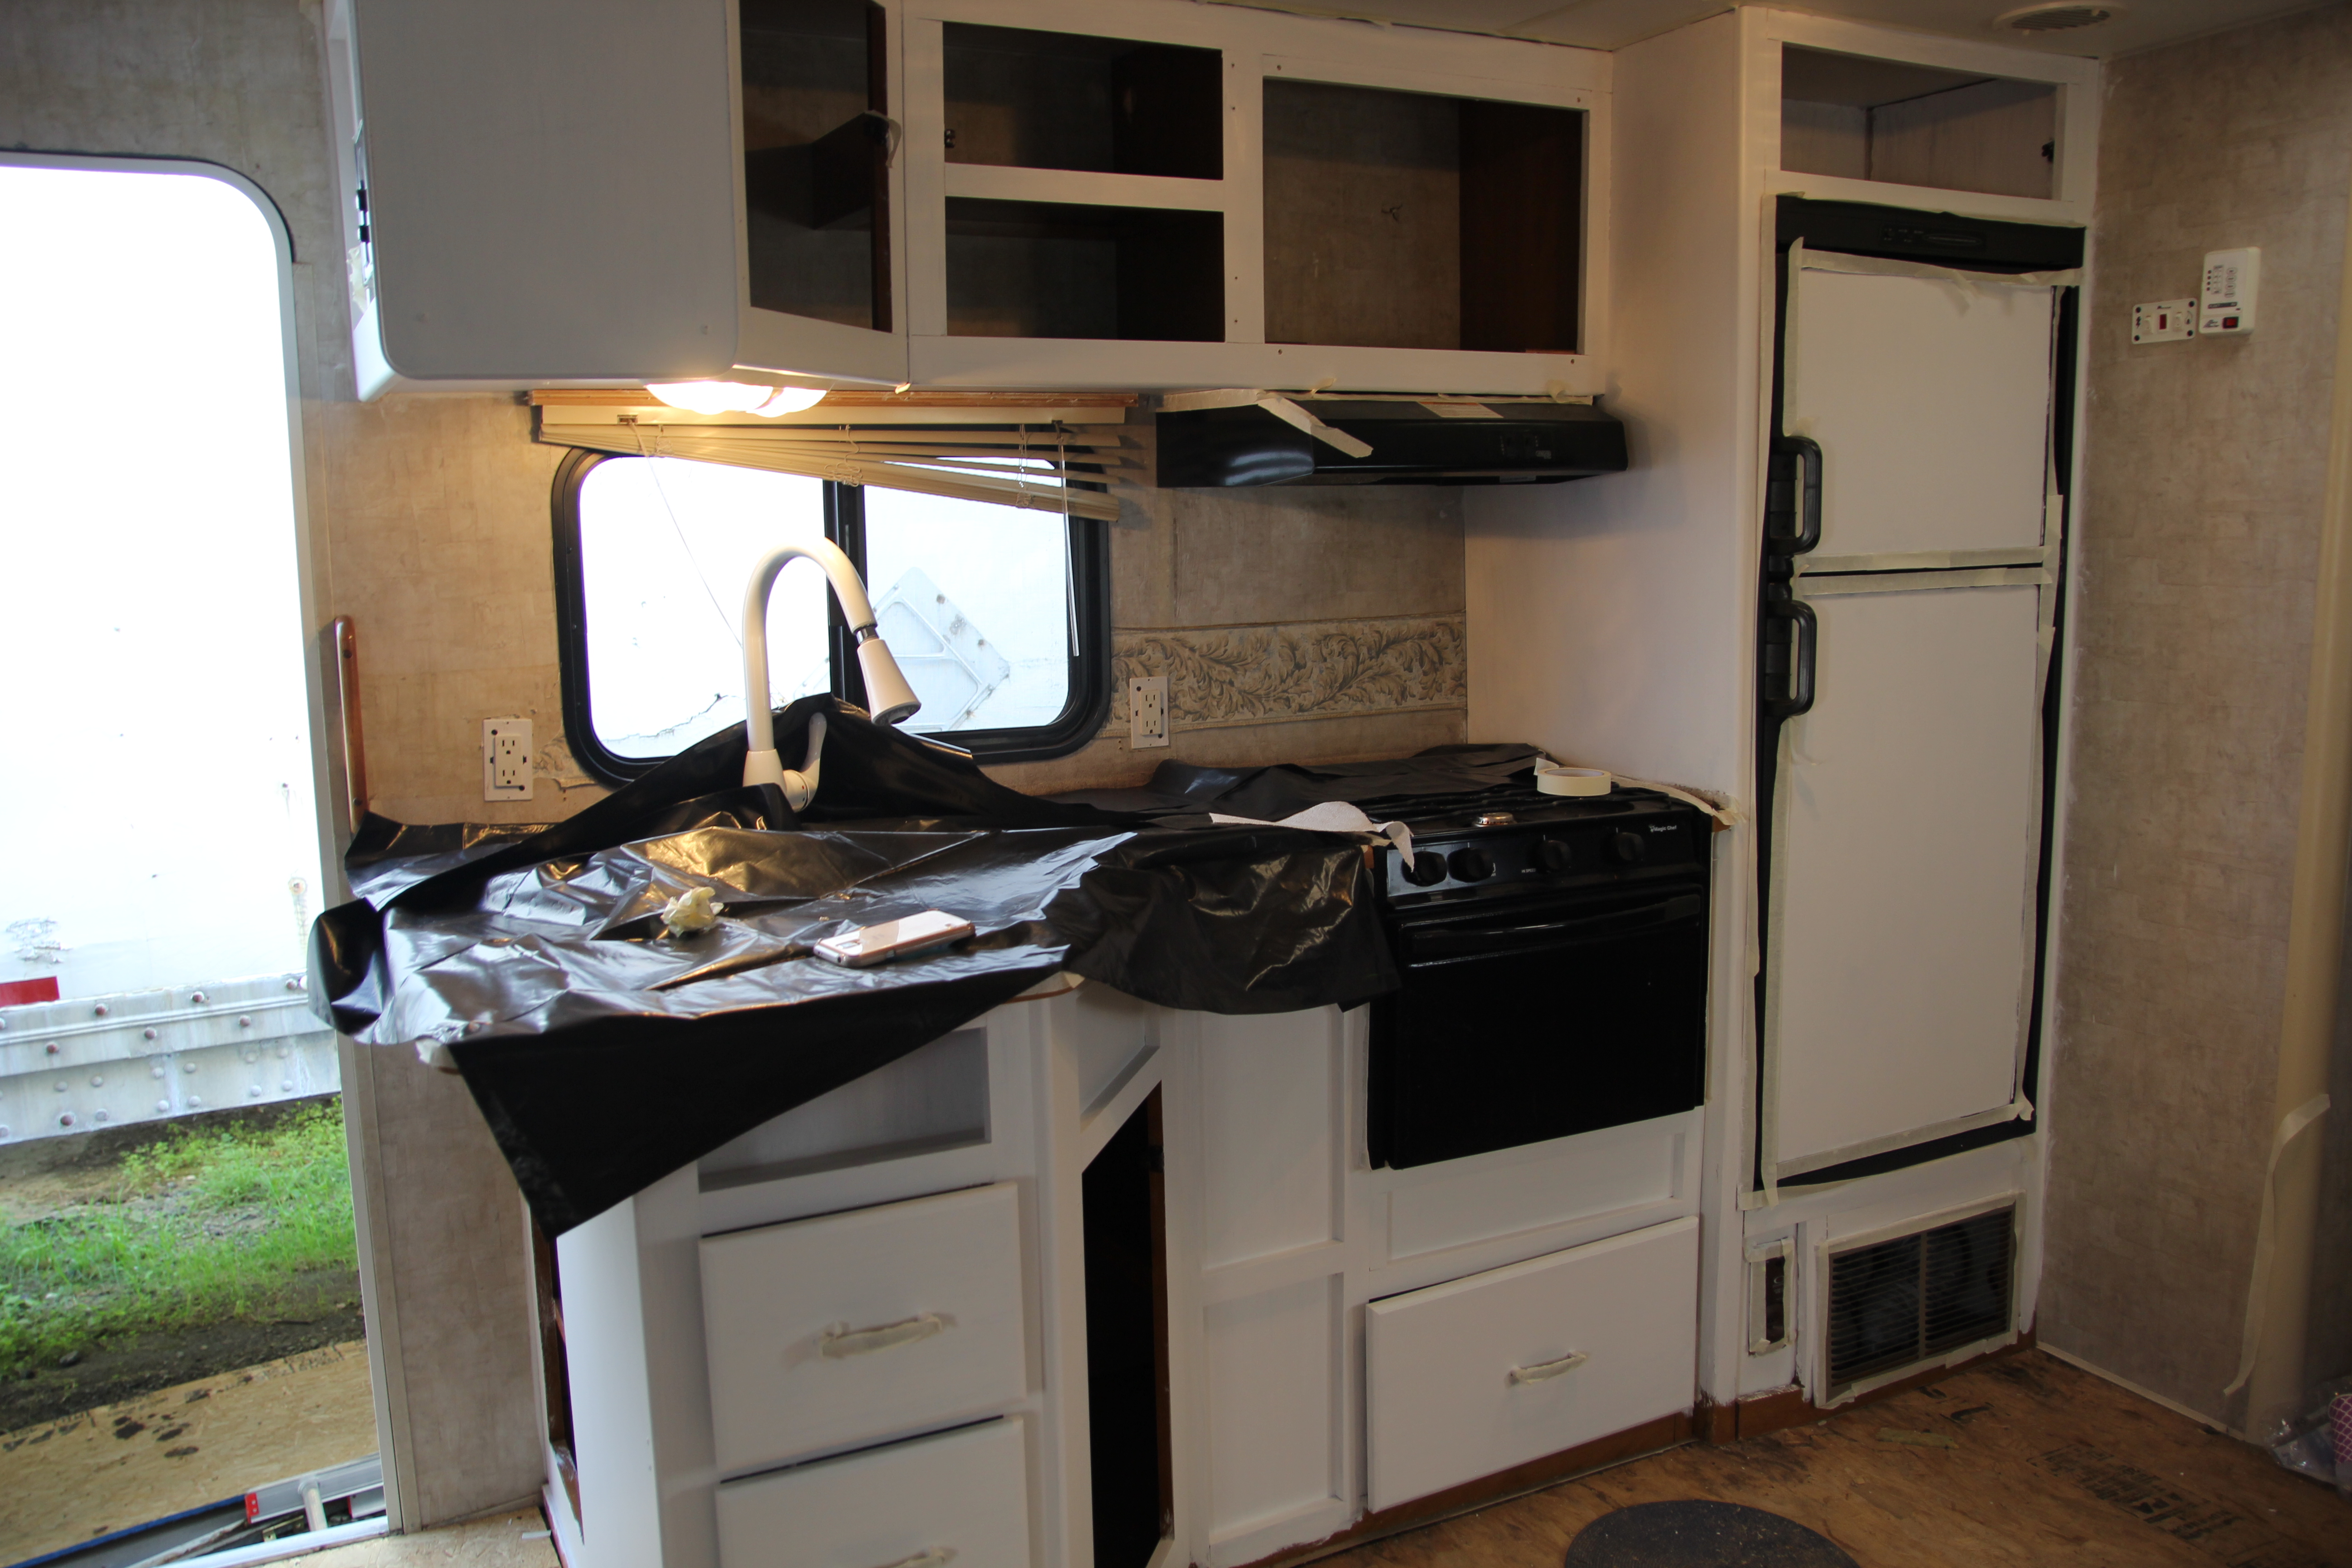
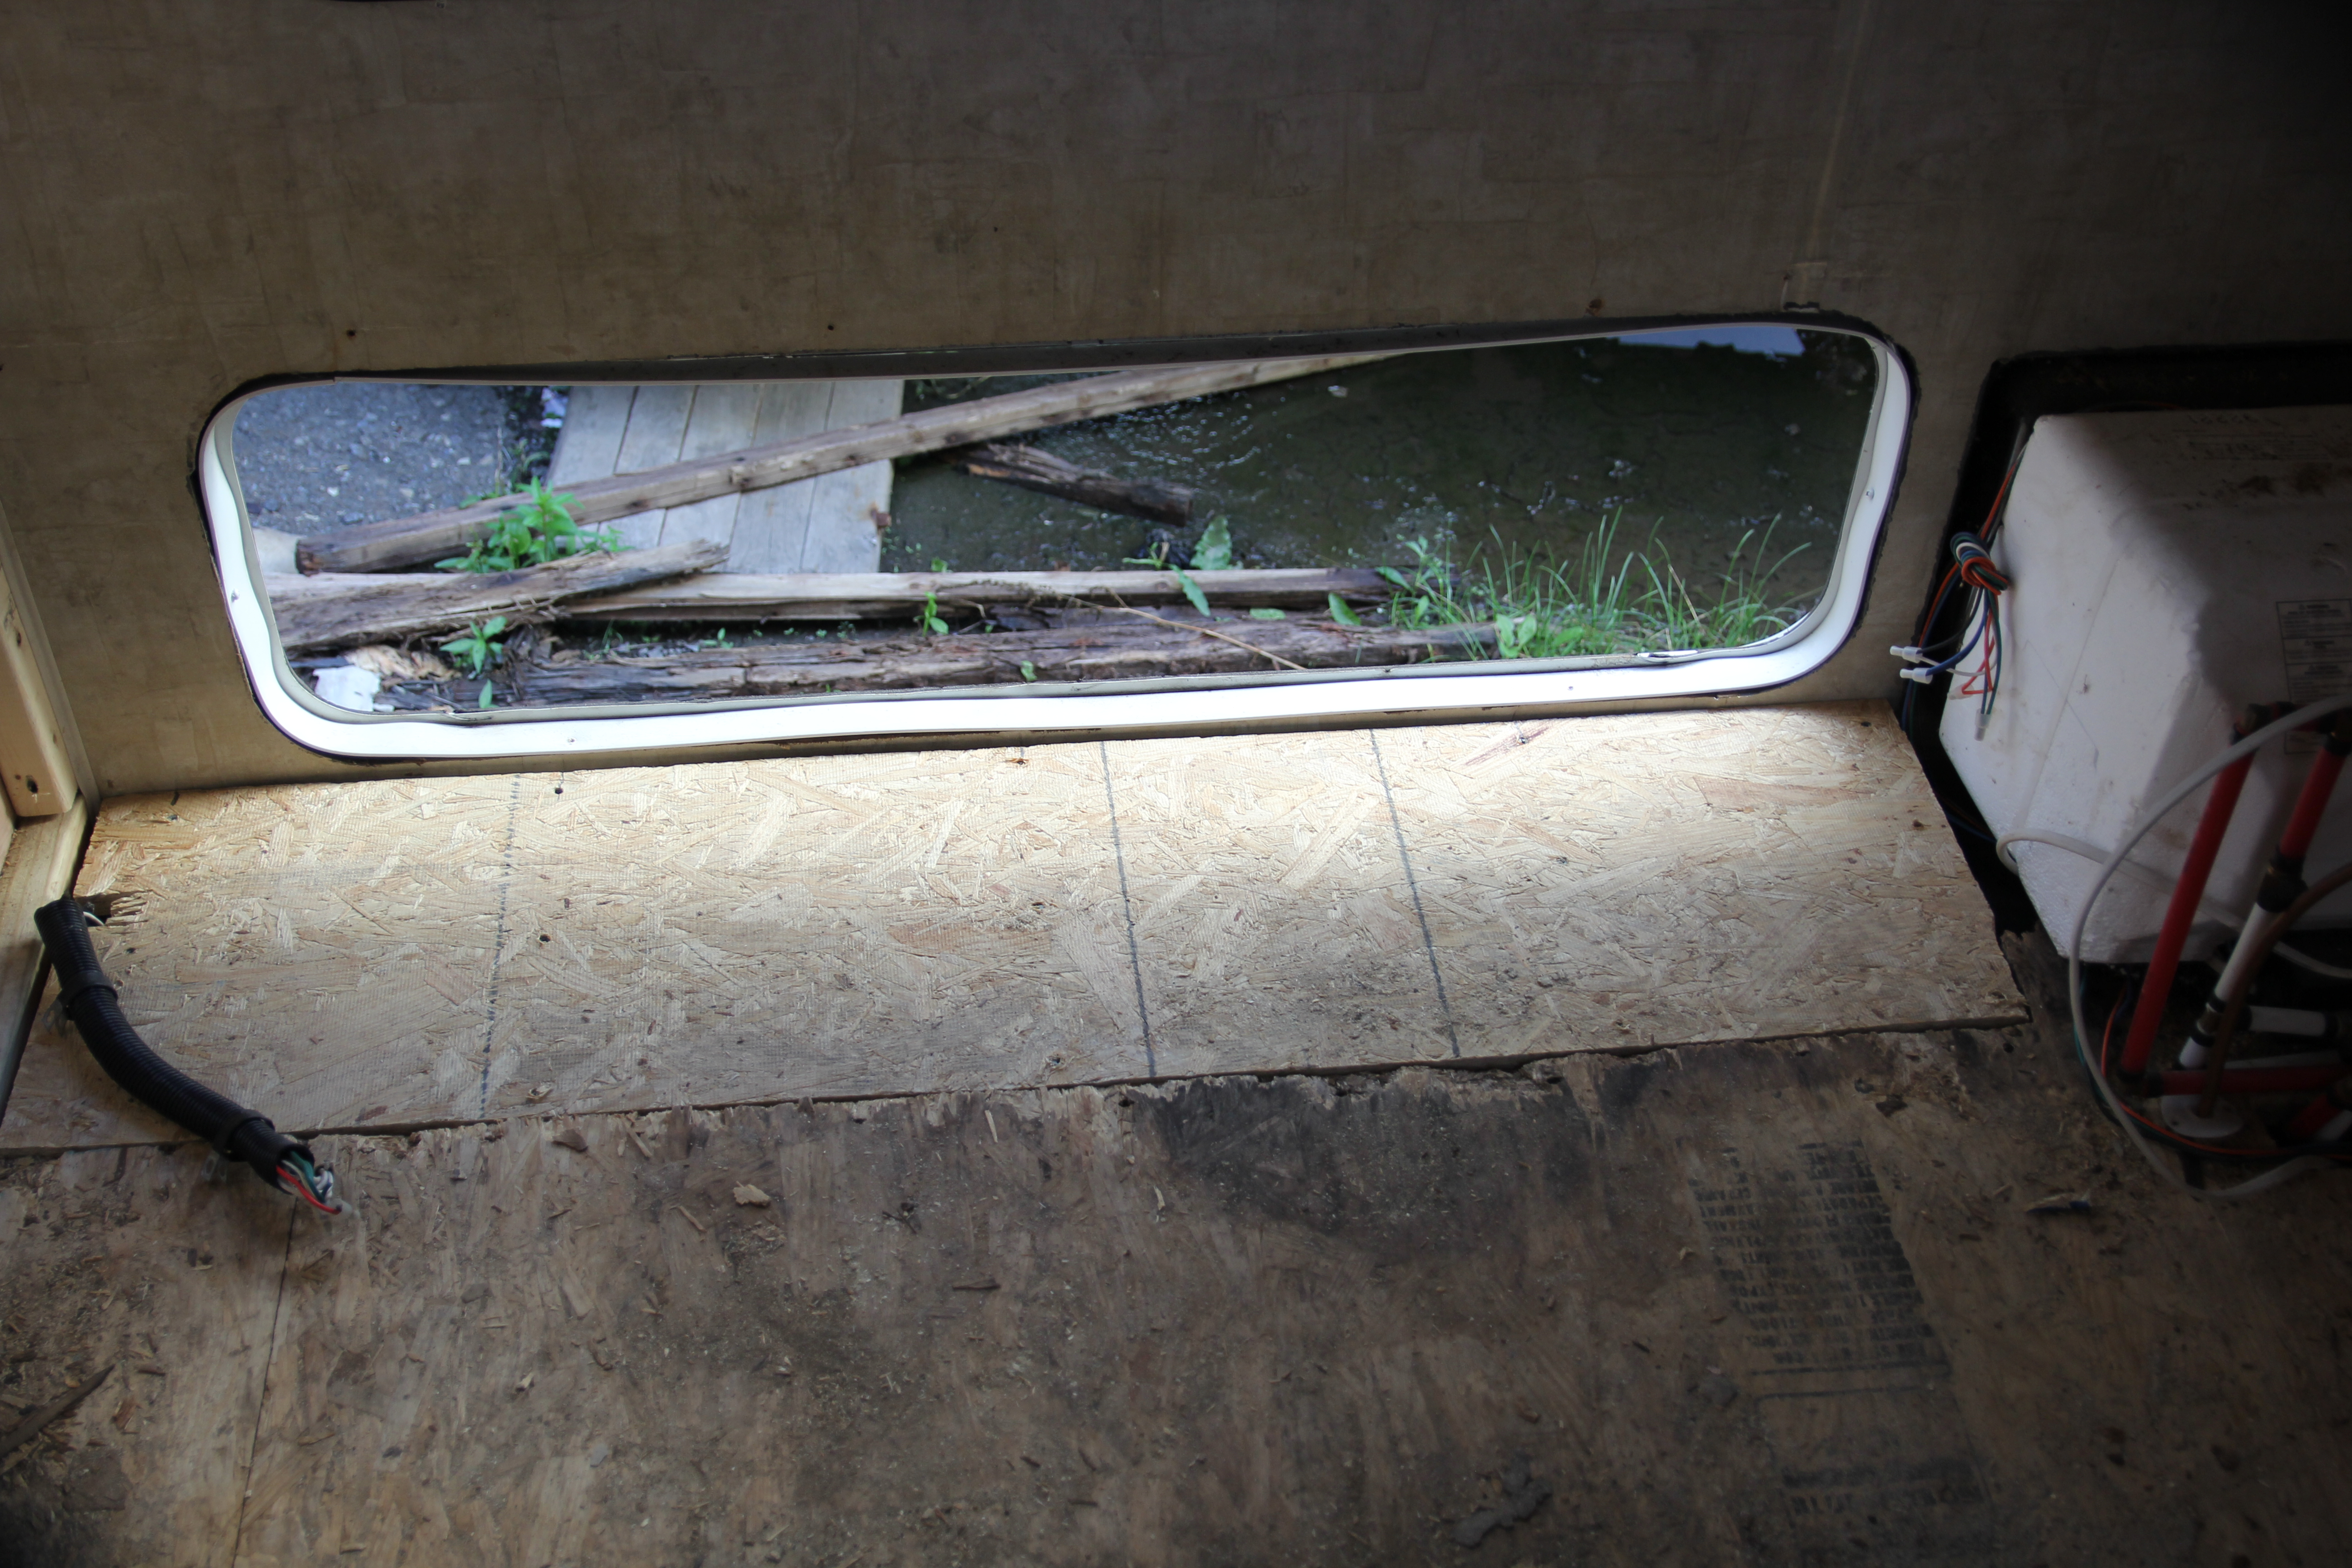
The floor was damaged under the water heater (bottom right), so I did my best to clean it out without having to remove the water heater. The sill board on this side was so rotted out that I couldn’t secure anything to it, so I had to remove it and start over for my repair.

The sill board was so bad that this trim piece easily pulled out.
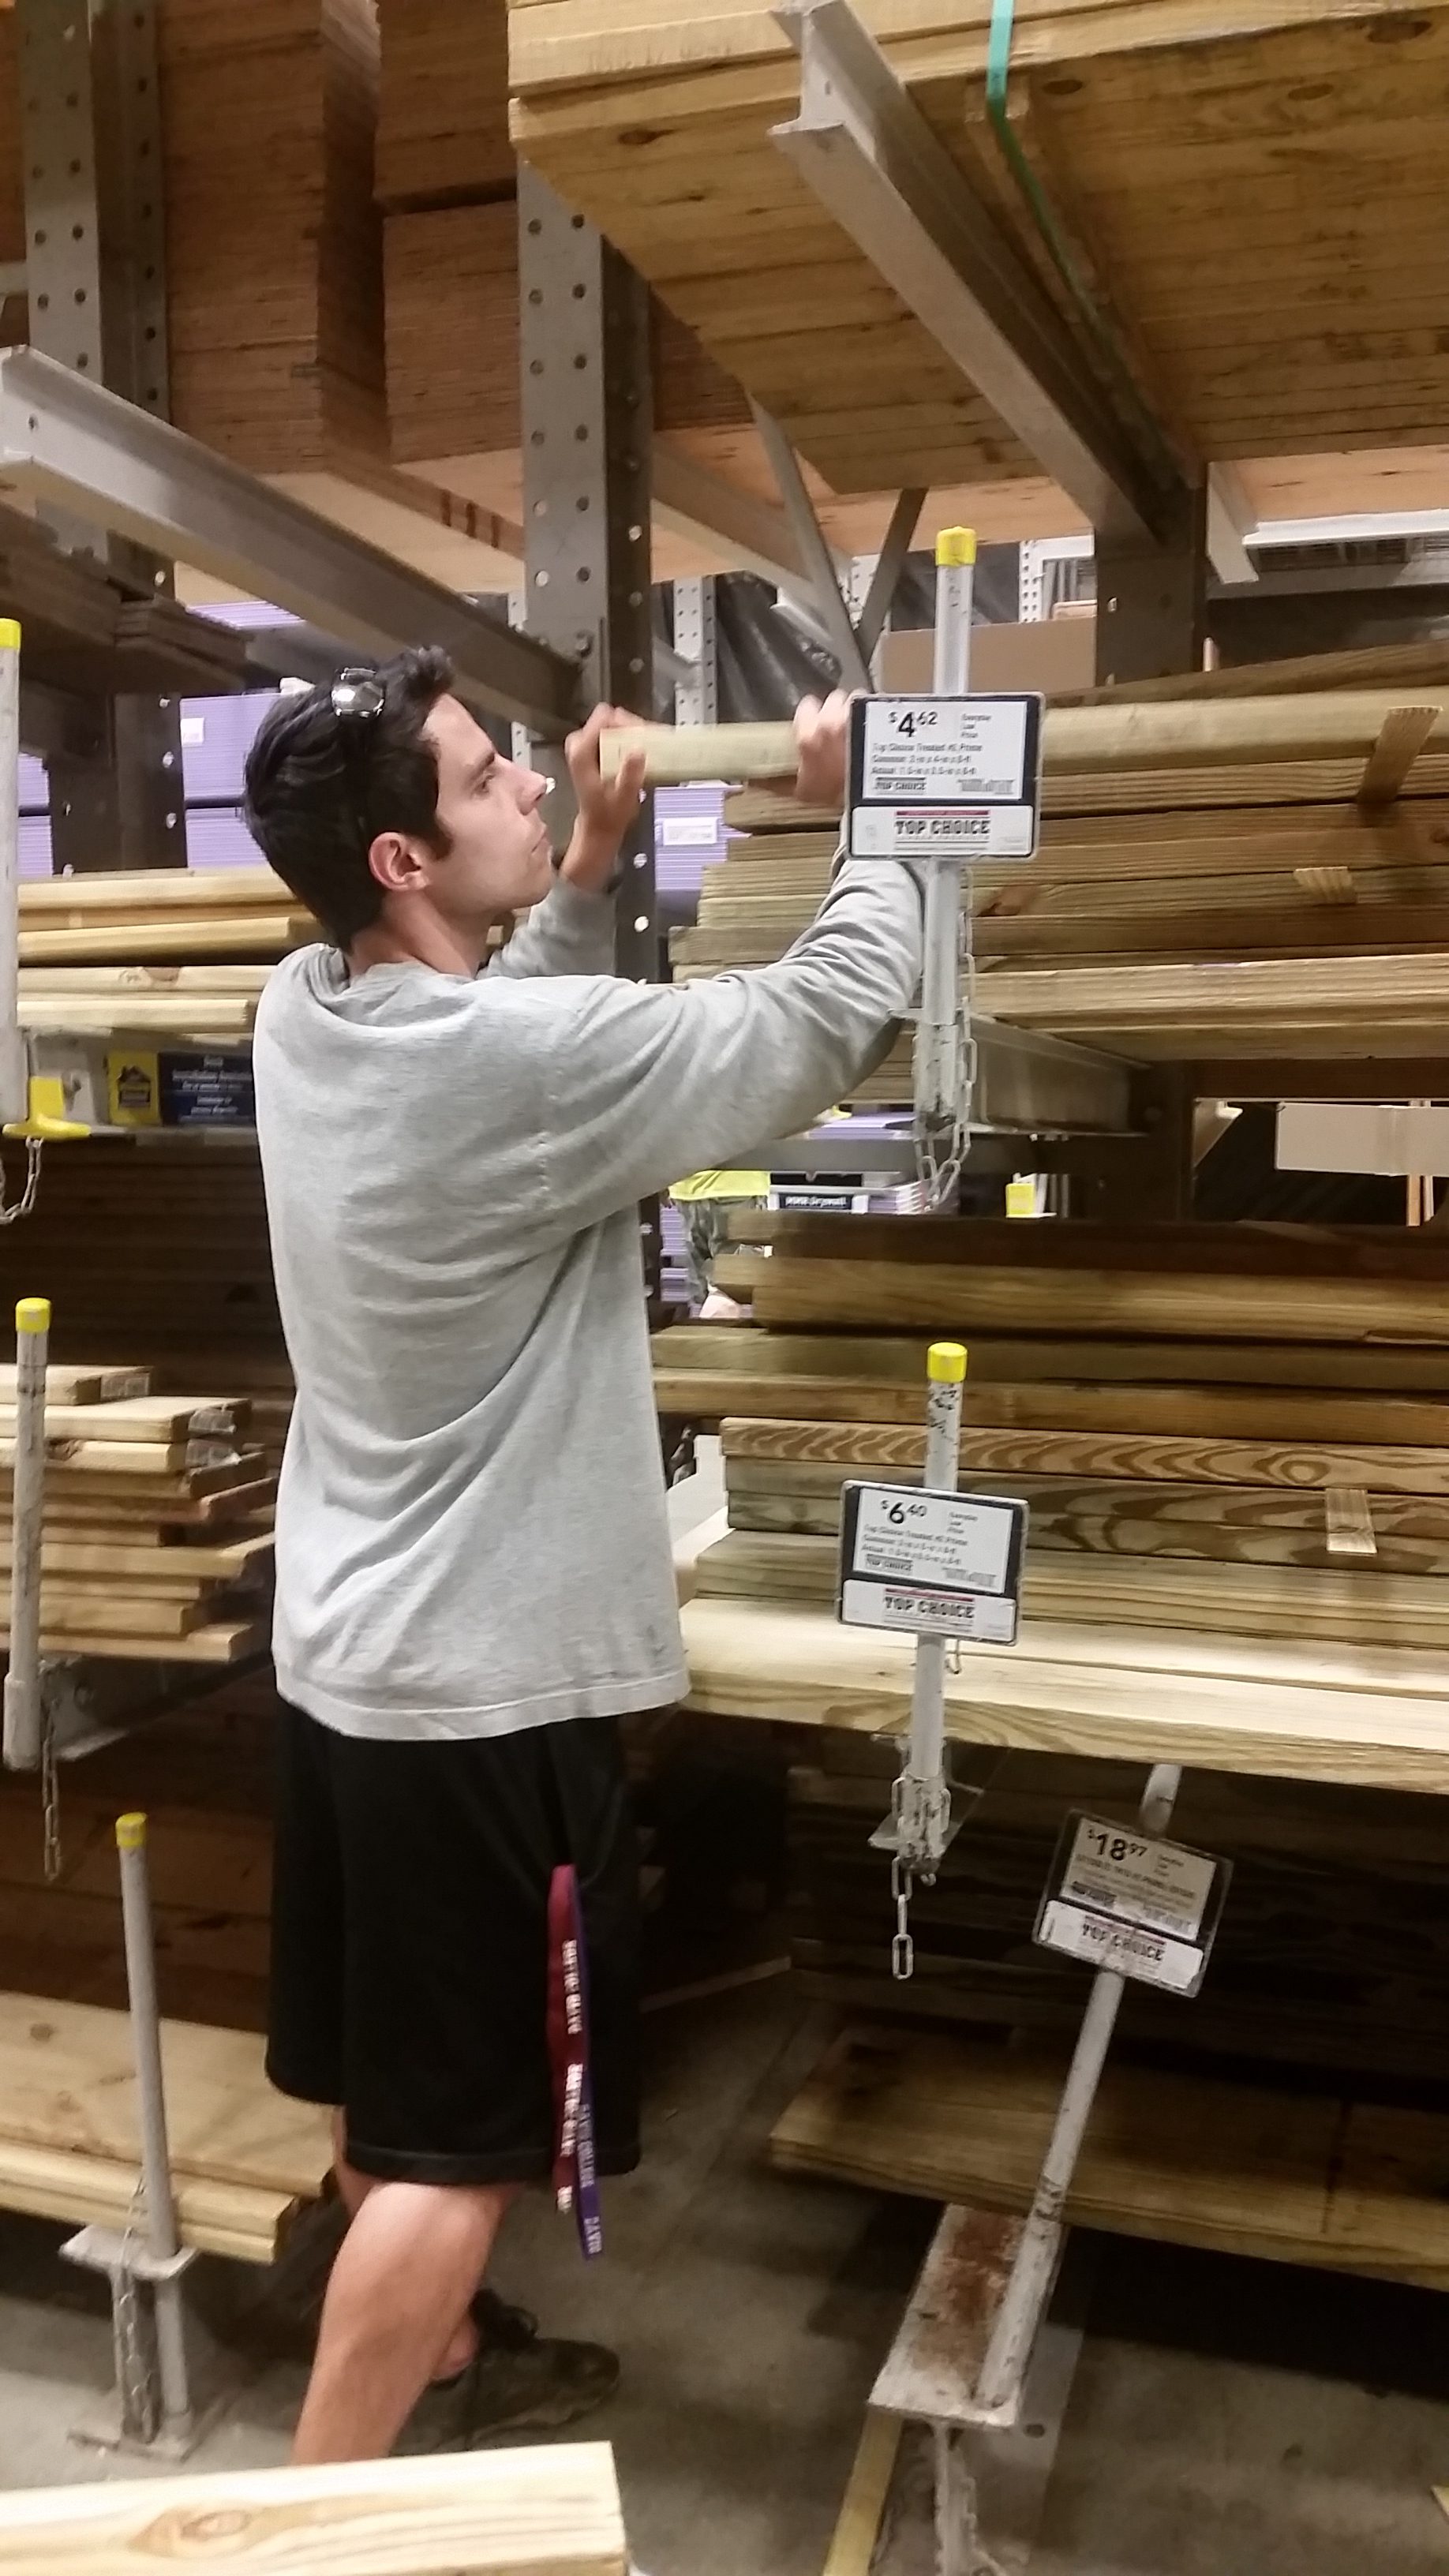
I used a mix of pressure treated and regular 2 x 4 boards.
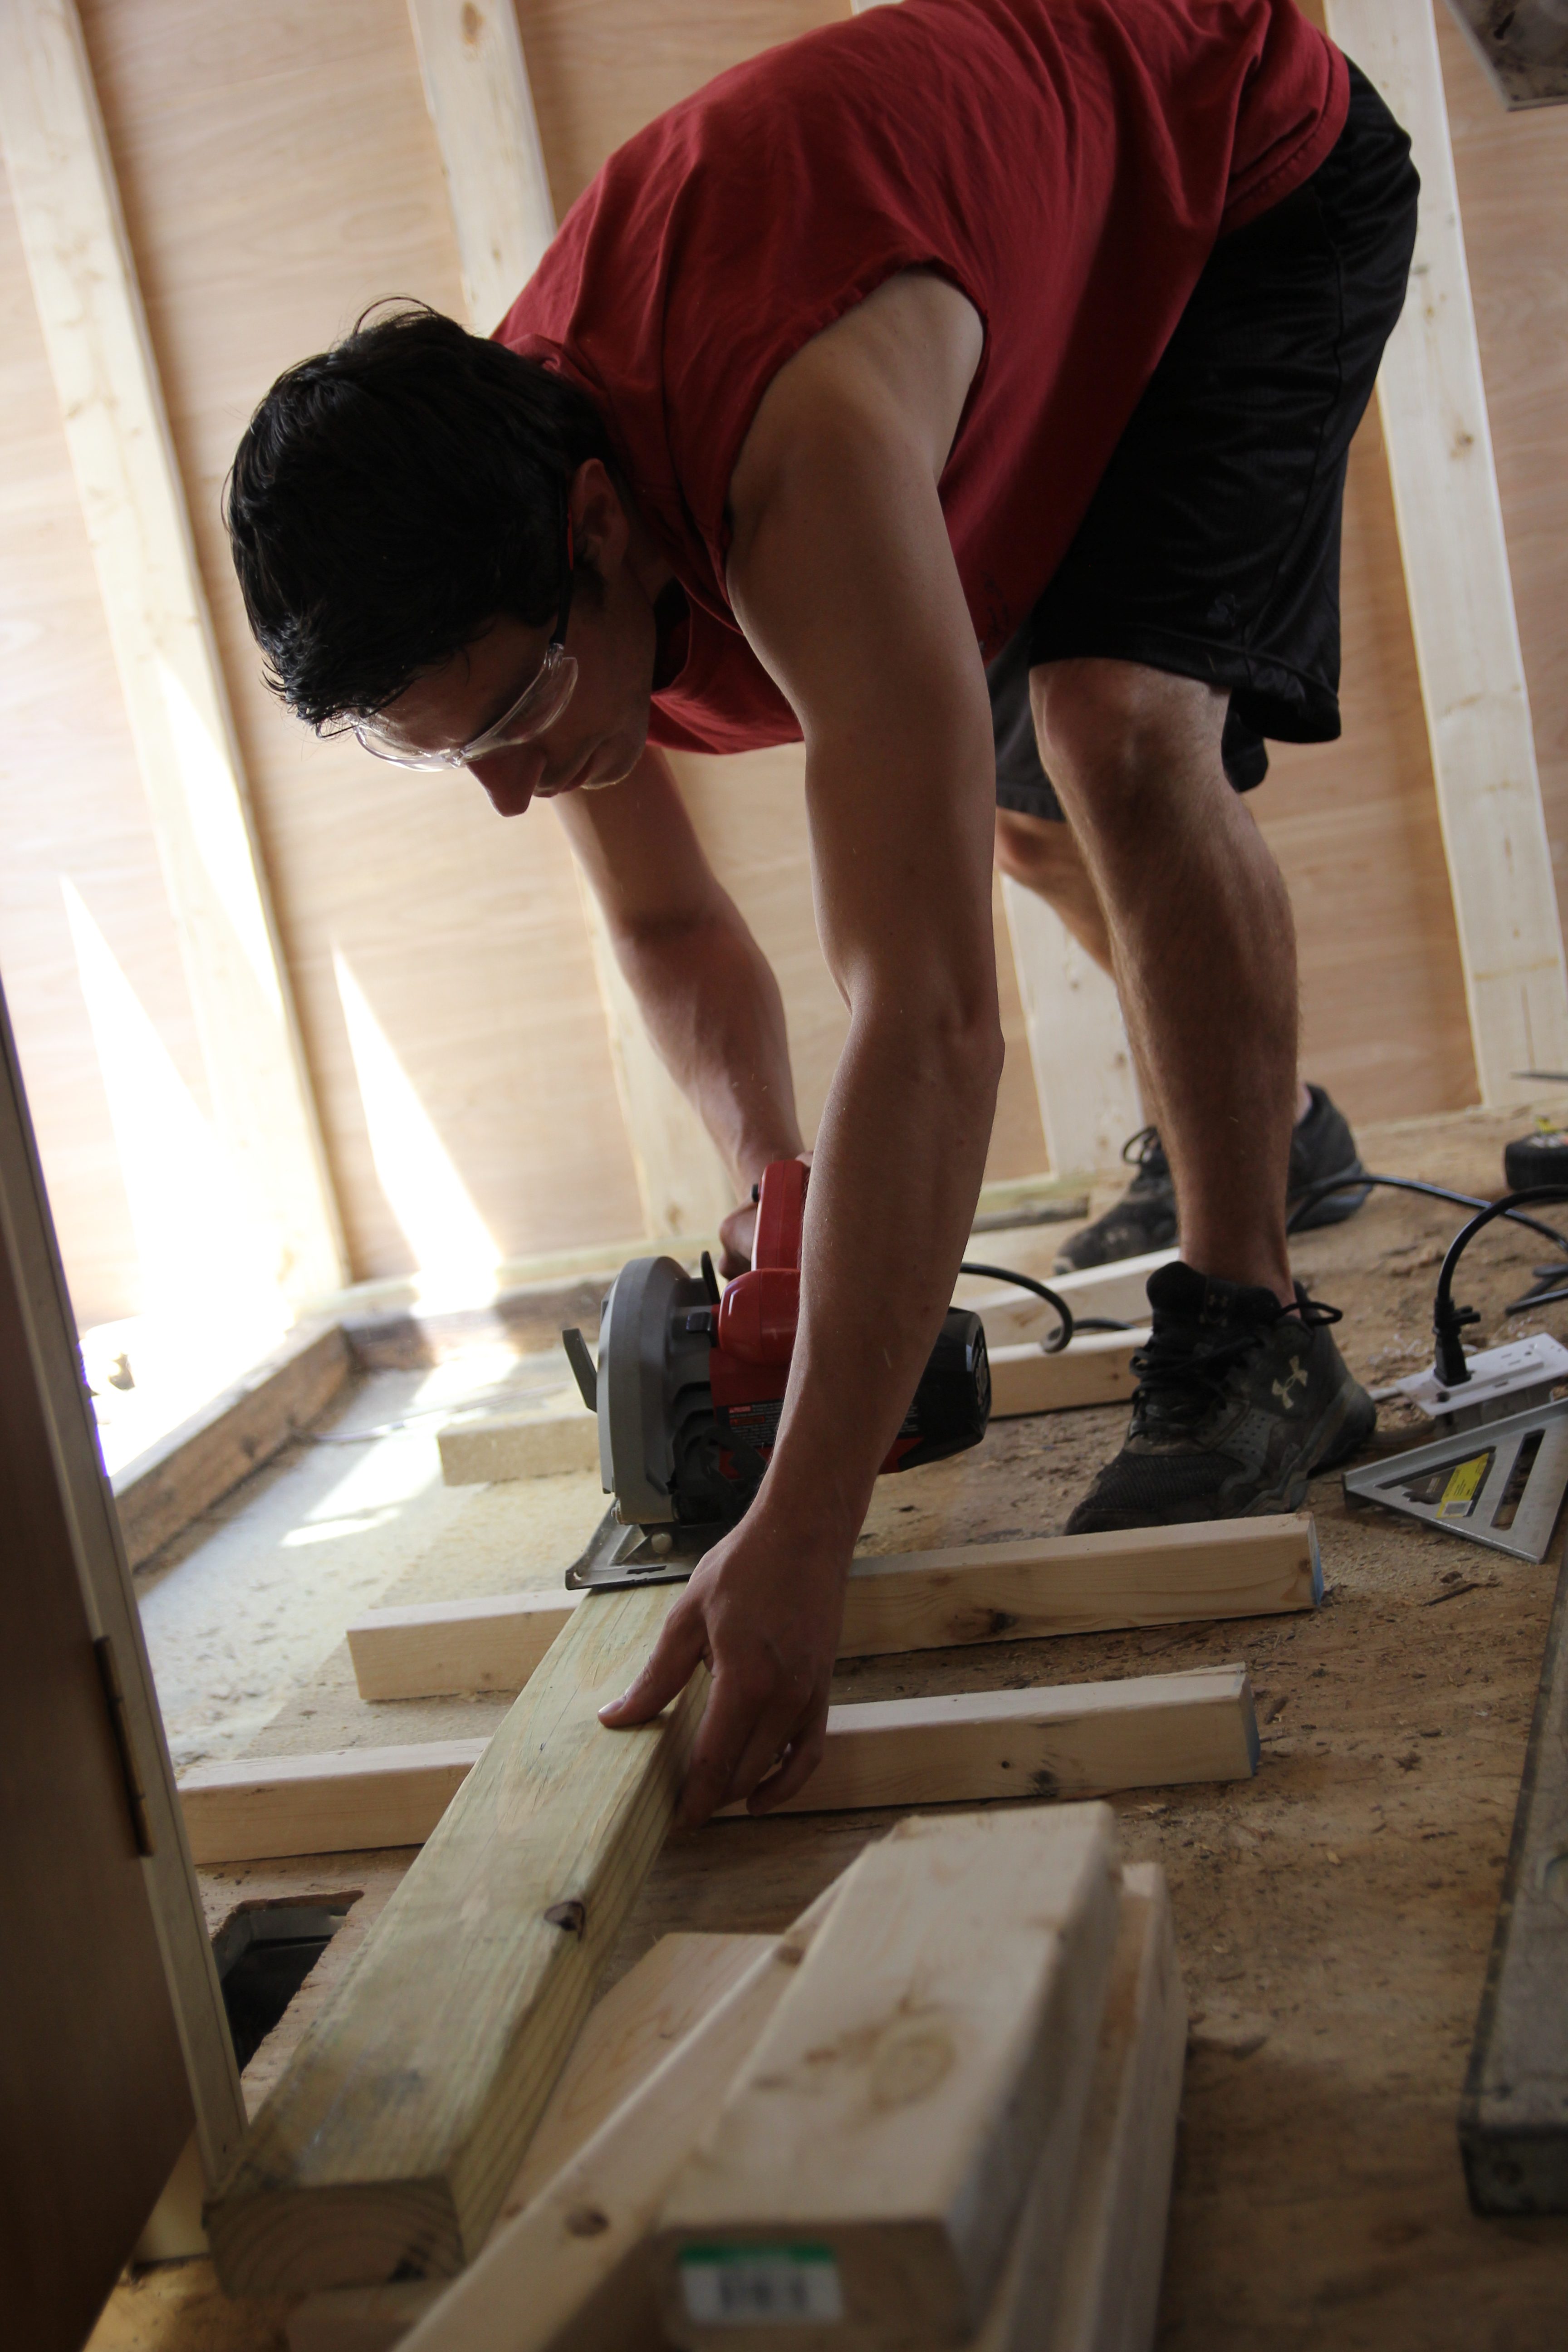
I didn’t have a sawhorse, so this was my only way of cutting boards… it was frustrating to cut boards this way, but it’s all I had. Definitely not OSHA approved, but at least I have safety glasses on.
On this side of the camper the sill plate was still good, so I was able to just secure/sister a new floor joist to it. I made sure to put it under the wall as far as it could go. I used exterior screws to secure it so they wouldn’t rot out in the future, and I used pressure treated wood in case water were to ever get in there again (it better not).

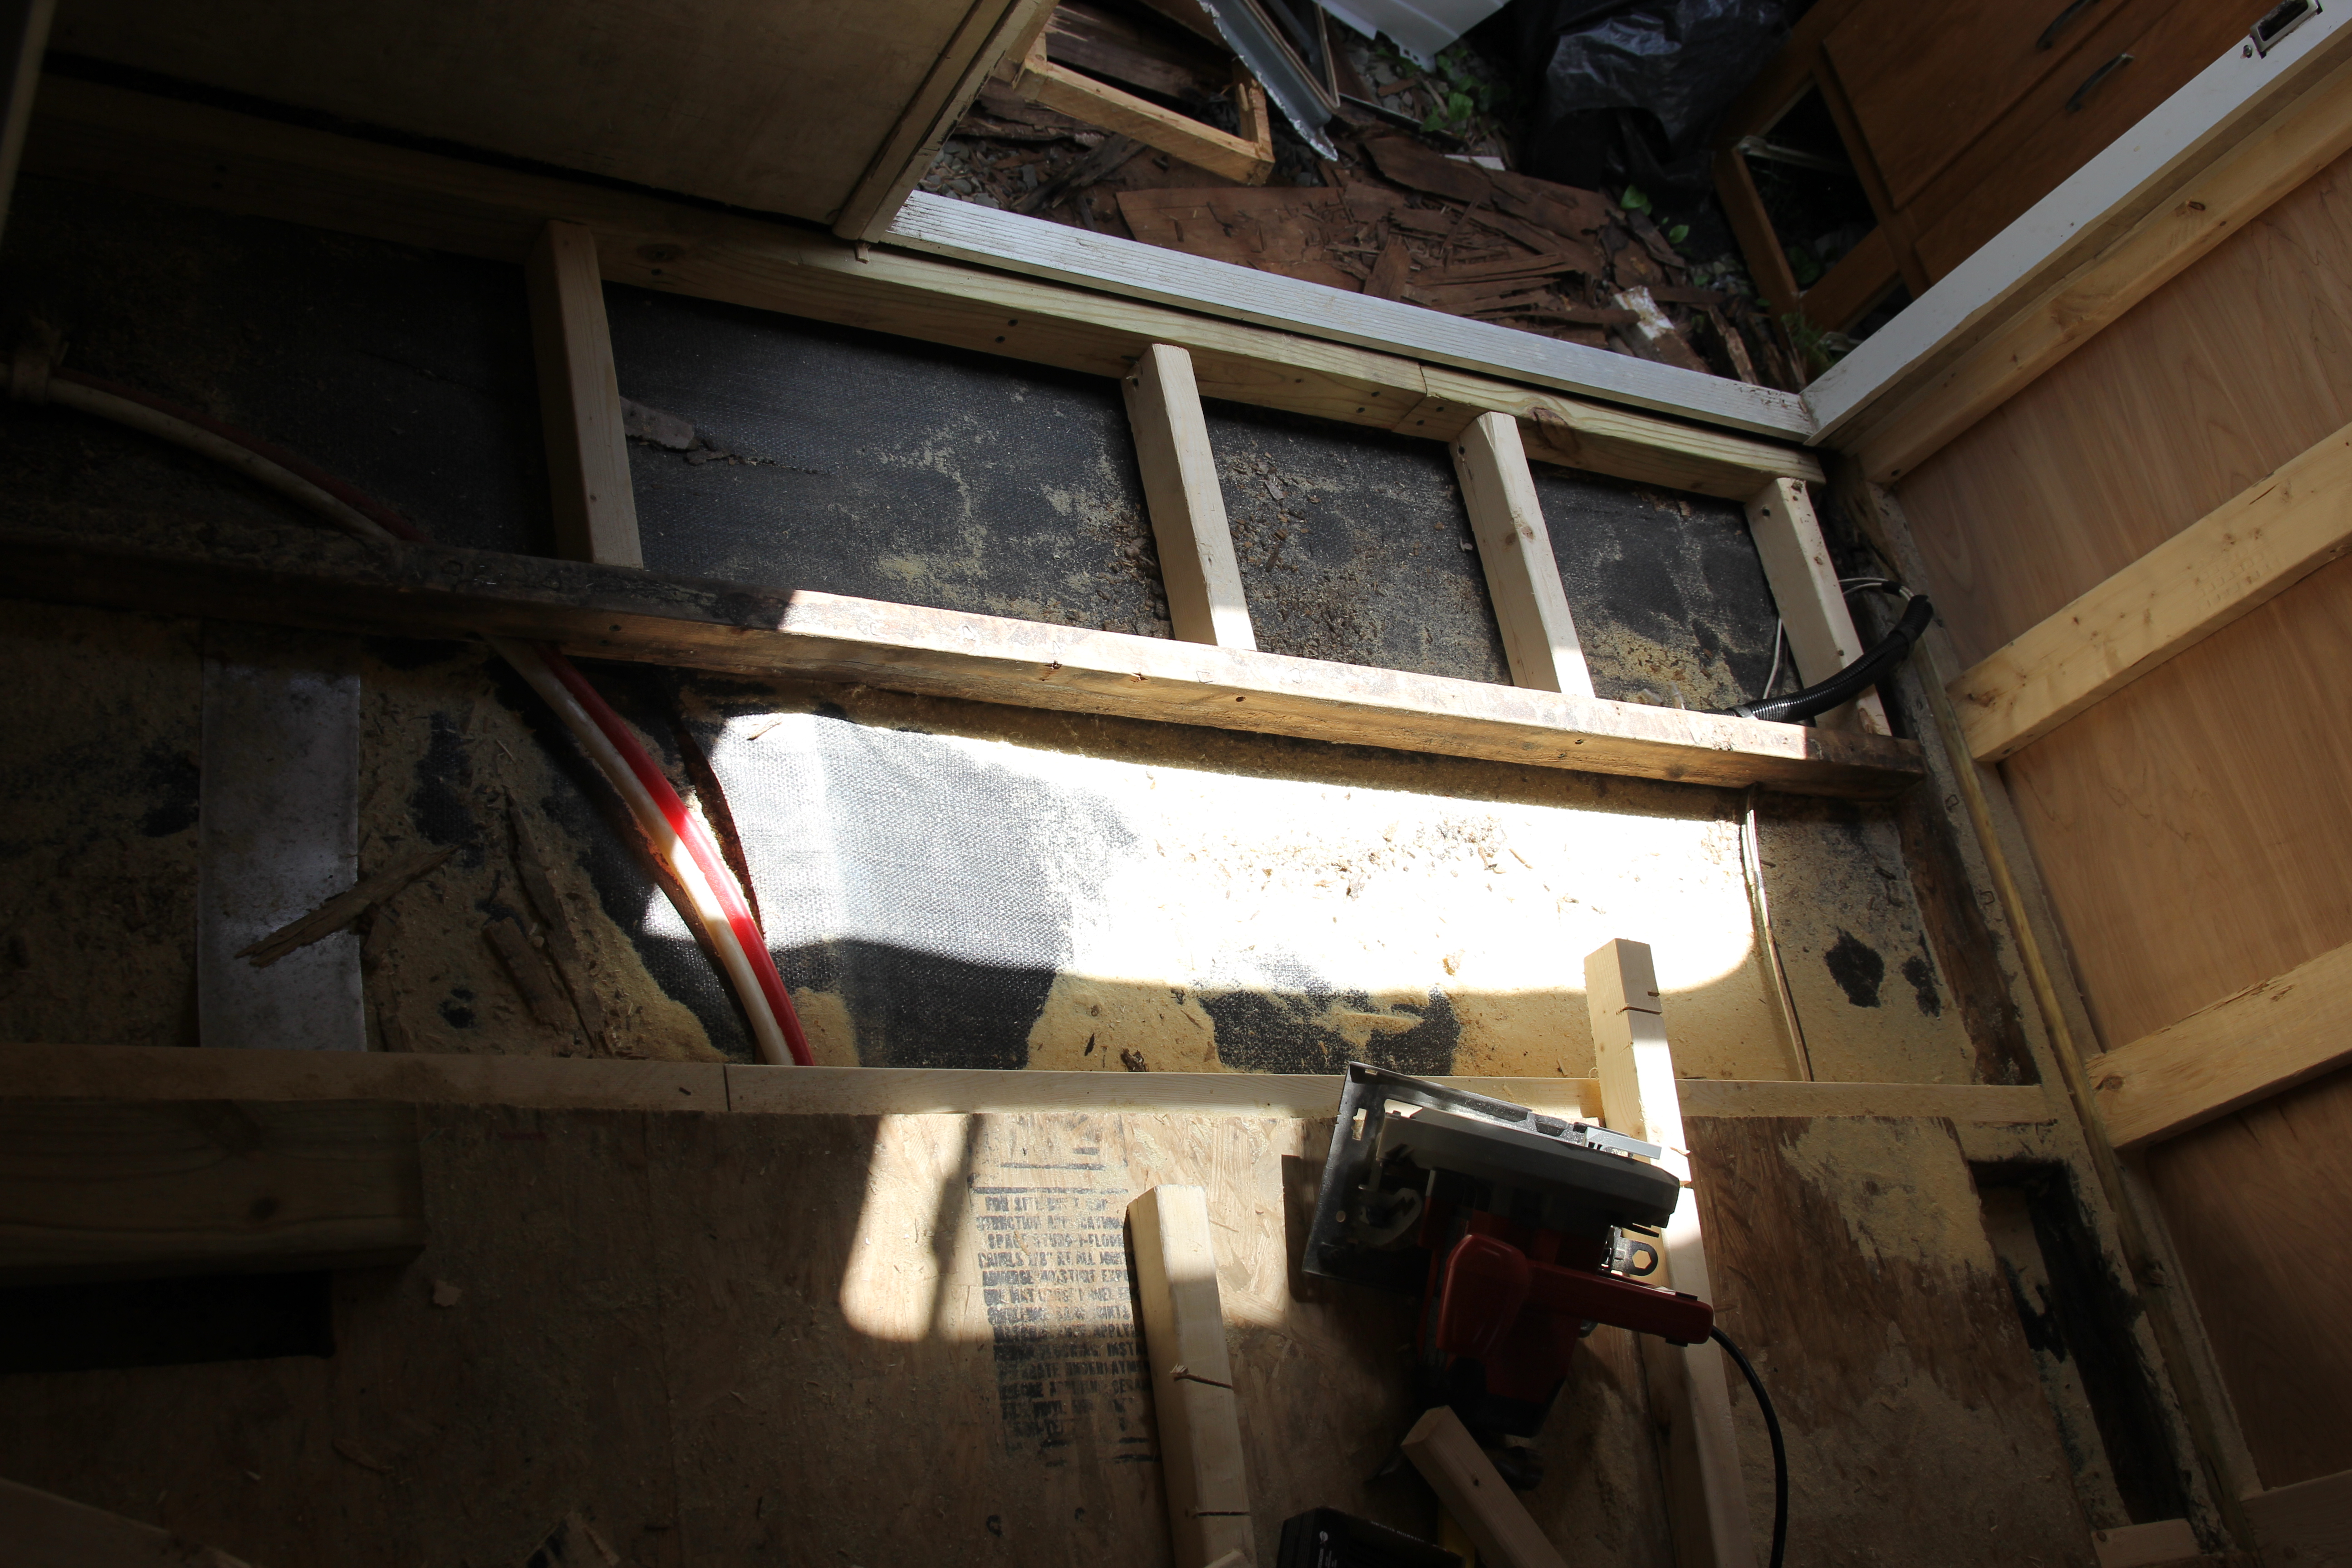
I had to put in cross-members to secure it all together. I had to cut a lip into one of the boards I put on so the water lines could stay in place.
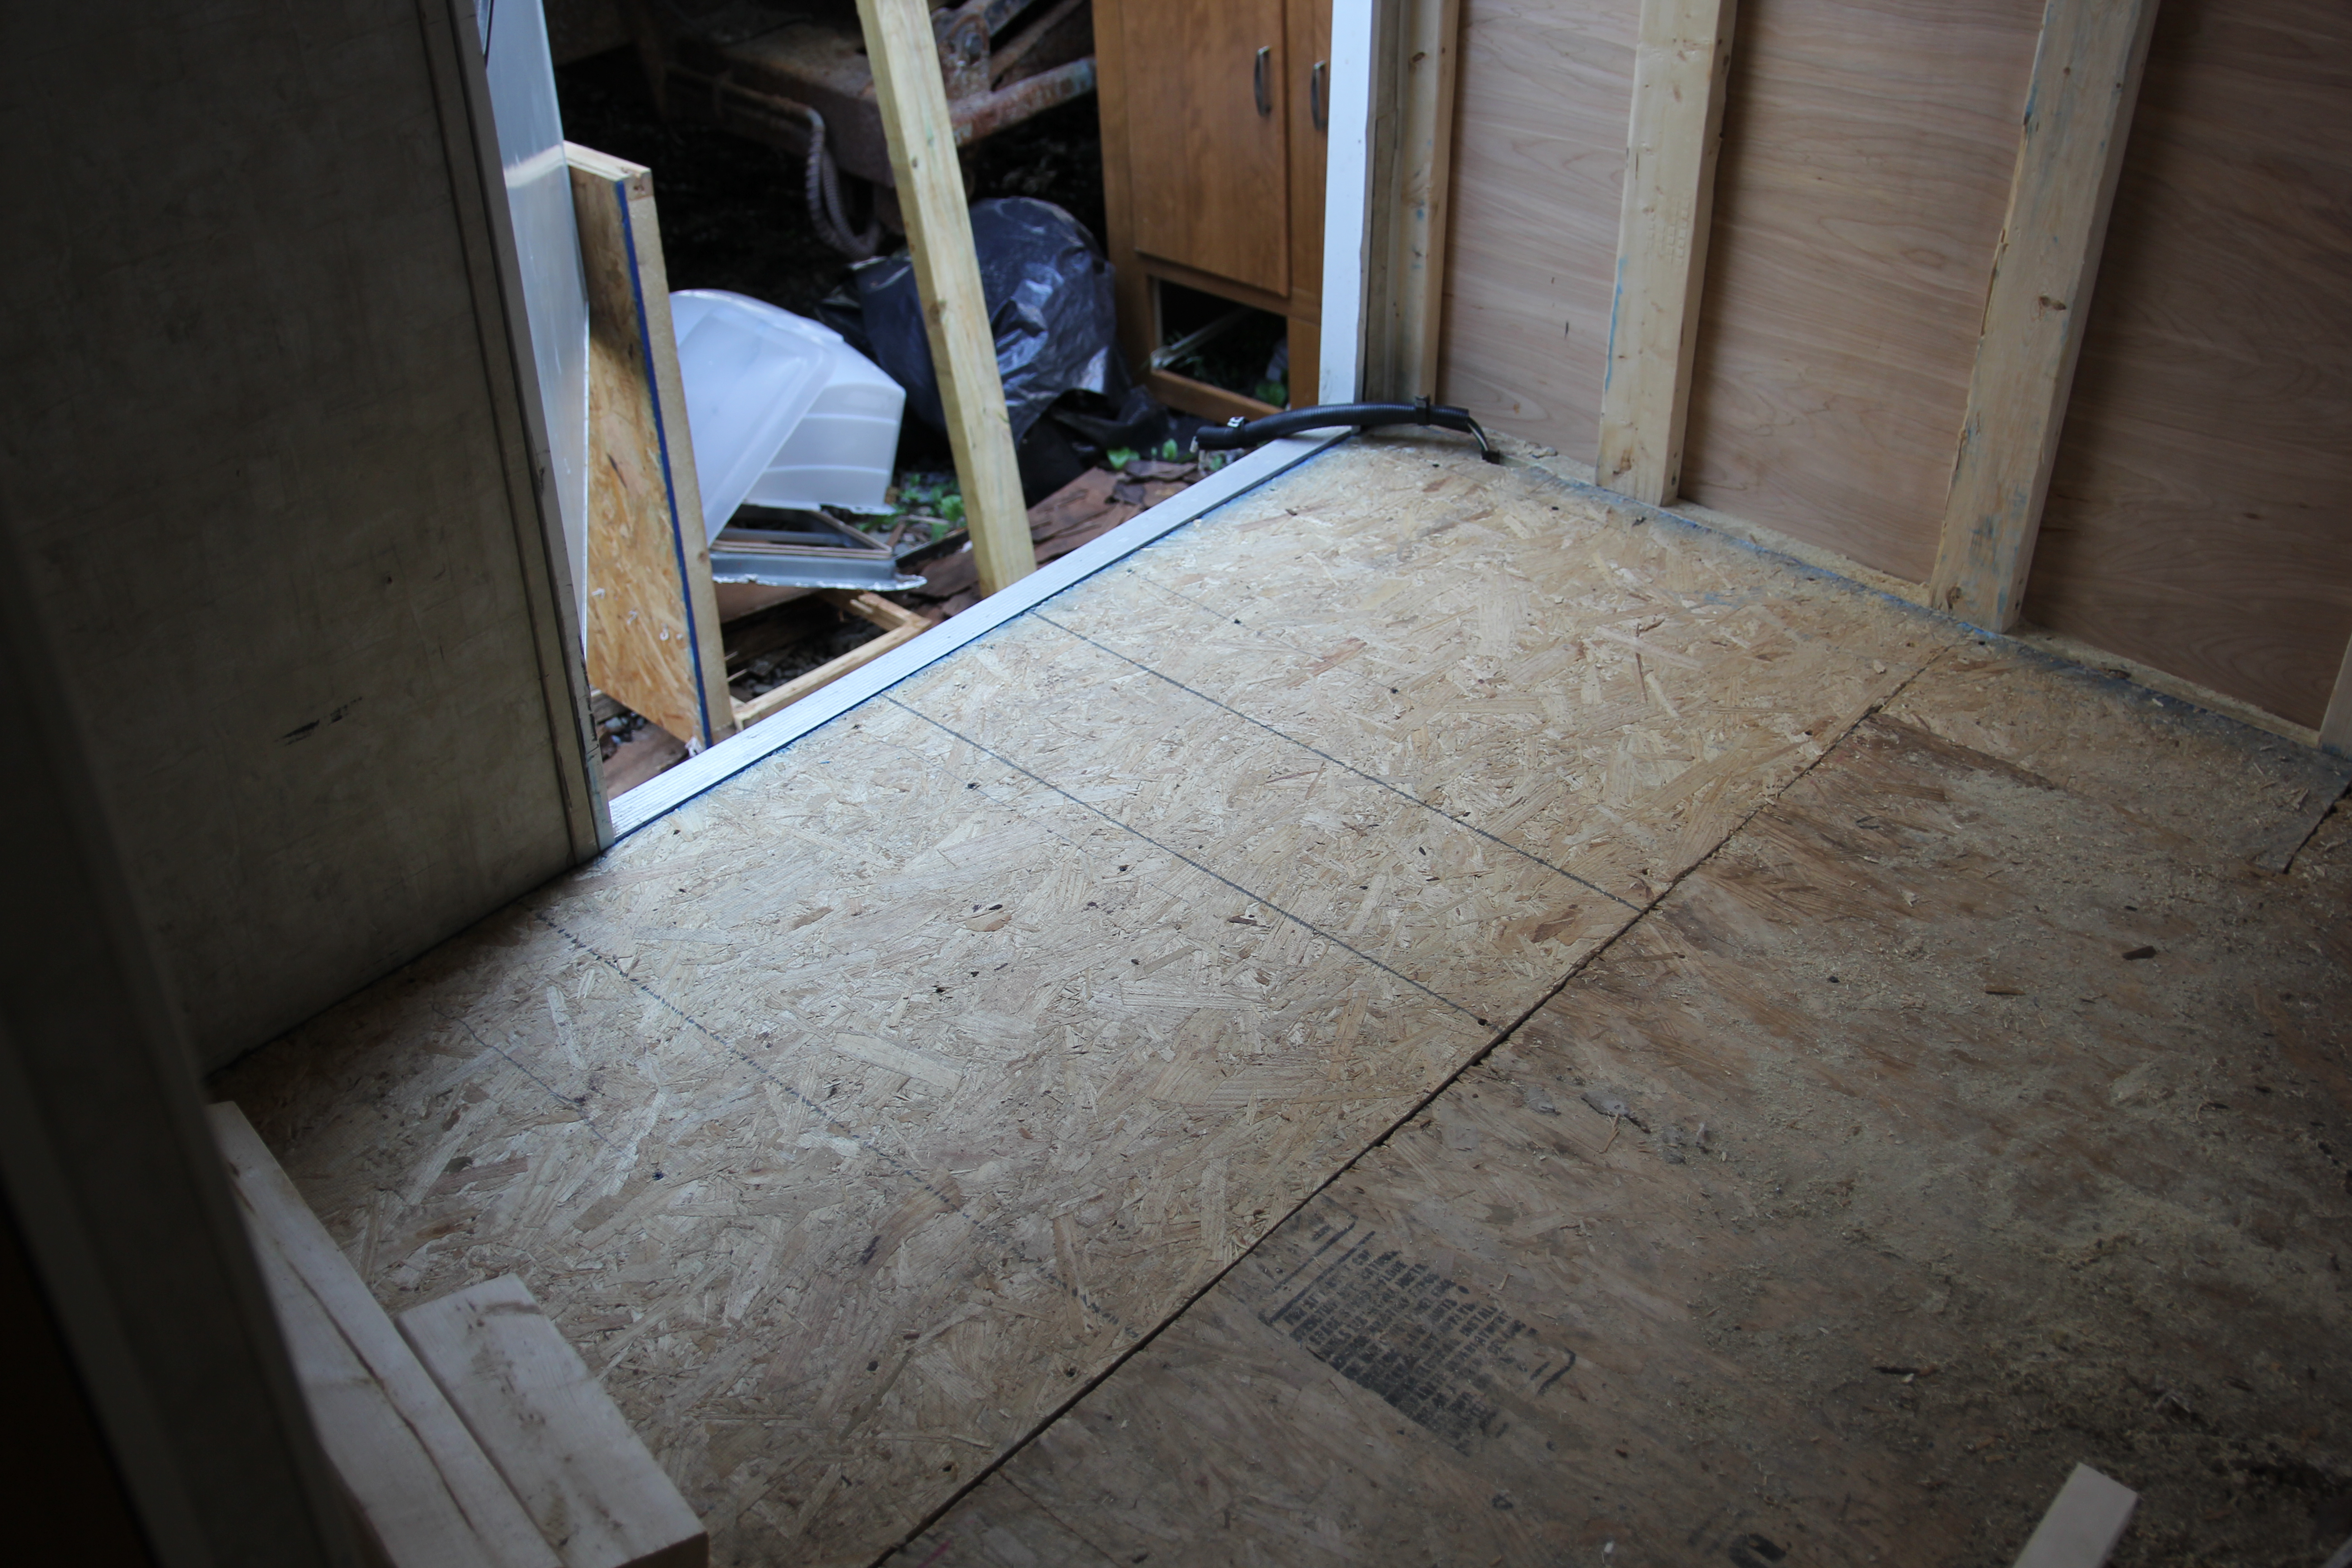
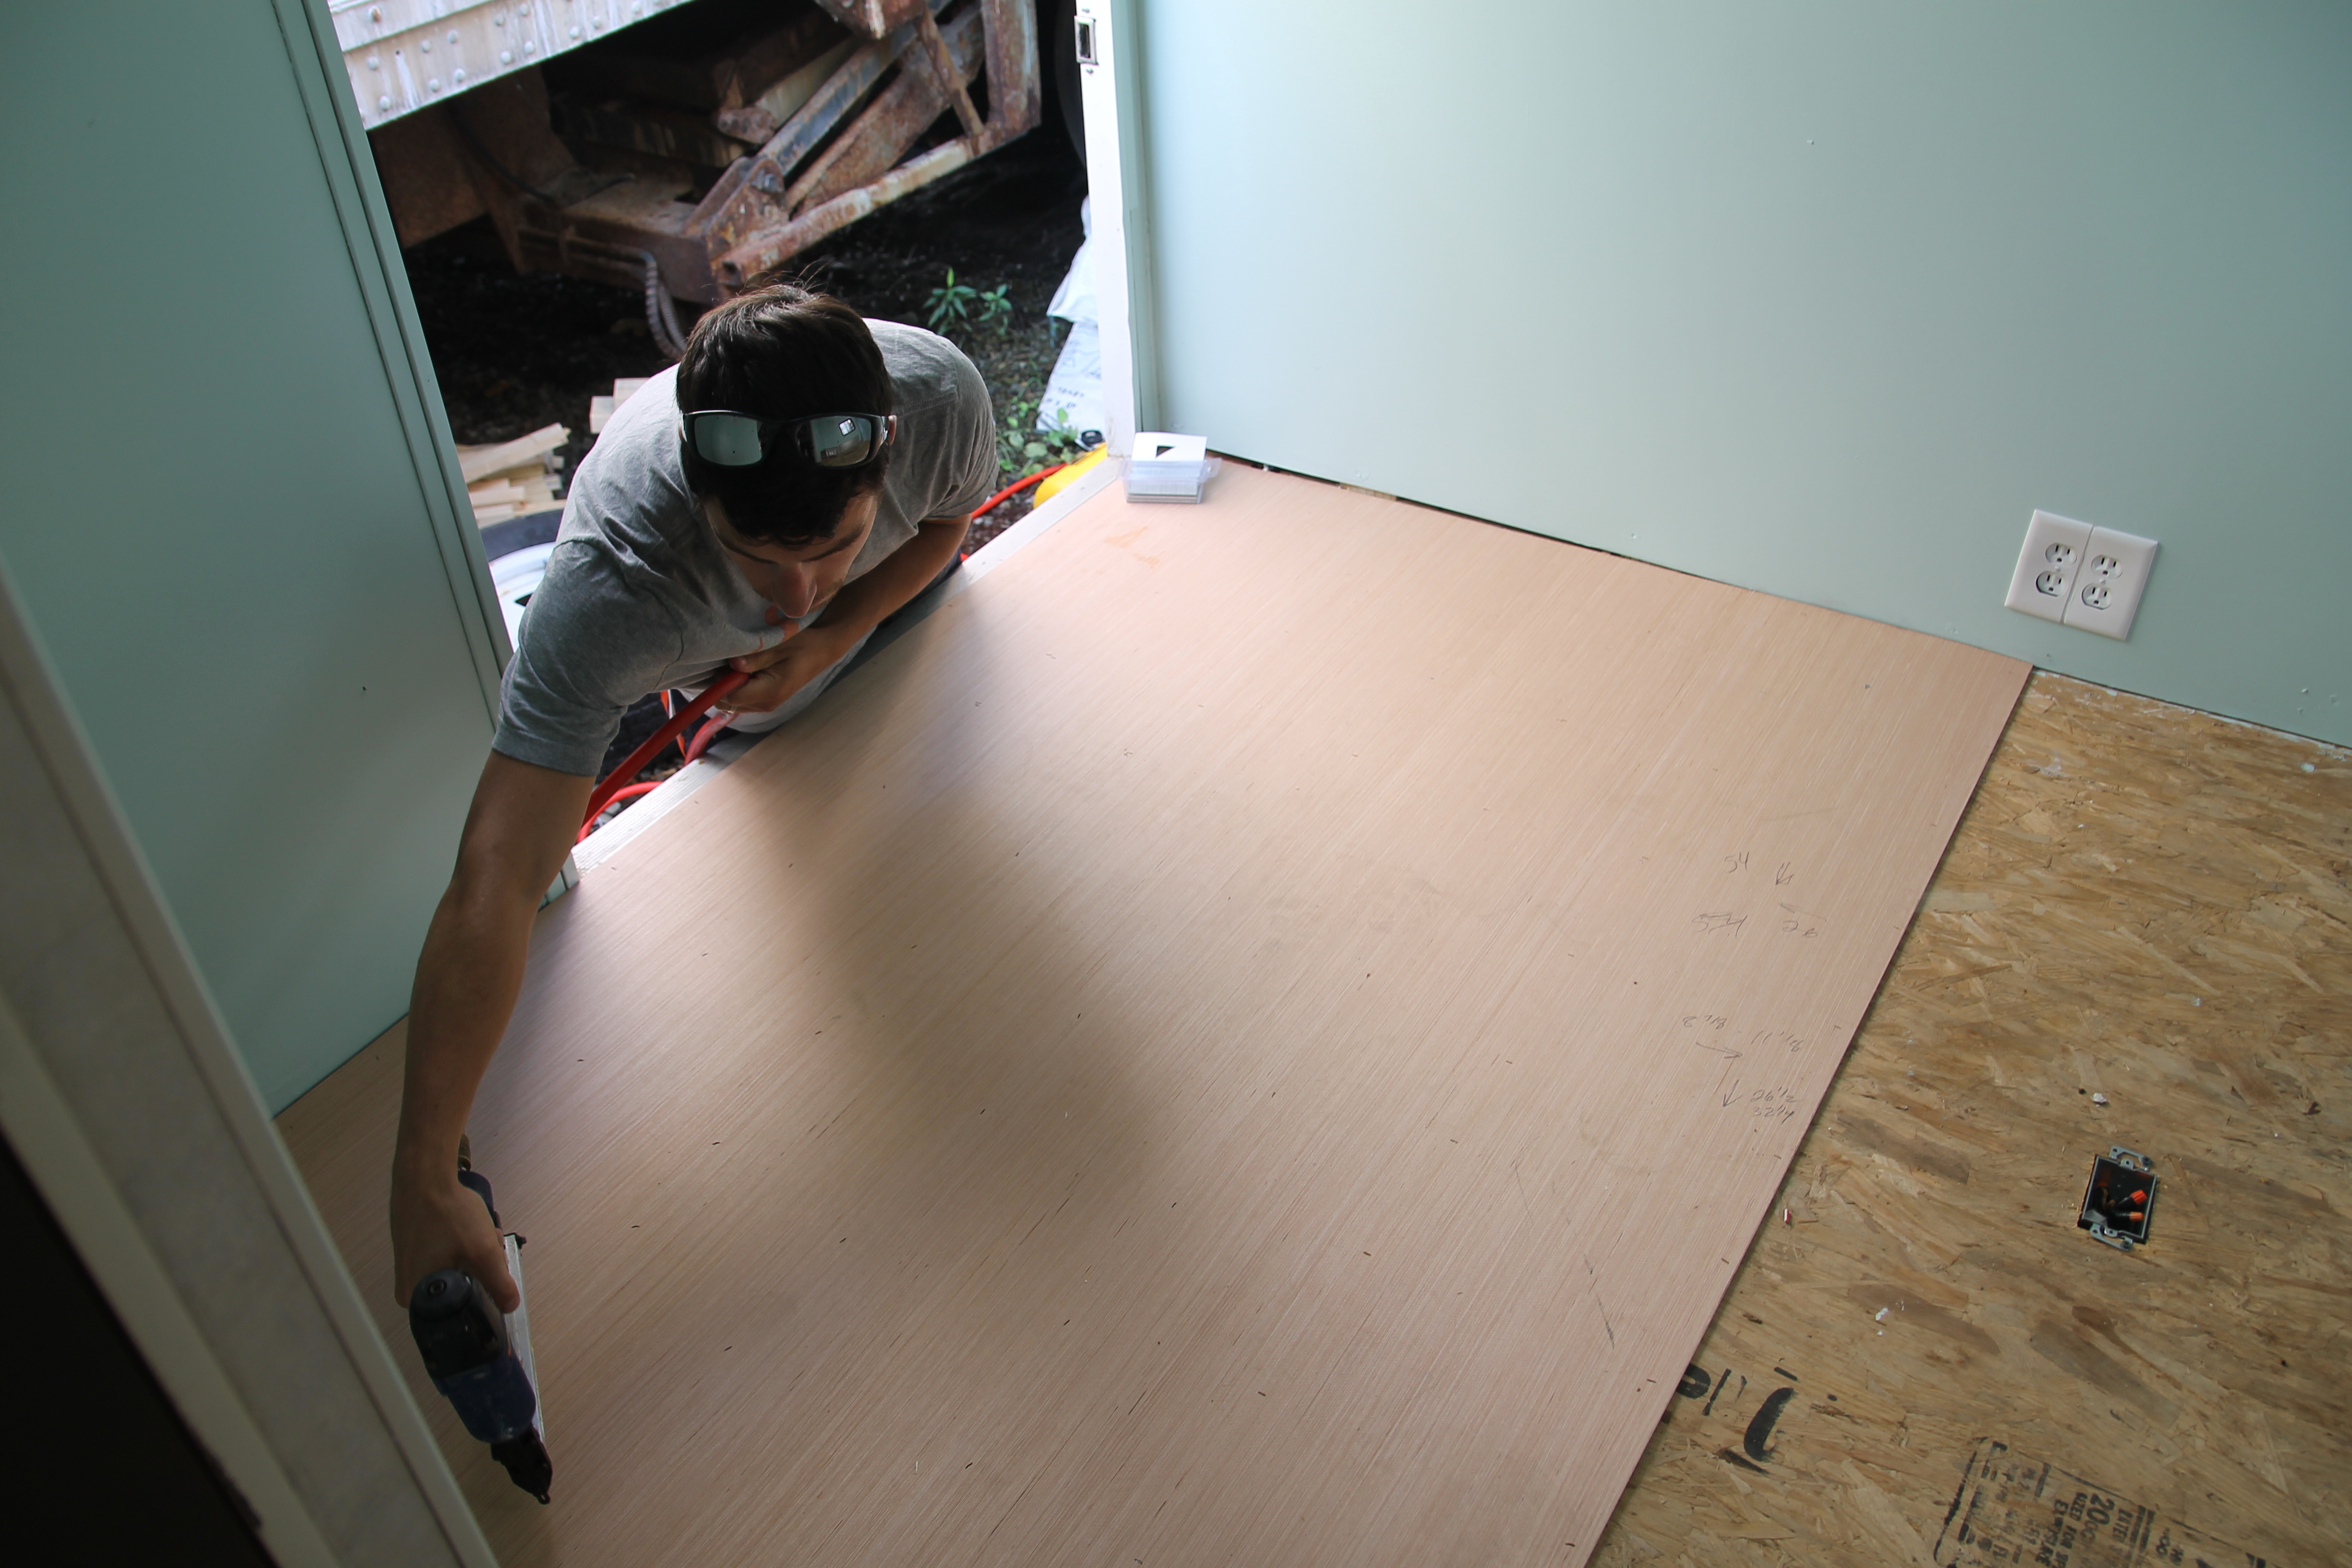
I used 3/4′ OSB Plywood for the flooring.
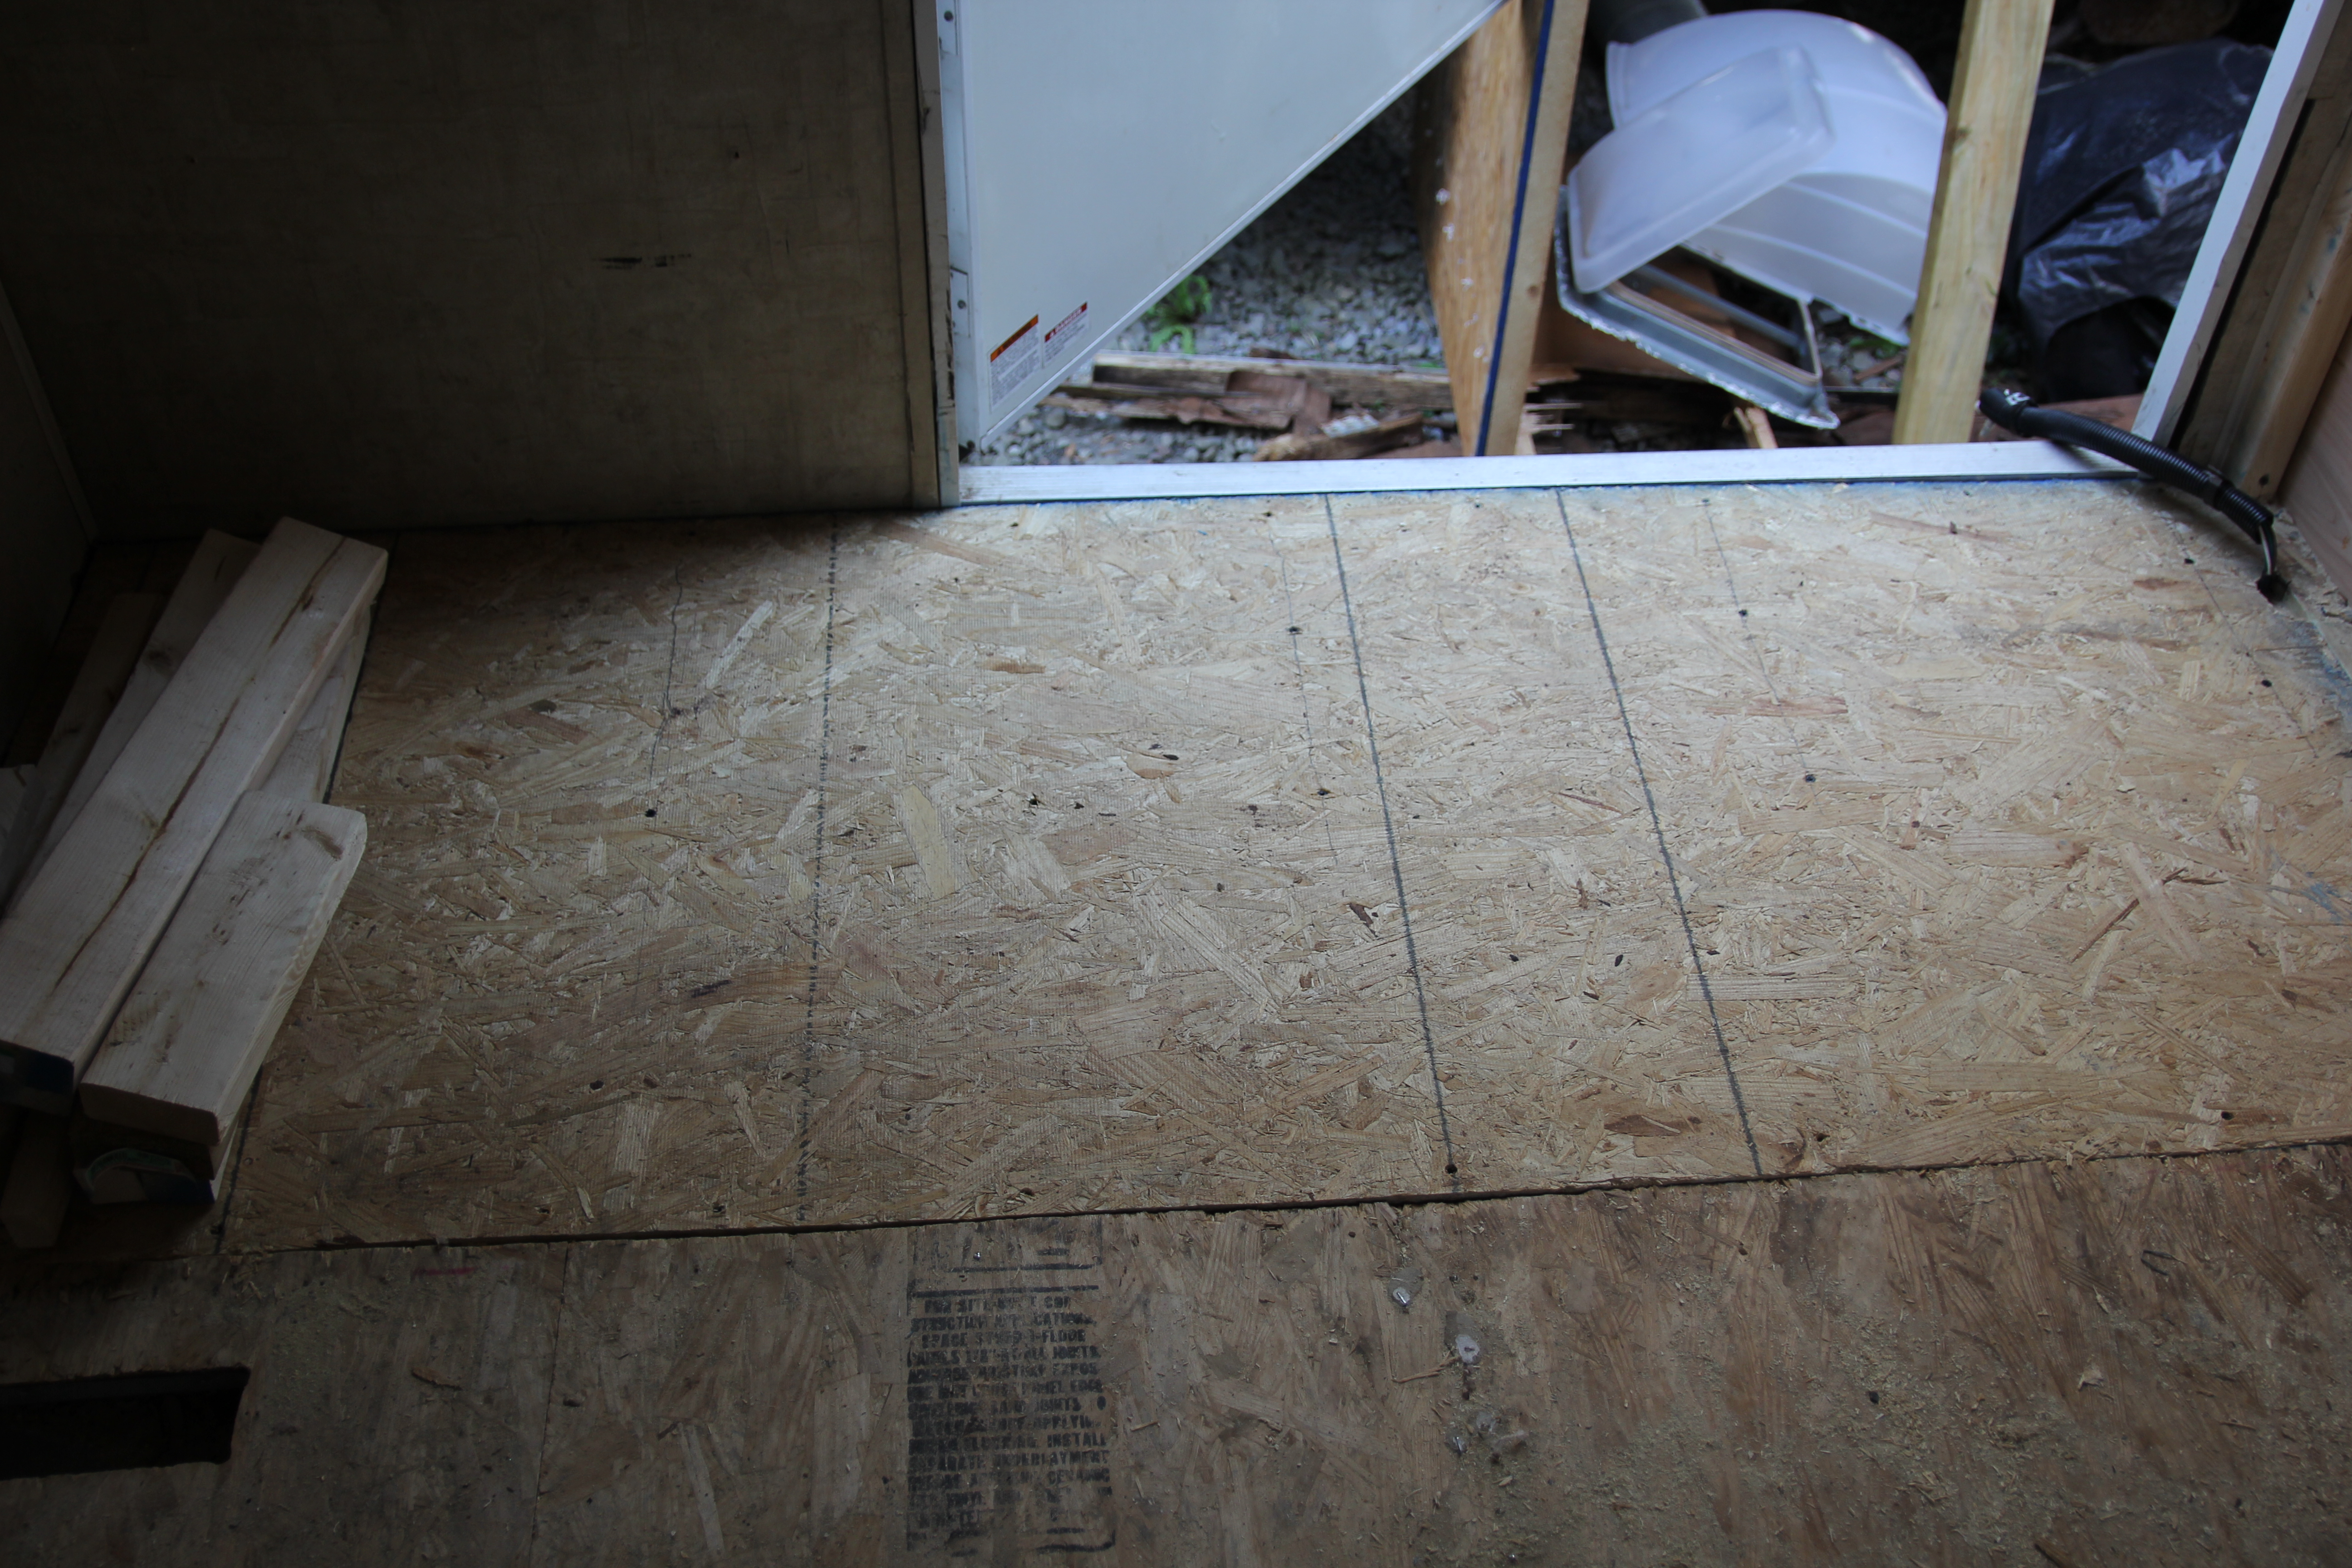
For this side I had to remove the old sill plate and then added the new one in sections. The framework had to be built and then placed into the space. When I put the section under the water heater in, I had to pound it with a hammer for it to go into place. I started at the outside of the camper and then worked my way back inside. I plan to use wood filler for the chunks of board that are missing on this side of the room.
Stay tuned for our next installment of the Camper Chronicles!
Read More: Part 1 | Part 2 | Part 3 | Part 4 | Part 5 | Part 6 | Part 7| Part 8 | Part 9 | Part 10 | Before & After